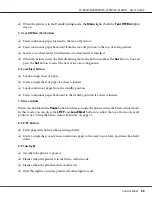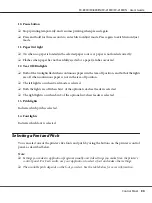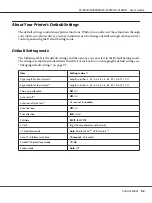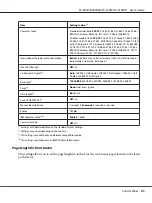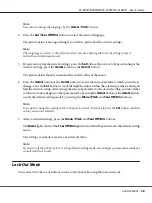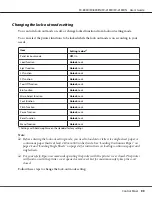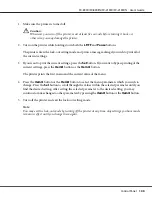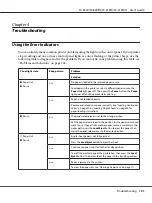
Changing default settings
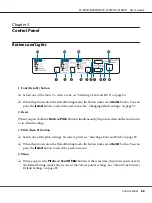
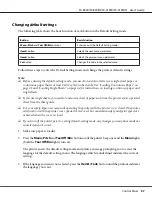
The following table shows the basic function of each button in the Default Setting mode.
Button
Basic function
Menu
(
Pitch
and
Tear Off/Bin
) buttons
Enters or exits the Default Setting mode.
Item
D
button
Selects the next menu parameter.
Item
U
button
Selects the previous menu parameter.
Set
button
Changes the value in the selected menu.
Follow these steps to enter the Default Setting mode and change the printer’s default settings:
Note:
❏
Before entering the default-setting mode, you need to load A4 or letter size single-sheet paper or
continuous paper that is at least 210 mm (8.3 inches) wide. See “Loading Continuous Paper” on
page 21 and “Loading Single Sheets” on page 44 for instructions on loading continuous paper and
single sheets.
❏
If you use single sheets, you need to load a new sheet of paper each time the printer ejects a printed
sheet from the sheet guide.
❏
For your safety, Epson recommends operating the printer with the printer cover closed. The printer
will function with the printer cover opened or removed, but maximum safety and print speed are
achieved when the cover is closed.
❏
If you turn off the printer prior to exiting default-setting mode, any changes you may have made are
canceled and not saved.
1. Make sure paper is loaded.
2. Press the
Menu
(
Pitch
and
Tear Off/Bin
) buttons until the printer beep once and the
Menu
lights
(both the
Tear Off/Bin
lights) turn on.
The printer enters the default-setting mode and prints a message prompting you to select the
language for the default-setting menu. The language which is underlined indicates the current
setting.
3. If the language you want is not selected, press the
Item
D
(
Font
) button until the printout indicates
the language you want.
FX-890II/FX-890IIN/FX-2190II/FX-2190IIN User’s Guide
Control Panel
97


