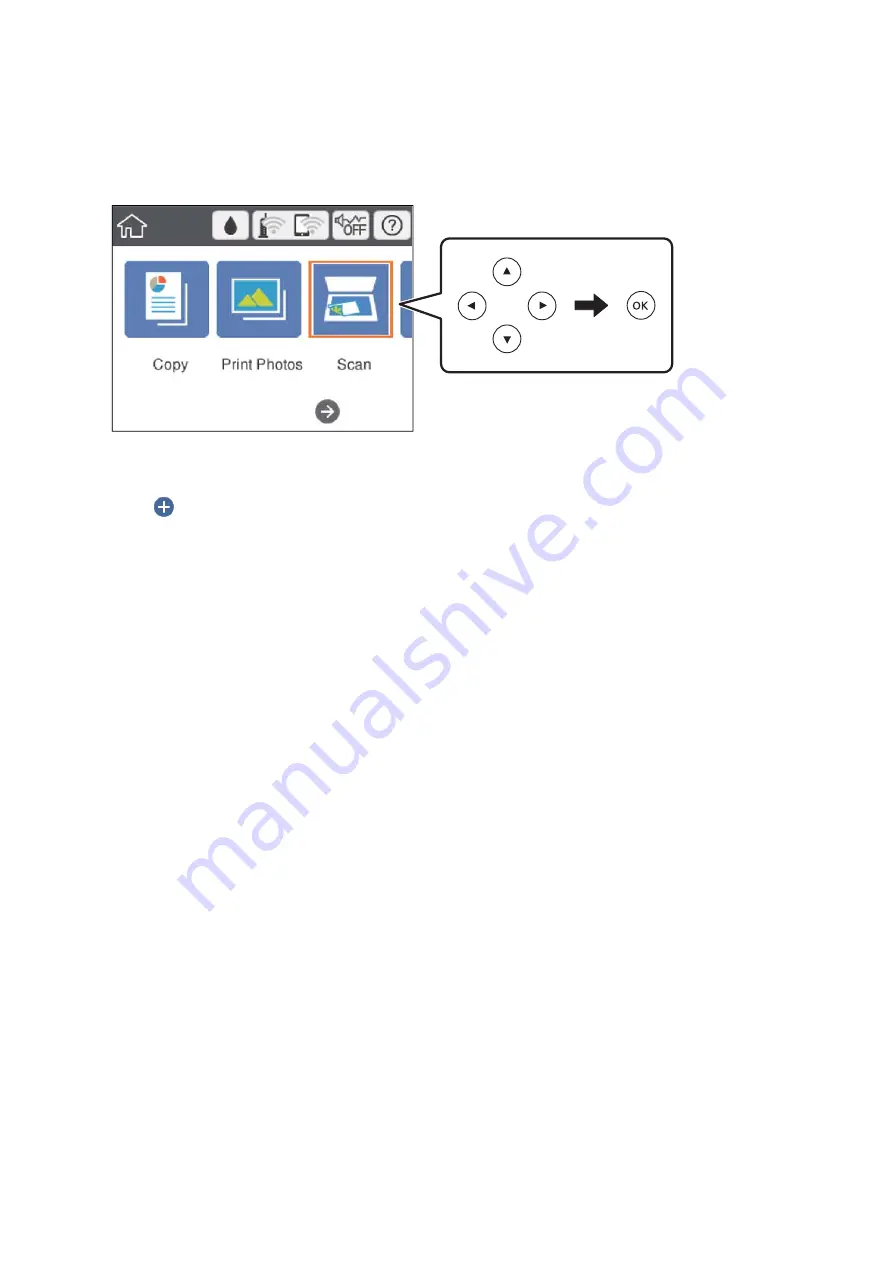
3.
Select
Scan
on the home screen.
To select an item, move the focus to the item using the
u
d
l
r
buttons, and then press the OK button.
4.
Select
Cloud
.
5.
Select
on the top of the screen, and then select a destination.
6.
Set items on
Scan
tab, such as the save format.
❏
B&W/Color: Select whether to scan in color or in monochrome.
❏
JPEG/PDF: Select the format in which to save the scanned image.
7.
Select
Advanced Settings
tab, and then check settings, and change them if necessary.
8.
Select
Scan
tab, and then press the
x
button.
Note:
The color, size, and border of the scanned image will not be exactly the same as the original.
Related Information
&
“Placing Originals on the Scanner Glass” on page 72
Basic Menu Options for Scanning to the Cloud
B&W/Color:
Select whether to scan in color or in monochrome.
JPEG/PDF:
Select the format in which to save the scanned image.
Advanced Menu Options for Scanning to the Cloud
Original Type:
Select the type of your original.
User's Guide
Scanning
142
Содержание Expression Premium XP-6105
Страница 1: ...User s Guide NPD5955 01 EN ...
Страница 75: ...Note Enable the Thumbnail check box at the top of the preview window User s Guide Placing Originals 75 ...
Страница 79: ... Copying on a CD DVD Label on page 130 User s Guide Loading a CD DVD for Printing 79 ...
Страница 139: ...3 Click Make Job Settings User s Guide Scanning 139 ...
Страница 206: ...1 Open the scanner unit with the document cover closed 2 Remove the jammed paper User s Guide Solving Problems 206 ...


