


4.
Select
Print Head Alignment
.
5.
Click
Next
, then click
to print an alignment sheet.
Note:
Do not cancel printing while you are printing a head alignment pattern.
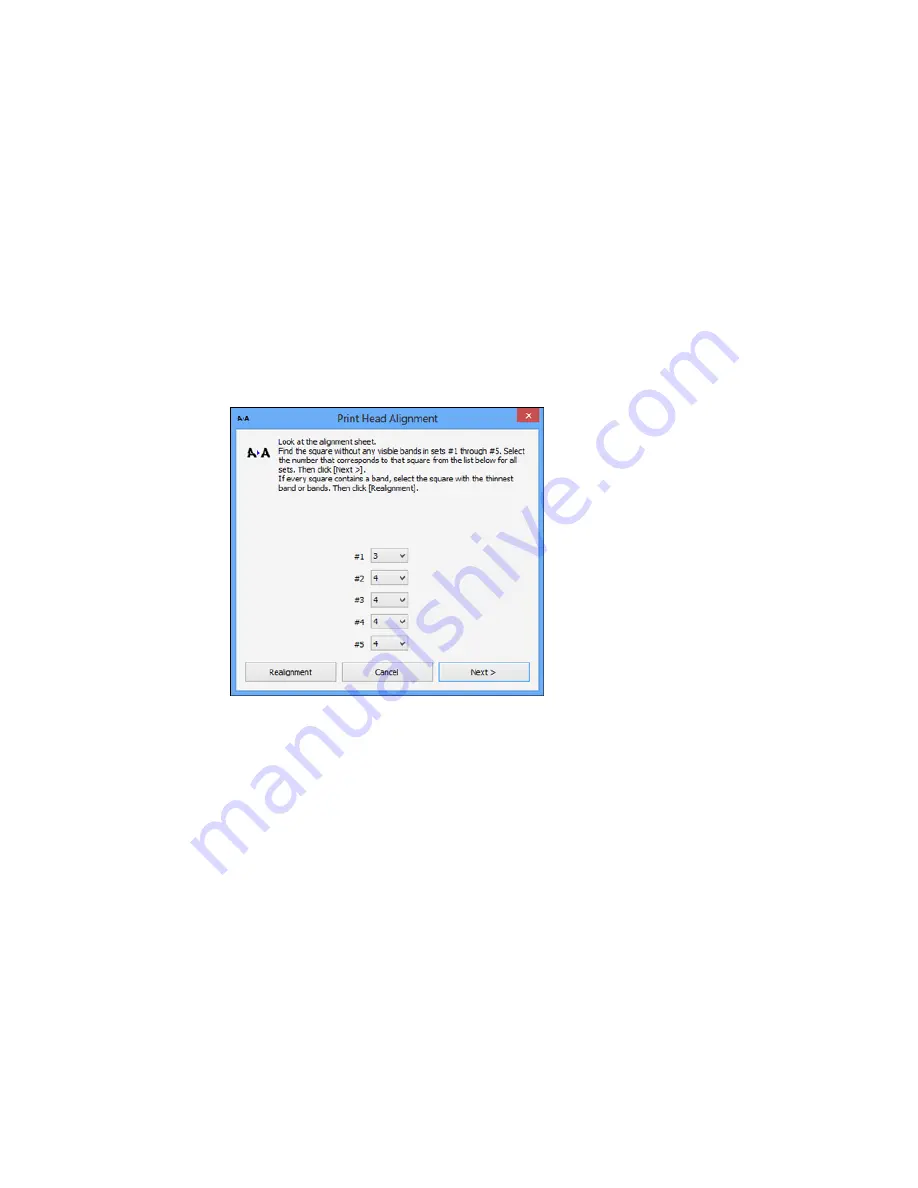
You see a window like this:
6.
Check the printed pattern and follow the instructions on the screen to choose the number
representing the best printed pattern for each set.
• After choosing a pattern number, click
Next
.
• If no patterns are aligned in one or more of the sets, choose the closest one in each set and click
Realignment
. Then print another alignment sheet and check it.
Note:
Click
Skip
(where available) if you want to skip a particular alignment sheet.
7.
When you are done, click
Finish
.
262
Содержание Expression Photo XP-960
Страница 1: ...XP 960 User s Guide ...
Страница 2: ......
Страница 13: ...XP 960 User s Guide Welcome to the XP 960 User s Guide For a printable PDF copy of this guide click here 13 ...
Страница 58: ...2 Flip open the rear paper feed slot cover 3 Fully extend the paper support and tilt it back as shown 58 ...
Страница 100: ...You see the maintenance options 4 Click the Extended Settings button 100 ...
Страница 133: ...You see this window 133 ...
Страница 150: ...You see this window 150 ...
Страница 204: ...2 Press the left or right arrow button and then select Setup 3 Scroll down and select External Device Setup 204 ...
Страница 213: ...Related topics Loading Paper 213 ...


