


6.
Select
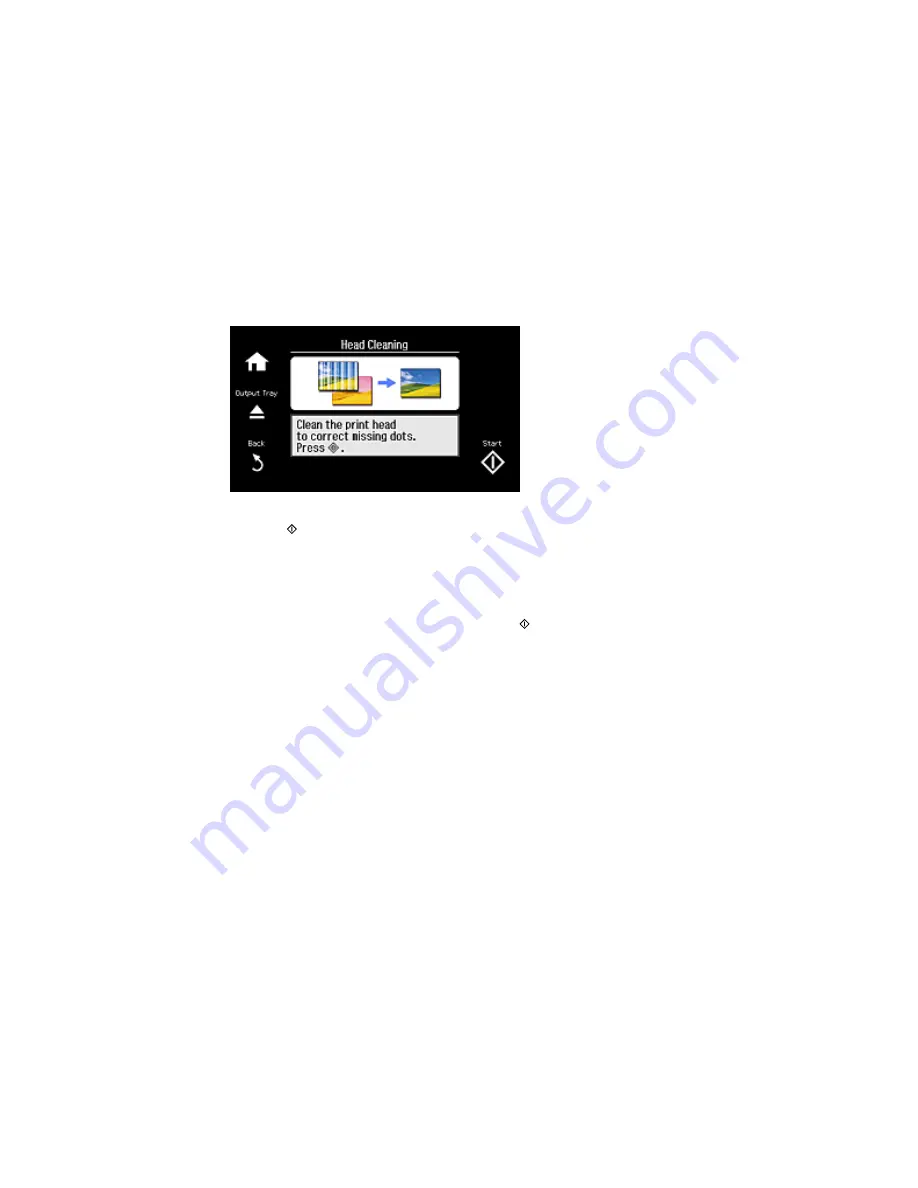
Head Cleaning
.
7.
Press the
Start
button to clean the print head. You see a message on the LCD screen during the
cleaning cycle.
Caution:
Never turn off the product during a cleaning cycle or you may damage it.
When the cleaning cycle is finished, you see a message on the display screen.
8.
Select
Print Nozzle Check Pattern
, then press the
Start
button to run a nozzle check and
confirm that the print head is clean.
If you don’t see any improvement after cleaning the print head up to 2 times, turn off the product and wait
at least 6 hours. Then try cleaning the print head again. If quality still does not improve, one of the ink
cartridges may be old or damaged and needs to be replaced.
Parent topic:
Print Head Cleaning
Related tasks
Loading Paper in Cassette 2 (Lower Cassette)
Checking the Nozzles Using the Product Control Panel
Related topics
Replacing Ink Cartridges
Cleaning the Print Head Using a Computer Utility
You can clean the print head using a utility on your Windows computer or Mac.
257
Содержание Expression Photo XP-960
Страница 1: ...XP 960 User s Guide ...
Страница 2: ......
Страница 13: ...XP 960 User s Guide Welcome to the XP 960 User s Guide For a printable PDF copy of this guide click here 13 ...
Страница 58: ...2 Flip open the rear paper feed slot cover 3 Fully extend the paper support and tilt it back as shown 58 ...
Страница 100: ...You see the maintenance options 4 Click the Extended Settings button 100 ...
Страница 133: ...You see this window 133 ...
Страница 150: ...You see this window 150 ...
Страница 204: ...2 Press the left or right arrow button and then select Setup 3 Scroll down and select External Device Setup 204 ...
Страница 213: ...Related topics Loading Paper 213 ...


