


•
OS X
: Open the
Applications
folder, click
Epson Software
, and click
Easy Photo Scan
. Select
your product and click
OK
, if necessary.
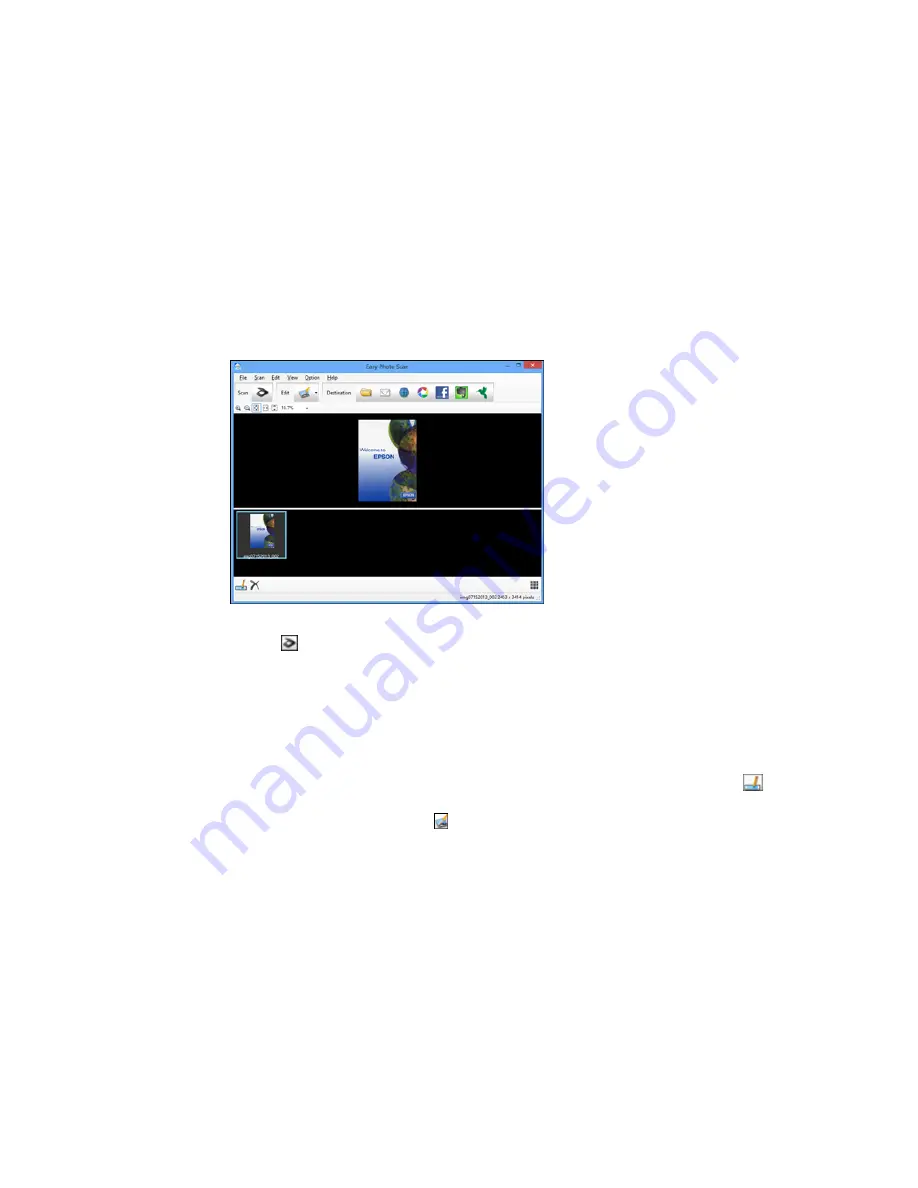
You see a window like this:
3.
Click the
Scan icon.
Your scanning program launches.
4.
Click
Scan
in the window that appears to scan your original.
The scanned image is displayed in the Easy Photo Scan window with an automatically generated
name.
Note:
You may need to click the
Close
button to display Easy Photo Scan.
5.
To edit the name of the file, select the image thumbnail at the bottom of the screen, click the
icon, and enter the new filename.
6.
To edit the scanned image, click the
Edit icon and select one of the displayed options.
Note:
See the Easy Photo Scan help for additional information on image editing options.
171
Содержание Expression Photo XP-960
Страница 1: ...XP 960 User s Guide ...
Страница 2: ......
Страница 13: ...XP 960 User s Guide Welcome to the XP 960 User s Guide For a printable PDF copy of this guide click here 13 ...
Страница 58: ...2 Flip open the rear paper feed slot cover 3 Fully extend the paper support and tilt it back as shown 58 ...
Страница 100: ...You see the maintenance options 4 Click the Extended Settings button 100 ...
Страница 133: ...You see this window 133 ...
Страница 150: ...You see this window 150 ...
Страница 204: ...2 Press the left or right arrow button and then select Setup 3 Scroll down and select External Device Setup 204 ...
Страница 213: ...Related topics Loading Paper 213 ...


