92
Copying Settings
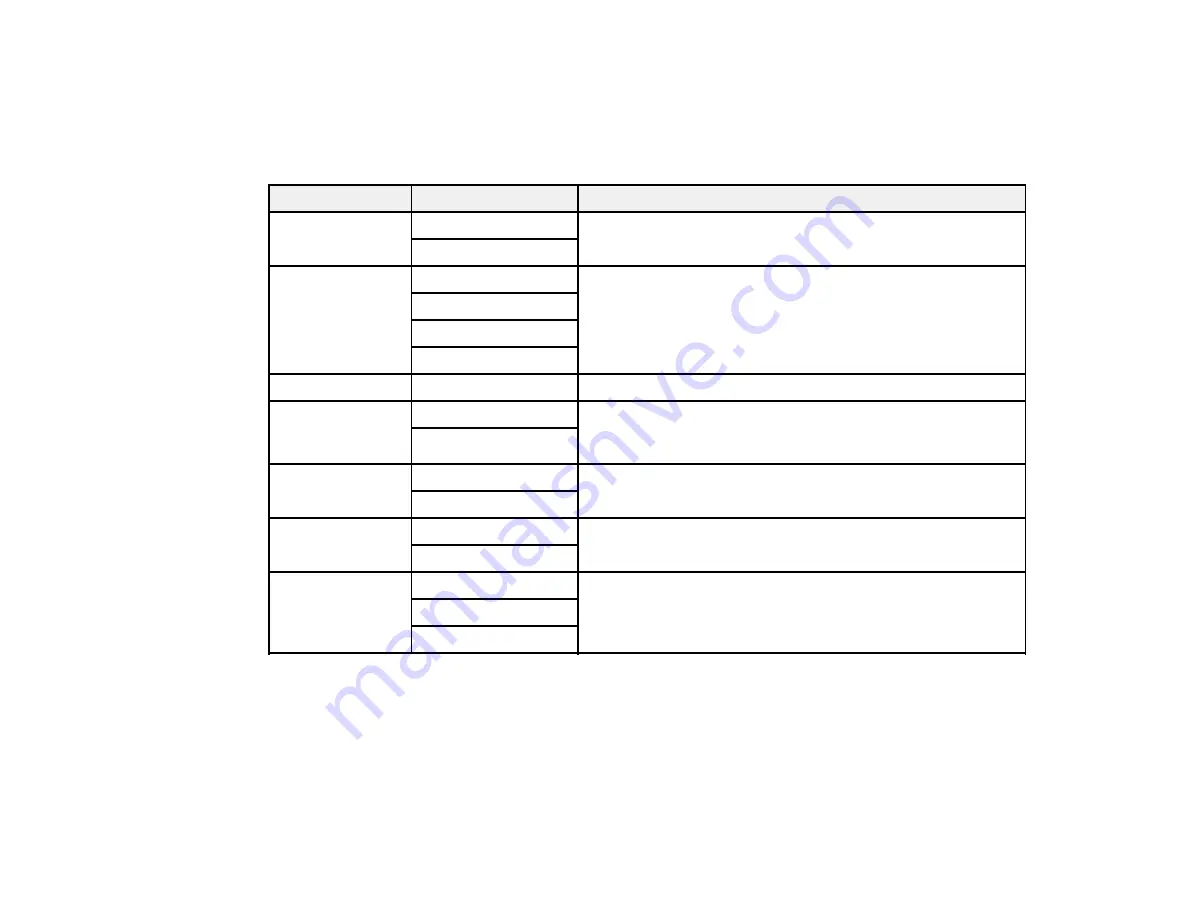
Select
Settings
from the Copy screen to select the copying settings you want to use for your copies.
Note:
Not all options or settings may be available, depending on other copying settings.
Copying option
Available settings
Description
Document
Orientation
Portrait
Specifies the orientation of your originals
Landscape
Quality
Text
Specifies the document type of your originals and affects the
quality of your copies
Text(Best)
Text & Image
Text & Image(Best)
Density
Varying levels
Adjusts the lightness or darkness of copies
Remove Shadow Off
Select
On
to erase the shadows that appear in the center of
a document when copying a book or that appear around a
document when copying thick paper
On
Remove Punch
Holes
Off
Select
On
to erase the binding holes on a document
On
Collate Copy
Off
Select
On
to print multiple copies of a multi-page document
both in order and sorted into sets
On
Dry Time
Standard
Provides longer drying time for 2-sided copies, if smudges
or marks appear on the front of the paper when you print on
the second side
Long
Longer
Parent topic:
Содержание ET-16500
Страница 1: ...ET 16500 User s Guide ...
Страница 2: ......
Страница 55: ...55 2 Pull out the paper cassette and remove the paper cassette cover 3 Slide the edge guides outward ...
Страница 61: ...61 2 Pull out the paper cassette and remove the paper cassette cover 3 Slide the edge guides outward ...
Страница 66: ...66 2 Pull out the paper cassette and remove the paper cassette cover 3 Slide the edge guides outward ...
Страница 70: ...70 3 Open the rear paper feed slot and push it back 4 Slide out the edge guides ...
Страница 88: ...88 Related topics Copying ...
Страница 132: ...132 You see an Epson Scan 2 window like this ...
Страница 134: ...134 You see an Epson Scan 2 window like this ...
Страница 136: ...136 You see this window ...
Страница 143: ...143 DSL connection 1 Telephone wall jack 2 DSL filter 3 DSL modem ...
Страница 144: ...144 ISDN connection 1 ISDN wall jack 2 Terminal adapter or ISDN router ...
Страница 155: ...155 You see this screen 6 Select Fax Output You see this screen 7 Select Settings ...
Страница 176: ...176 Windows OS X 5 To add an entry do one of the following Windows Select an empty entry and click the icon ...
Страница 223: ...223 6 Close the rear cover Parent topic Refilling Ink Related references Ink Bottle and Maintenance Box Part Numbers ...
Страница 264: ...264 2 Press the tabs and open the rear cover 3 Remove the duplexer ...
Страница 265: ...265 4 Carefully remove any jammed paper Note Do not touch the paper rollers 5 Remove any jammed paper from the duplexer ...
Страница 266: ...266 6 Open the duplexer 7 Carefully remove any jammed paper stuck inside 8 Reinstall the duplexer ...


