154
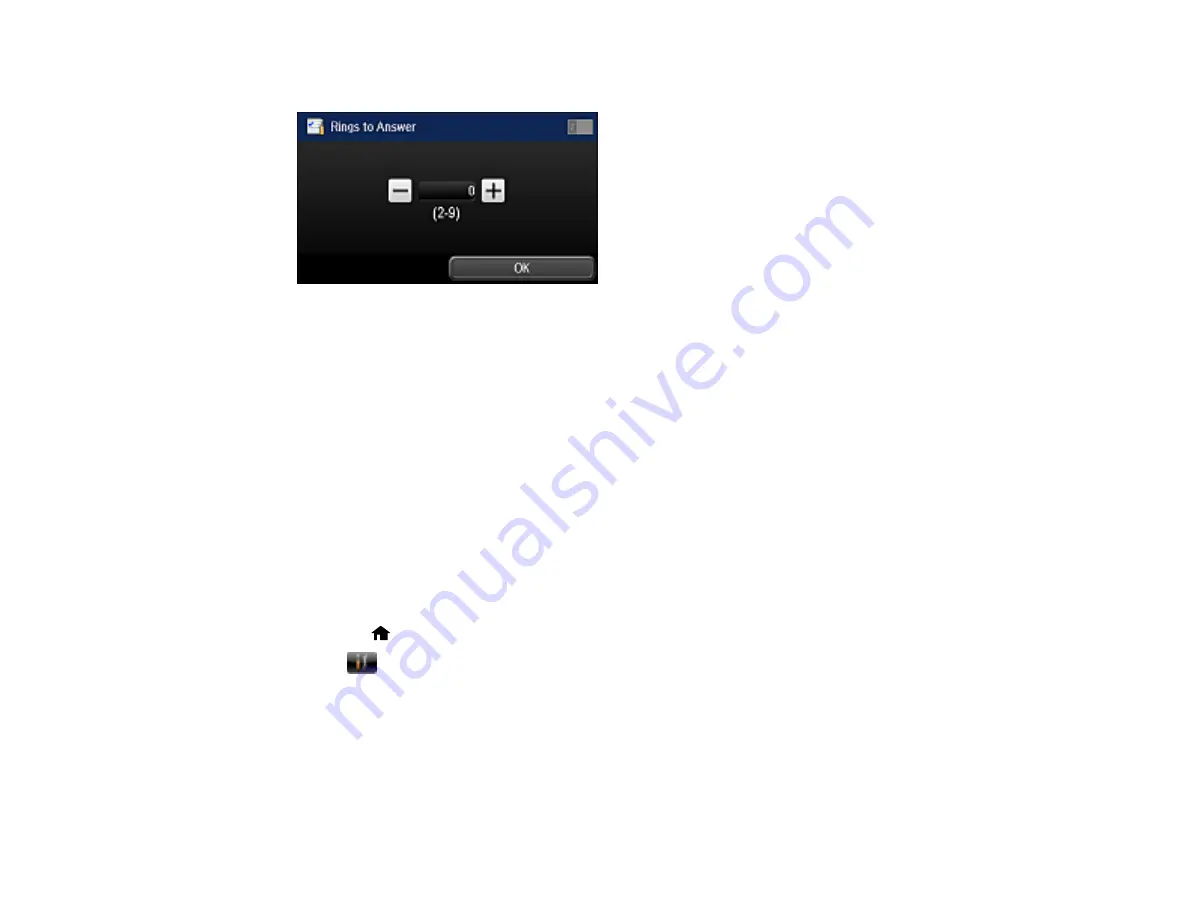
You see this screen:
7.
Select the number of rings and select
OK
. Make sure to select a number higher than the number of
rings your answering machine is set to for answering a call.
Note:
The answering machine picks up every call faster than the product, but the product can detect fax
tones and start receiving faxes. If you answer the phone and hear a fax tone, check that the product has
started receiving the fax, then hang up.
Parent topic:
Setting Up Fax Features Using the Product Control Panel
Selecting Fax Output Settings
You can use the product's control panel to select settings for saving, forwarding, or printing incoming
faxes.
Note:
These settings can be locked by an administrator. If you cannot access or change these settings,
contact your administrator for assistance.
1.
Press the
home button, if necessary.
2.
Select
Setup
.
3.
Scroll down and select
System Administration
. Enter the administrator password, if necessary.
4.
Scroll down and select
Fax Settings
.
5.
Select
Output Settings
.
Содержание ET-16500
Страница 1: ...ET 16500 User s Guide ...
Страница 2: ......
Страница 55: ...55 2 Pull out the paper cassette and remove the paper cassette cover 3 Slide the edge guides outward ...
Страница 61: ...61 2 Pull out the paper cassette and remove the paper cassette cover 3 Slide the edge guides outward ...
Страница 66: ...66 2 Pull out the paper cassette and remove the paper cassette cover 3 Slide the edge guides outward ...
Страница 70: ...70 3 Open the rear paper feed slot and push it back 4 Slide out the edge guides ...
Страница 88: ...88 Related topics Copying ...
Страница 132: ...132 You see an Epson Scan 2 window like this ...
Страница 134: ...134 You see an Epson Scan 2 window like this ...
Страница 136: ...136 You see this window ...
Страница 143: ...143 DSL connection 1 Telephone wall jack 2 DSL filter 3 DSL modem ...
Страница 144: ...144 ISDN connection 1 ISDN wall jack 2 Terminal adapter or ISDN router ...
Страница 155: ...155 You see this screen 6 Select Fax Output You see this screen 7 Select Settings ...
Страница 176: ...176 Windows OS X 5 To add an entry do one of the following Windows Select an empty entry and click the icon ...
Страница 223: ...223 6 Close the rear cover Parent topic Refilling Ink Related references Ink Bottle and Maintenance Box Part Numbers ...
Страница 264: ...264 2 Press the tabs and open the rear cover 3 Remove the duplexer ...
Страница 265: ...265 4 Carefully remove any jammed paper Note Do not touch the paper rollers 5 Remove any jammed paper from the duplexer ...
Страница 266: ...266 6 Open the duplexer 7 Carefully remove any jammed paper stuck inside 8 Reinstall the duplexer ...


