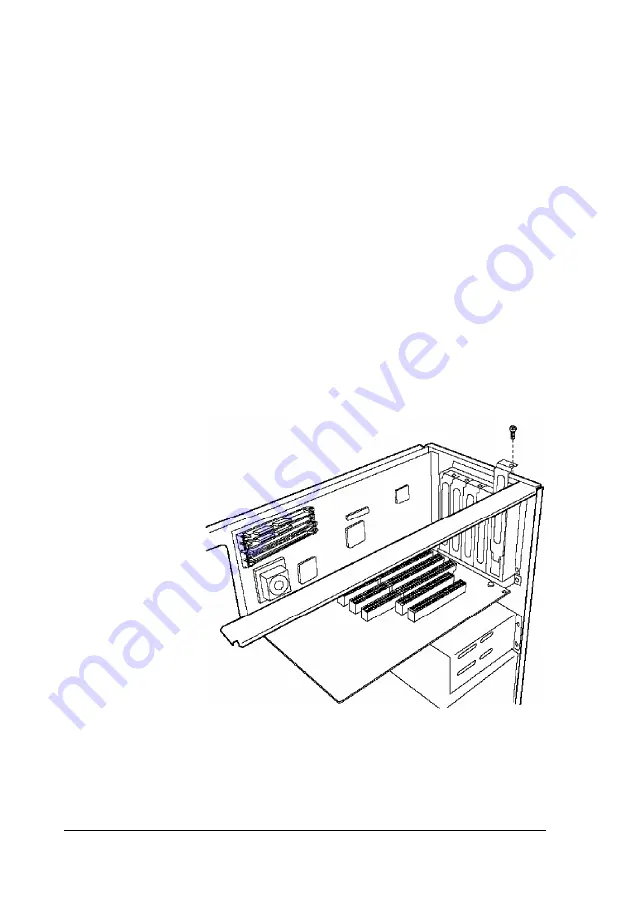
4.
Replace the slot cover bracket by inserting it into the small
metal holder below the option slots; then replace its
retaining screw.
5.
Replace the computer’s cover; see “Replacing the Cover.”
Then see “Post-installation Procedures” for instructions on
configuring your computer with your new option card.
Installing a Card in the Tower Computer
Follow the steps below to install an option card in the tower
computer. Although the illustration shows a PC1 card, you can
use the same instructions for an ISA card.
1.
Remove the retaining screw securing the option slot cover to
the computer, as shown below. (Keep the screw to secure
the option card in step 4.)
2.
Slide out the slot cover and set it aside. (Store it in a safe
place in case you remove the option card later.)
4-20
Installing and Removing Options
Содержание Endeavor Pro
Страница 28: ...2 2 0 Setting Up Your System ...
Страница 38: ...The Integrated Peripherals options are described in the table below Running SETUP and lnstalling Drivers 2 9 ...
Страница 47: ...Green PC options continued 2 18 Running SETUP and lnstalling Drivers ...
Страница 57: ...Using Your Computer 3 5 ...
Страница 71: ...Installing and Removing Options 4 7 ...
Страница 163: ...Environmental Requirements System Memory Map A S Specifications ...
Страница 164: ...Video Resolutions and Colors Specifications A 9 ...
Страница 167: ...Hardware Interrupts System l O Address Map A 12 Specifications ...


