


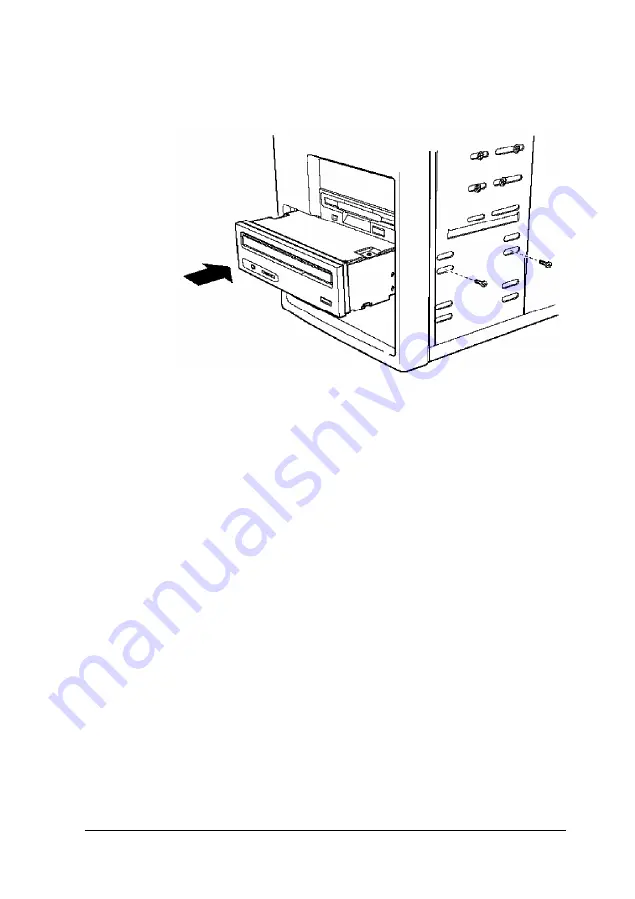
4.
Slide the drive into the front of the bay and secure it to the
bay using the four screws that came with the drive.
5.
Connect the appropriate cable to the drive.
If you are installing an IDE device, see “Connecting the
Cables to the Front Internal Drive” for instructions on
connecting the drive cable to the drive.
If you are installing a diskette or tape drive, use the
appropriate connector on the diskette drive cable. If your
drive has a connector containing pins (a header connector),
be sure to align pin 1 of the drive connector with the side of
the cable containing the red wire. If your drive has a
card-edge connector (with gold contacts on each side of a
flat plastic connector), align the key-way in the cable
connector with the gap in the drive connector.
If you are installing another type of drive, see the
documentation that came with it for instructions on
connecting its drive cable.
Installing and Removing Drives in the Tower Computer
6 - 1 1
Содержание Endeavor Pro
Страница 28: ...2 2 0 Setting Up Your System ...
Страница 38: ...The Integrated Peripherals options are described in the table below Running SETUP and lnstalling Drivers 2 9 ...
Страница 47: ...Green PC options continued 2 18 Running SETUP and lnstalling Drivers ...
Страница 57: ...Using Your Computer 3 5 ...
Страница 71: ...Installing and Removing Options 4 7 ...
Страница 163: ...Environmental Requirements System Memory Map A S Specifications ...
Страница 164: ...Video Resolutions and Colors Specifications A 9 ...
Страница 167: ...Hardware Interrupts System l O Address Map A 12 Specifications ...