Connecting the Hard Disk Drive Cables
After you replace the bracket, you need to connect the cables to
the hard disk drive. Follow these steps:
1.
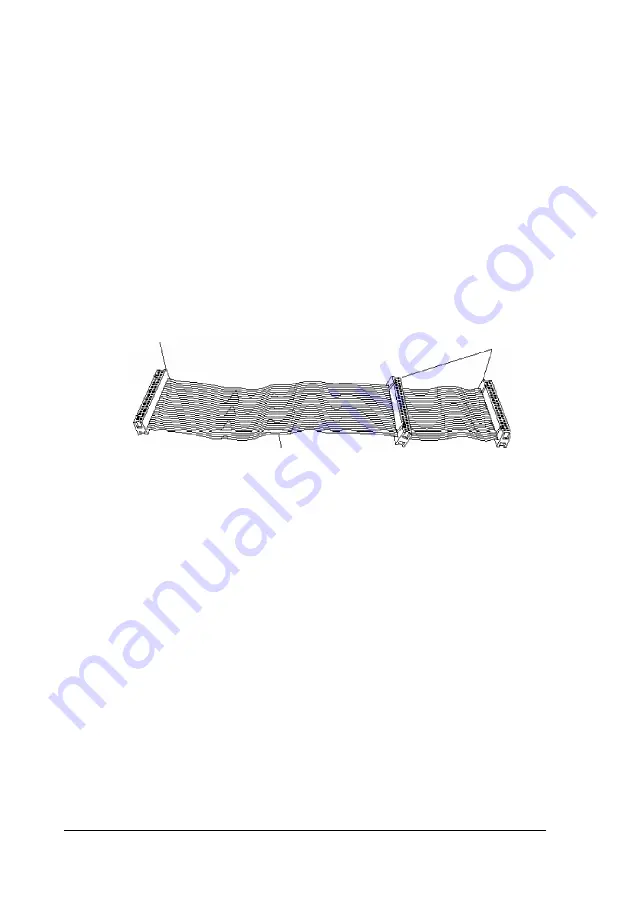
Locate one of the IDE device cables that are connected to
the IDE interfaces on the system board. They are flat cables
with a connector at one end and two IDE device connectors
at the other end. A red wire is on one side of the cable. (See
“Locating the System Board Components” in Chapter 4 to
find the primary and secondary IDE interfaces on the
system board.)
system board
IDE device
connector
connectors
red wire
Use the primary IDE interface for your boot drive and your
second hard disk drive; use the secondary IDE interface to
connect IDE CD-ROM drives, other IDE devices, or your
third and fourth hard disk drives. You cannot connect a
CD-ROM drive and hard disk drive to the same interface.
2.
Identify the IDE device connector you will use on the IDE
device cable.
3.
Locate pin 1 on the drive connector. If you do not see it on
the connector casing and you did not locate it before you
replaced the drive bracket, you may have to remove the
drive and turn it over to check the circuit board.
5-8
Installing and Removing Drives in the Slimline Computer
Содержание Endeavor Pro
Страница 28: ...2 2 0 Setting Up Your System ...
Страница 38: ...The Integrated Peripherals options are described in the table below Running SETUP and lnstalling Drivers 2 9 ...
Страница 47: ...Green PC options continued 2 18 Running SETUP and lnstalling Drivers ...
Страница 57: ...Using Your Computer 3 5 ...
Страница 71: ...Installing and Removing Options 4 7 ...
Страница 163: ...Environmental Requirements System Memory Map A S Specifications ...
Страница 164: ...Video Resolutions and Colors Specifications A 9 ...
Страница 167: ...Hardware Interrupts System l O Address Map A 12 Specifications ...


