88
Making Additional Screen Adjustments
Correcting the Image Shape on a Curved Screen
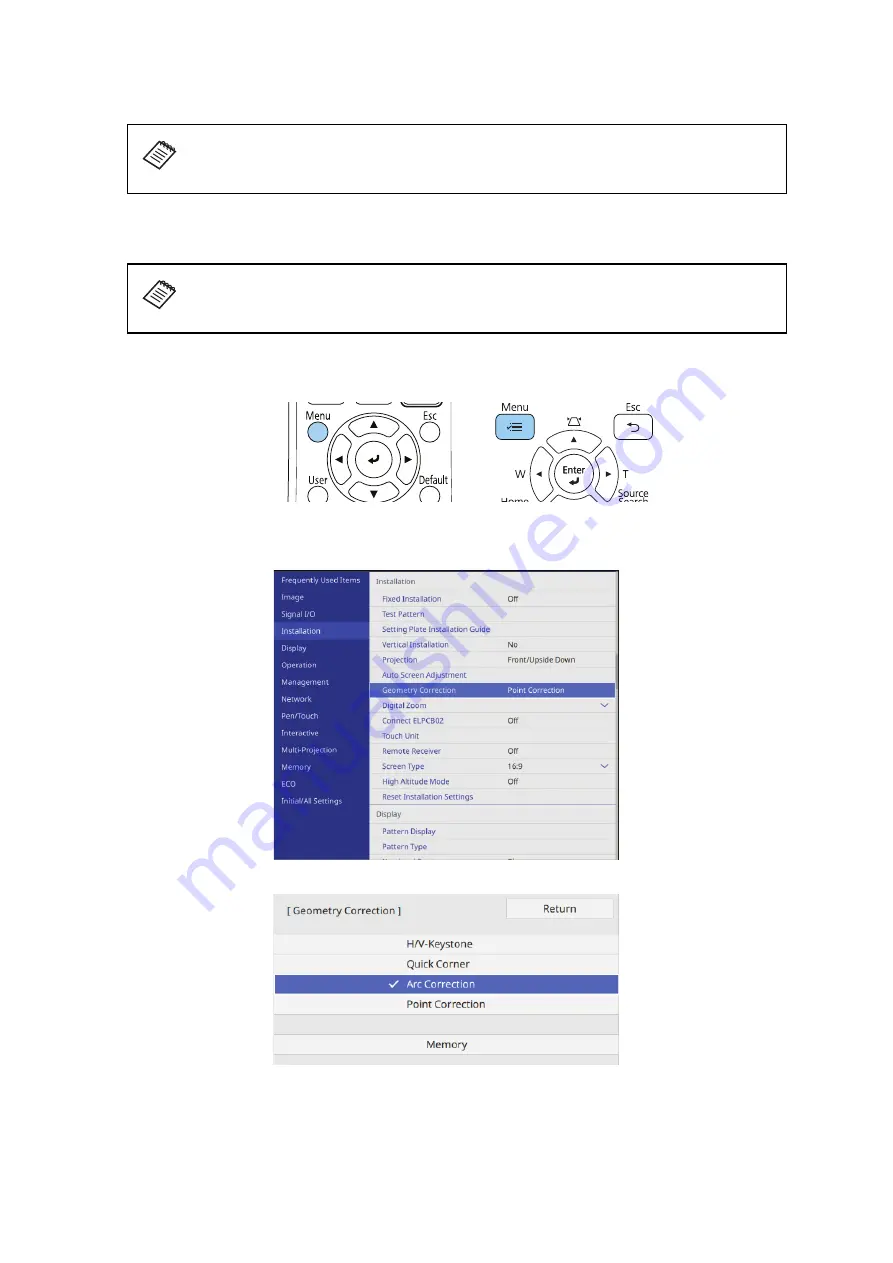
If you are projecting on a curved screen, adjust the Arc Correction setting to correct the image shape.
1. Press the [Menu] button on the remote control or control panel.
2. Select
Installation
.
3. Select
Geometry Correction
.
4. Select
Arc Correction.
If possible, avoid adjustments with the Auto Screen Adjustment, Quick Corner, or
Keystone functions of the projector. Doing so may result in a reduction in image
quality and pen or finger touch calibration.
Touch unit installation requires a projection surface that is flat, smooth, and unwarped
with no more than 0.2 inch (5 mm) of unevenness in any direction on the screen
surface.
Remote Control
Control Panel
Содержание ELPMB62
Страница 1: ...Installation Guide ...
Страница 44: ...44 3 Rest the PC on the lip of the Mini PC plate and secure it with the band ...
Страница 61: ...61 English Secure the touch unit with two 2 M4 screws not included Re attach the rubber caps 0 8 in 20 mm ...
Страница 83: ...83 English F Attach the front cover ...


