63
English
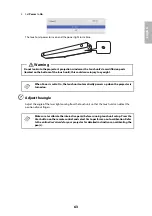
5. Set
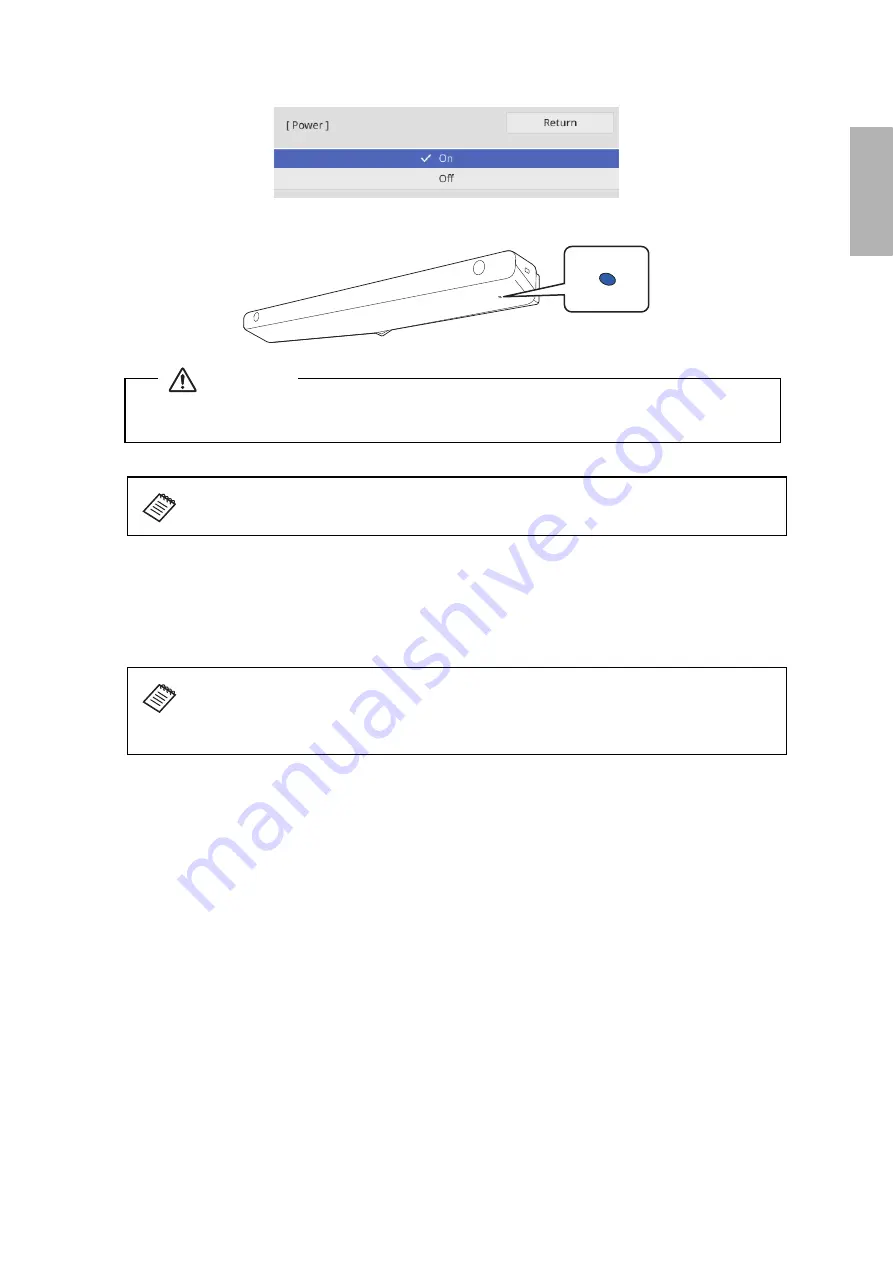
Power
to
On
.
The touch unit power turns on and the power light turns blue.
G
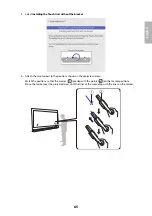
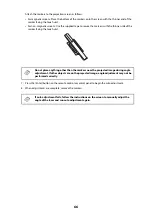
Adjust the angle
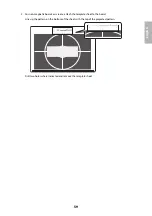
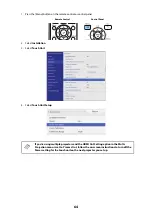
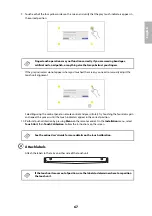
Adjust the angle of the laser light coming from the touch unit so that the touch unit can detect the
position of your fingers.
When Power is set to On, the touch unit automatically powers up when the projector is
turned on.
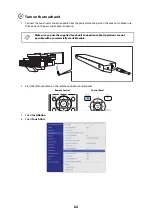
Make sure to calibrate the interactive pen(s) before running touch unit setup. Press the
User button on the remote control and select Yes to perform an auto-calibration. Refer
to the online
User’s Guide
for your projector for detailed instructions on calibrating the
pen(s).
Do not look into the projector’s projection window or the touch unit’s laser diffusion ports
(located on the bottom of the touch unit); this could cause injury to eyesight.
Warning
Содержание ELPMB62
Страница 1: ...Installation Guide ...
Страница 44: ...44 3 Rest the PC on the lip of the Mini PC plate and secure it with the band ...
Страница 61: ...61 English Secure the touch unit with two 2 M4 screws not included Re attach the rubber caps 0 8 in 20 mm ...
Страница 83: ...83 English F Attach the front cover ...


