36
6.
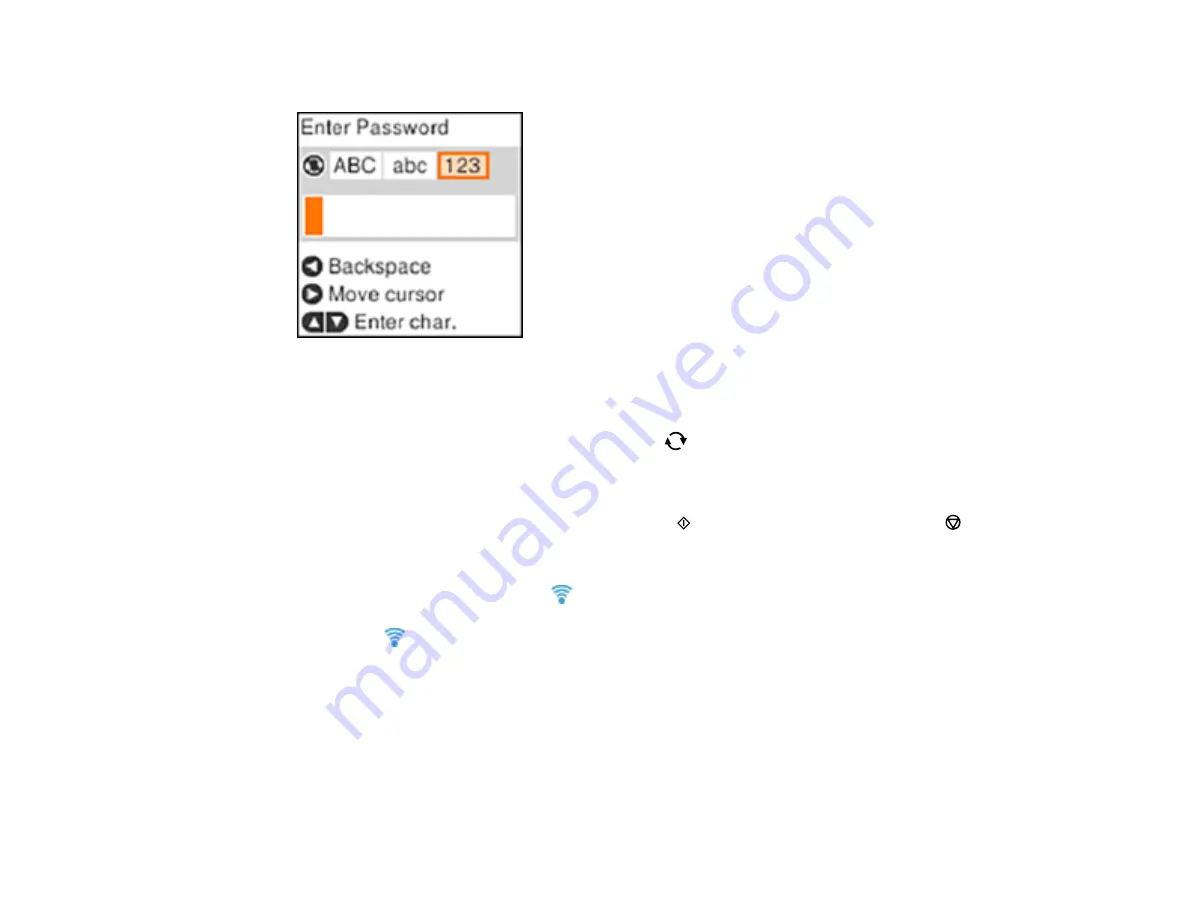
Enter your wireless password (or network name and then password).
• To scroll through the characters, press the up or down arrow button.
• To move the cursor to the right or to enter a space, press the right arrow button.
• To change the character case or type, press the
reset button.
• To delete the previous character, press the left arrow button.
• When you finish entering characters, press the
OK
button.
7.
If you want to print a network setup report, press the
start button. (Otherwise, press the
stop
button.)
8.
Press the
OK
button to exit, if necessary.
Your product should now display a
Wi-Fi icon on the LCD screen.
Note:
If the
Wi-Fi icon is not displayed on the LCD screen, you may have selected the wrong
network name or entered the password incorrectly. Repeat these steps to try again.
Parent topic:
Wi-Fi Infrastructure Mode Setup
Related tasks
Содержание C11CH43401
Страница 1: ...ET M2170 User s Guide ...
Страница 2: ......
Страница 32: ...32 Related topics Wi Fi or Wired Networking ...
Страница 103: ...103 10 Select the Layout tab 11 Select the orientation of your document as the Orientation setting ...
Страница 121: ...121 You see an Epson Scan 2 window like this ...
Страница 123: ...123 You see an Epson Scan 2 window like this ...
Страница 125: ...125 You see this window ...
Страница 147: ...147 Parent topic Refilling Ink and Replacing the Maintenance Box ...
Страница 150: ...150 You see this screen 6 Press the start button to print The nozzle check pattern is printed ...
Страница 153: ...153 You see a window like this 5 Click Print ...
Страница 167: ...167 4 Open the printer cover 5 Using the flashlight check the translucent film shown here for ink smears ...
Страница 194: ...194 2 Open the front cover 3 Lower the output selector ...
Страница 196: ...196 2 Lift the printer cover until it clicks into place and remove any jammed paper inside ...


