126
2.
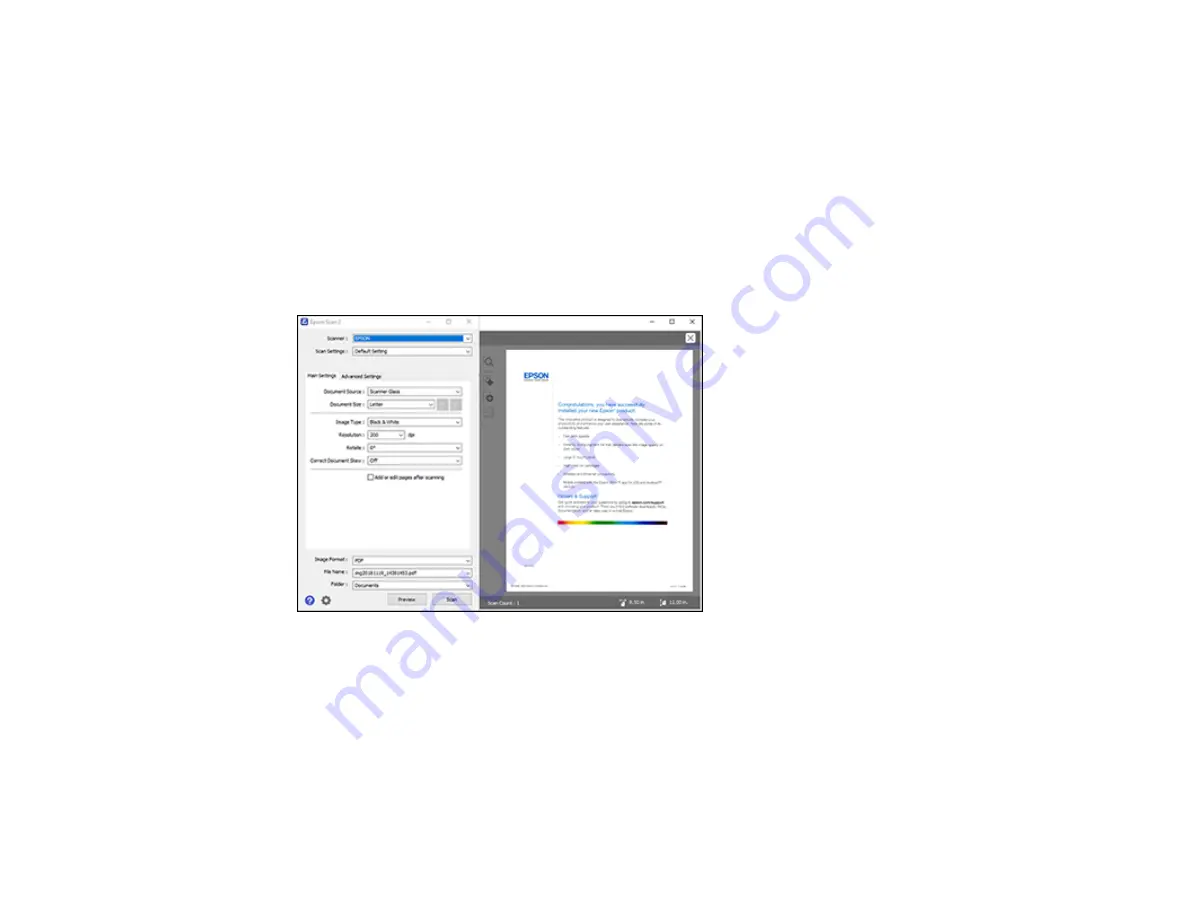
Select the
Document Source
setting that matches where you placed your original.
3.
Select the
Document Size
setting that matches the size of your original. You can select
Customize
to enter a custom size, if necessary.
4.
Select the image type of your original and how you want it scanned as the
Image Type
setting.
5.
Select the
Resolution
setting you want to use for your scan.
6.
Select the
Rotate
setting to rotate the scanned image.
7.
Select the
Correct Document Skew
setting to correct skewed originals, image contents, or both.
8.
Click the
Preview
button.
Epson Scan 2 previews your original and displays the results in the Epson Scan 2 window.
9.
Select any of the additional settings that you want to use on the Main Settings tab.
10. Click the
Advanced Settings
tab and select any settings that you want to use.
11. Select the format in which you want to save your scanned file as the
Image Format
setting. If
necessary, select
Options
and select any desired format options.
12. Enter the file name for your scanned file in the
File Name
field. If necessary, select
Settings
to
modify the file name settings.
Содержание C11CH43401
Страница 1: ...ET M2170 User s Guide ...
Страница 2: ......
Страница 32: ...32 Related topics Wi Fi or Wired Networking ...
Страница 103: ...103 10 Select the Layout tab 11 Select the orientation of your document as the Orientation setting ...
Страница 121: ...121 You see an Epson Scan 2 window like this ...
Страница 123: ...123 You see an Epson Scan 2 window like this ...
Страница 125: ...125 You see this window ...
Страница 147: ...147 Parent topic Refilling Ink and Replacing the Maintenance Box ...
Страница 150: ...150 You see this screen 6 Press the start button to print The nozzle check pattern is printed ...
Страница 153: ...153 You see a window like this 5 Click Print ...
Страница 167: ...167 4 Open the printer cover 5 Using the flashlight check the translucent film shown here for ink smears ...
Страница 194: ...194 2 Open the front cover 3 Lower the output selector ...
Страница 196: ...196 2 Lift the printer cover until it clicks into place and remove any jammed paper inside ...


