175
• When storing or transporting an ink bottle after removing its seal, do not tilt the bottle and do not
subject it to impacts or temperature changes. Otherwise, ink may leak even if the cap on the ink bottle
is tightened securely. Be sure to keep the ink bottle upright when tightening the cap, and take
measures to prevent ink from leaking when transporting the ink bottles.
• Do not put opened ink bottles in the box with the product.
• Do not carry the product by its control panel; this may damage the product.
Note:
Before storing your product for a long period, replace low, expended, or expired ink to help
prevent the print head from drying out. Store your product in a cool, dry place.
1.
Turn off the product.
2.
Open the printer cover and check to see if the print head is in the far right position (the home
position). If not, turn on the product, wait for the print head to move to the far right, then turn the
product off again.
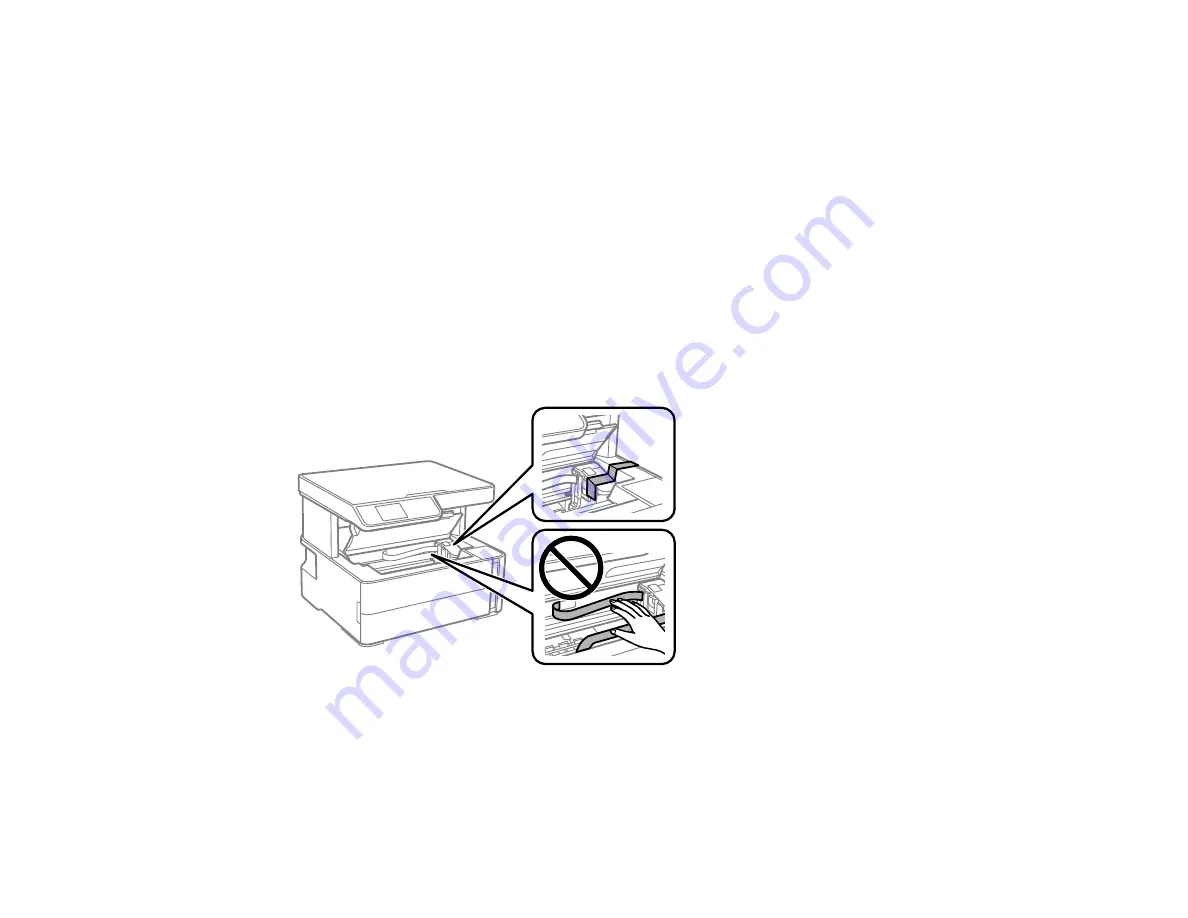
3.
Secure the print head to the case with tape.
Caution:
Do not place tape on the white flat cable or ink tubes inside the product; otherwise, you
may damage your product.
4.
Remove all the paper from the product.
5.
Unplug the power cable.
Содержание C11CH43401
Страница 1: ...ET M2170 User s Guide ...
Страница 2: ......
Страница 32: ...32 Related topics Wi Fi or Wired Networking ...
Страница 103: ...103 10 Select the Layout tab 11 Select the orientation of your document as the Orientation setting ...
Страница 121: ...121 You see an Epson Scan 2 window like this ...
Страница 123: ...123 You see an Epson Scan 2 window like this ...
Страница 125: ...125 You see this window ...
Страница 147: ...147 Parent topic Refilling Ink and Replacing the Maintenance Box ...
Страница 150: ...150 You see this screen 6 Press the start button to print The nozzle check pattern is printed ...
Страница 153: ...153 You see a window like this 5 Click Print ...
Страница 167: ...167 4 Open the printer cover 5 Using the flashlight check the translucent film shown here for ink smears ...
Страница 194: ...194 2 Open the front cover 3 Lower the output selector ...
Страница 196: ...196 2 Lift the printer cover until it clicks into place and remove any jammed paper inside ...


