


50
5.
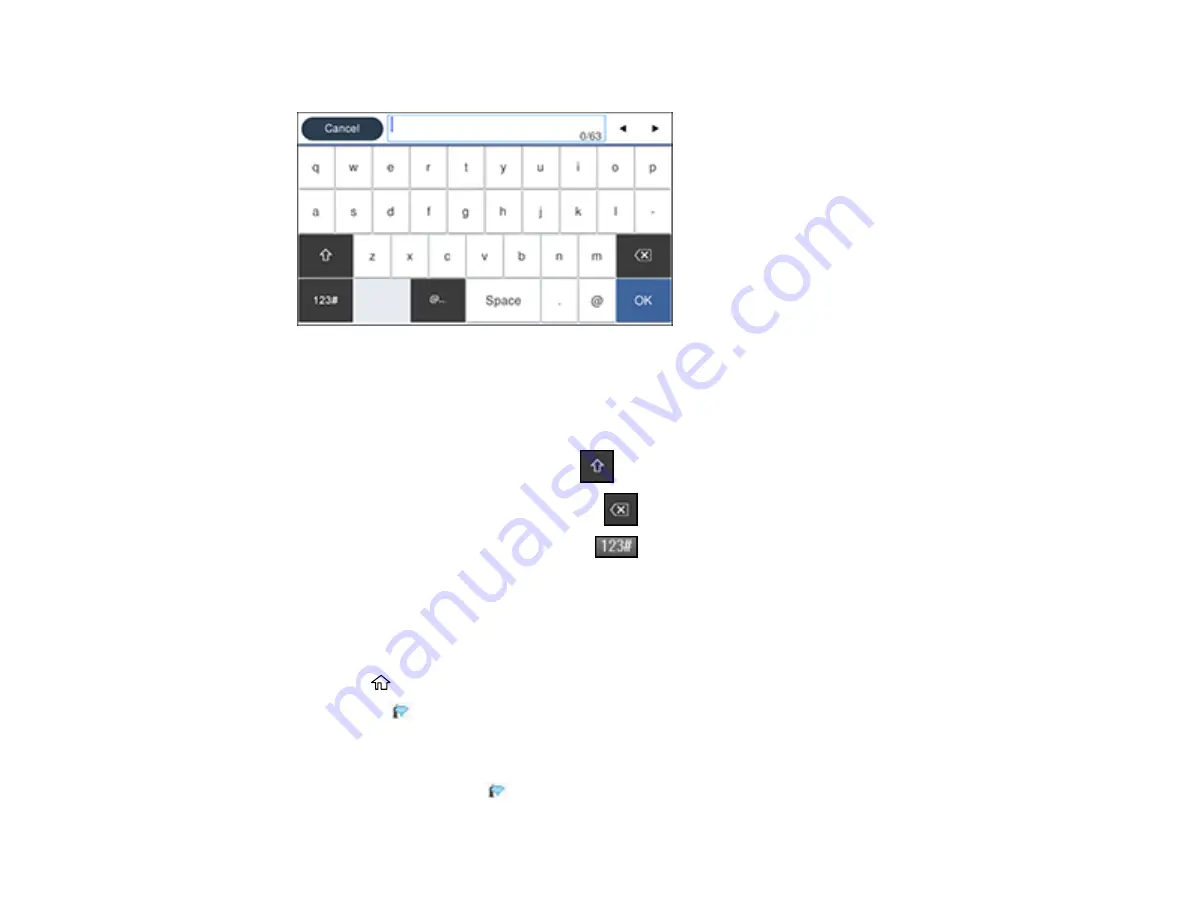
Select the
Enter Password
field and enter your wireless password using the displayed keypad.
Note:
The network name and password are case sensitive. Be sure to correctly enter uppercase and
lowercase letters, and numeric or special characters.
• To move the cursor, select the left or right arrows.
• To change the case of letters, select
.
• To delete the previous character, select
.
• To enter numbers and symbols, select
.
• To enter a space, select
Space
.
6.
Select
OK
when you finish entering your password.
7.
Confirm the displayed network settings and select
Start Setup
.
8.
If you want to print a network setup report, select
Print Check Report
. (Otherwise, select
OK
.)
9.
Press the
home button to exit.
You see the
icon on the LCD screen and should be able to connect to your product directly from
your computer or device, and then print. If you are printing from a computer, make sure you installed
the network software as described on the
Start Here
sheet.
Note:
If you don't see the
icon, you may have selected the wrong network name or entered the
password incorrectly. Repeat these steps to try again.
Содержание C11CG36201
Страница 1: ...WF 7710 WF 7720 User s Guide ...
Страница 2: ......
Страница 61: ...61 2 Pull out the paper cassette and remove the paper cassette cover 3 Slide the edge guides outward ...
Страница 67: ...67 3 Slide the edge guides outward 4 Slide the edge guide to your paper size ...
Страница 76: ...76 3 Open the rear paper feed slot and push it back 4 Slide out the edge guides ...
Страница 124: ...124 10 Select the Layout tab 11 Select the orientation of your document as the Orientation setting ...
Страница 151: ...151 You see an Epson Scan 2 window like this ...
Страница 153: ...153 You see an Epson Scan 2 window like this ...
Страница 155: ...155 1 Start Epson Scan 2 You see this window ...
Страница 166: ...166 DSL connection 1 Telephone wall jack 2 DSL filter 3 DSL modem ...
Страница 167: ...167 ISDN connection 1 ISDN wall jack 2 Terminal adapter or ISDN router ...
Страница 247: ...247 You see a window like this 5 Click Print ...
Страница 259: ...259 2 Lift up the scanner unit 3 Make sure the print head is in the home position on the right ...
Страница 285: ...285 Front 6 Open the duplexer ...
Страница 286: ...286 7 Carefully remove any jammed paper stuck inside 8 Reinstall the duplexer ...


