238
1.
Click the printer icon in the Dock.
2.
If you see a message telling you that you can temporarily print with only black ink, click the
Delete
or
button to cancel your print job. If you see an error message, click
OK
.
Note:
If the message screen appears on another computer on a network, you may need to cancel
the print job using the product control panel.
3.
In the Apple menu or the Dock, select
System Preferences
.
4.
Select
Print & Fax
,
Print & Scan
, or
Printers & Scanners
, select your product, and select
Options
& Supplies
.
5.
Select
Driver
or
Options
.
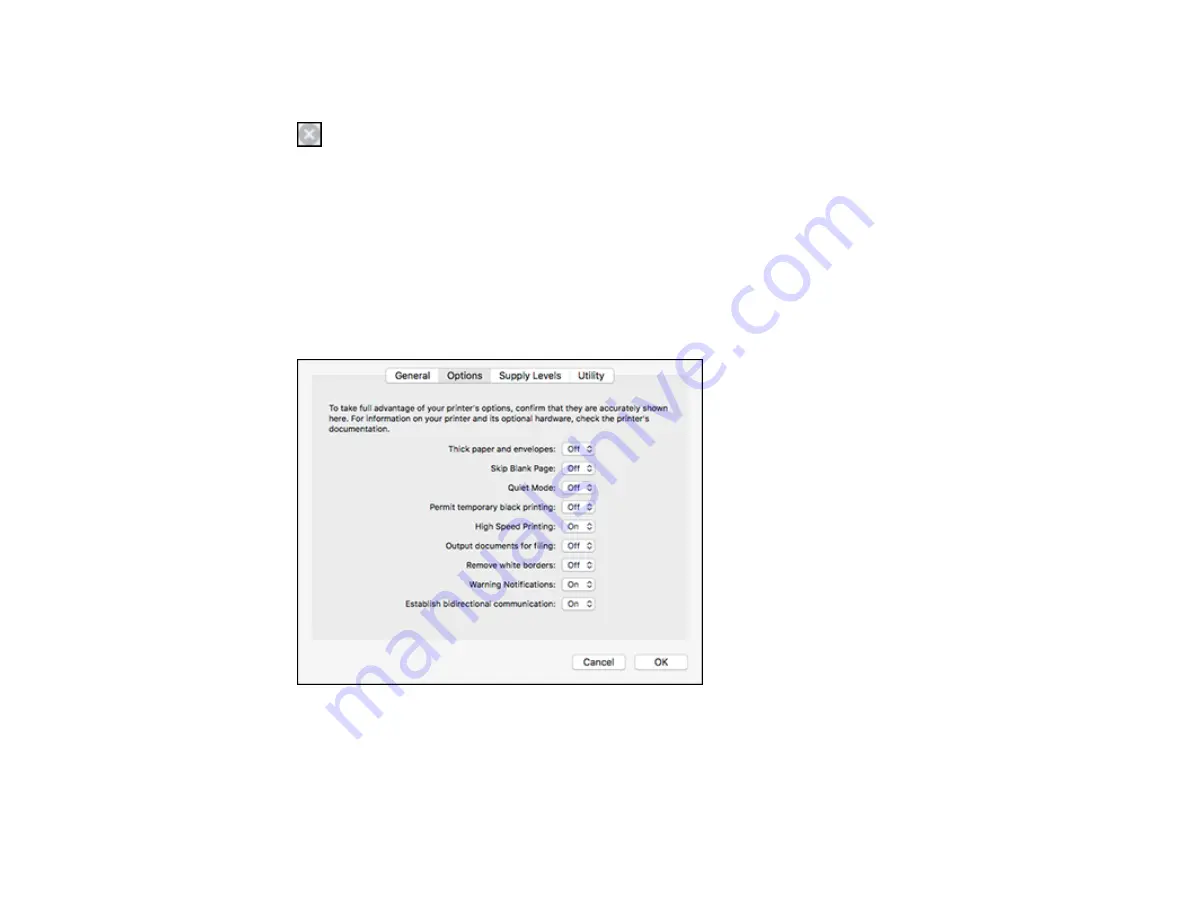
You see a screen like this:
6.
Select
On
as the
Permit temporary black printing
setting.
7.
Click
OK
.
8.
Close the utility window.
Содержание C11CG36201
Страница 1: ...WF 7710 WF 7720 User s Guide ...
Страница 2: ......
Страница 61: ...61 2 Pull out the paper cassette and remove the paper cassette cover 3 Slide the edge guides outward ...
Страница 67: ...67 3 Slide the edge guides outward 4 Slide the edge guide to your paper size ...
Страница 76: ...76 3 Open the rear paper feed slot and push it back 4 Slide out the edge guides ...
Страница 124: ...124 10 Select the Layout tab 11 Select the orientation of your document as the Orientation setting ...
Страница 151: ...151 You see an Epson Scan 2 window like this ...
Страница 153: ...153 You see an Epson Scan 2 window like this ...
Страница 155: ...155 1 Start Epson Scan 2 You see this window ...
Страница 166: ...166 DSL connection 1 Telephone wall jack 2 DSL filter 3 DSL modem ...
Страница 167: ...167 ISDN connection 1 ISDN wall jack 2 Terminal adapter or ISDN router ...
Страница 247: ...247 You see a window like this 5 Click Print ...
Страница 259: ...259 2 Lift up the scanner unit 3 Make sure the print head is in the home position on the right ...
Страница 285: ...285 Front 6 Open the duplexer ...
Страница 286: ...286 7 Carefully remove any jammed paper stuck inside 8 Reinstall the duplexer ...


