


263
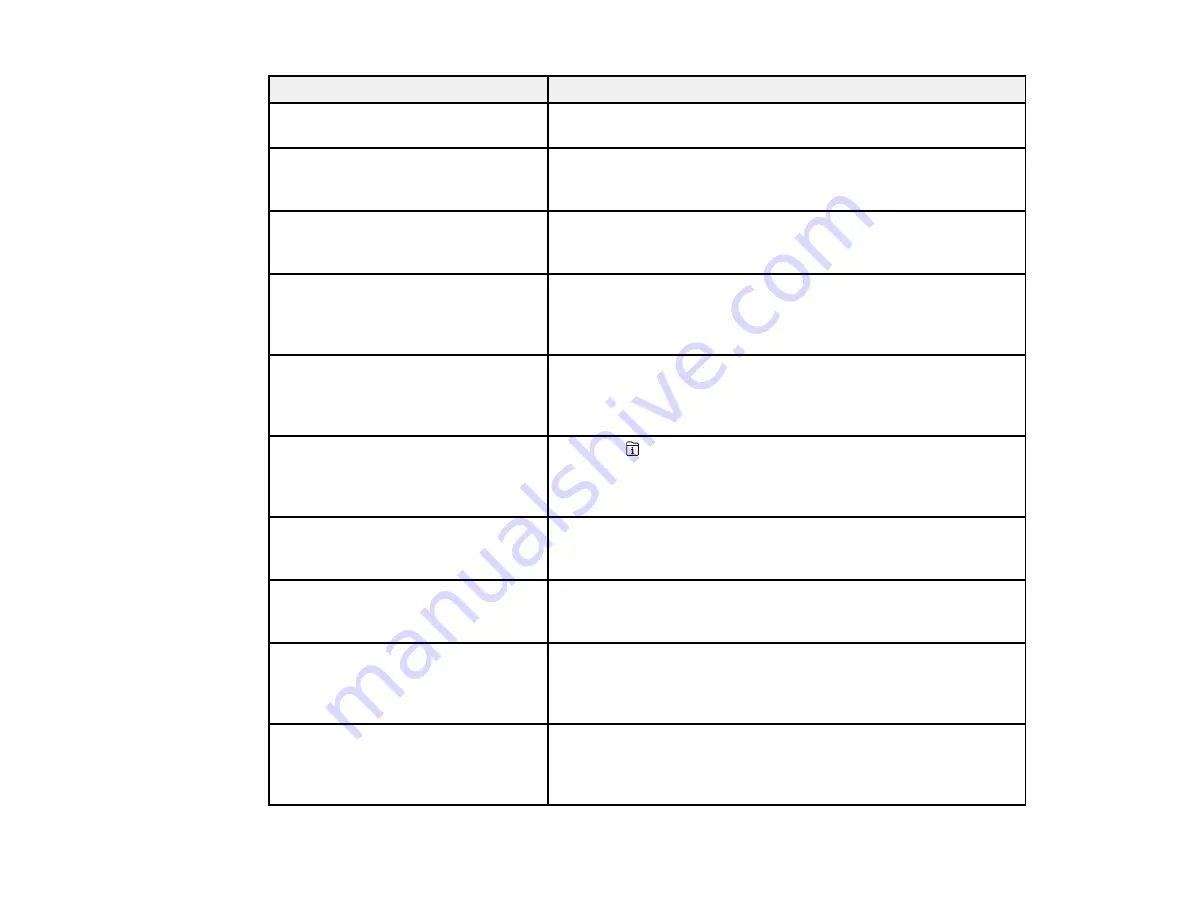
LCD screen message
Condition/solution
You need to replace the Ink
Cartridge.
Replace the ink cartridge as soon as possible.
The printer's ink pad is nearing the
end of its service life. Please contact
Epson Support.
The ink pads are near the end of their service life and the
message will be displayed until the ink pad is replaced. Contact
Epson to replace ink pads before the end of their service life.
The printer's ink pad is at the end of
its service life. Please contact Epson
Support.
The ink pad is at the end of its service life. Turn off the product
and contact Epson for support.
Paper Setup Auto Display is set to
Off. Some features may not be
available. For details, see your
documentation.
You cannot use AirPrint if
Paper Setup Auto Display
is
disabled.
No dial tone detected.
Make sure the phone cable is connected correctly and the
phone line works. If you connected the product to a PBX (Private
Branch Exchange) phone line or Terminal Adapter, turn off the
Dial Tone Detection
setting.
Failed to receive faxes because the
fax data capacity is full. Touch the
Job/Status at the bottom of the Home
screen for details.
Press the
Job/Status
button and select
Printer Status
to
view and clear any errors.
The combination of the IP address
and the subnet mask is invalid. See
your documentation for more details.
There is a problem with the network connection to your product.
To use cloud services, update the
root certificate from the Epson Web
Config utility.
Run the Web Config utility and update the root certificate.
Contact your system administrator for more information.
Check that the printer driver is
installed on the computer and that
the port settings for the printer are
correct.
Make sure the correct port (USB or network) is selected for your
product connection.
Recovery mode
An error has occurred during firmware updating. Connect your
product using a USB cable and try downloading the Firmware
Update from Epson's support website. If you still need help,
contact Epson for support.
Содержание C11CG36201
Страница 1: ...WF 7710 WF 7720 User s Guide ...
Страница 2: ......
Страница 61: ...61 2 Pull out the paper cassette and remove the paper cassette cover 3 Slide the edge guides outward ...
Страница 67: ...67 3 Slide the edge guides outward 4 Slide the edge guide to your paper size ...
Страница 76: ...76 3 Open the rear paper feed slot and push it back 4 Slide out the edge guides ...
Страница 124: ...124 10 Select the Layout tab 11 Select the orientation of your document as the Orientation setting ...
Страница 151: ...151 You see an Epson Scan 2 window like this ...
Страница 153: ...153 You see an Epson Scan 2 window like this ...
Страница 155: ...155 1 Start Epson Scan 2 You see this window ...
Страница 166: ...166 DSL connection 1 Telephone wall jack 2 DSL filter 3 DSL modem ...
Страница 167: ...167 ISDN connection 1 ISDN wall jack 2 Terminal adapter or ISDN router ...
Страница 247: ...247 You see a window like this 5 Click Print ...
Страница 259: ...259 2 Lift up the scanner unit 3 Make sure the print head is in the home position on the right ...
Страница 285: ...285 Front 6 Open the duplexer ...
Страница 286: ...286 7 Carefully remove any jammed paper stuck inside 8 Reinstall the duplexer ...


