253
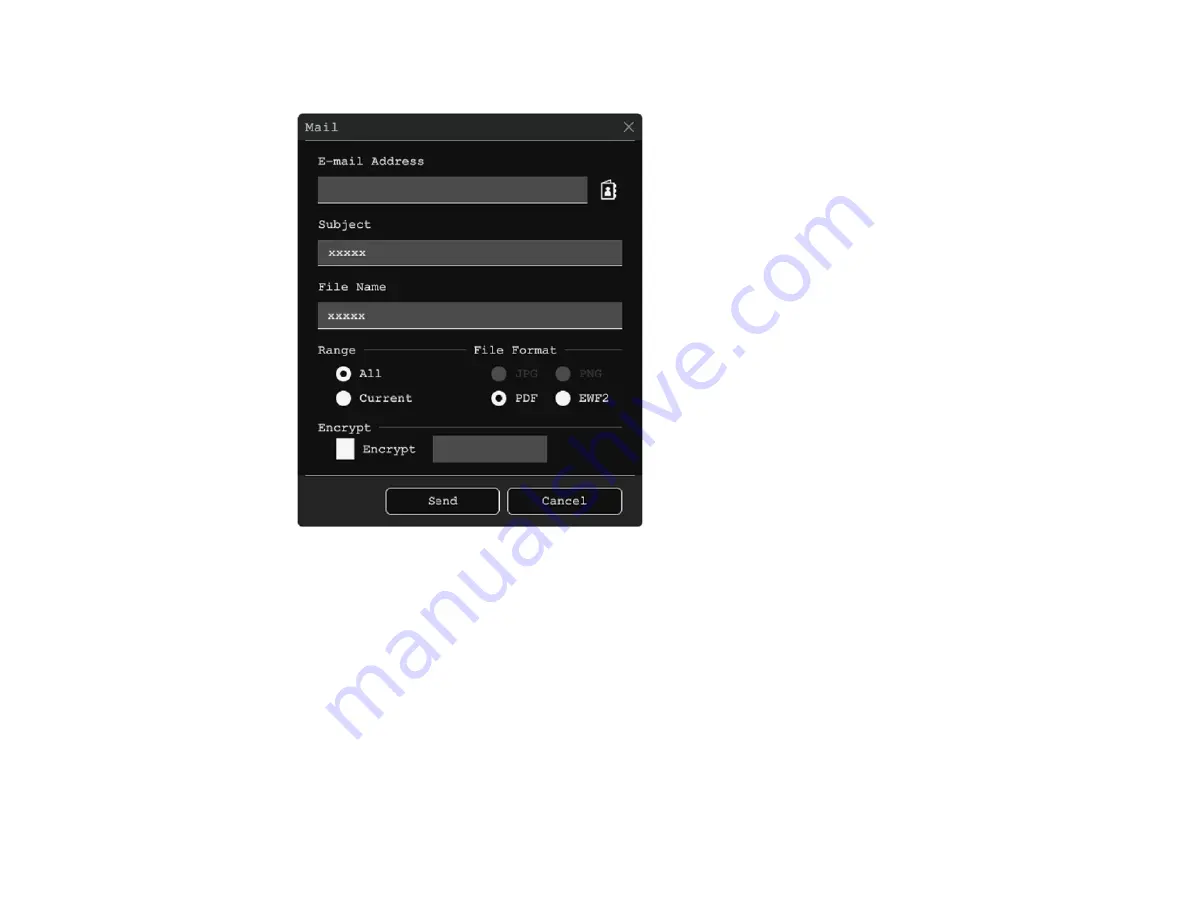
You see a screen like the following:
3.
Tap the
E-mail Address
text box, select
Add
to enter the recipient's email address using the on-
screen keyboard, and select
OK
.
Note:
If you imported an address book or set up a directory service, you can select up to 50 email
addresses by selecting the address book icon.
4.
Tap the
Subject
text box and enter the email subject using the on-screen keyboard, and select
OK
.
5.
Tap the
File Name
text box and enter the name of the email attachment using the on-screen
keyboard, and select
OK
.
6.
Select the file format for the email attachment. If you choose
or
EWF2
(Epson Whiteboard
Format), you can encrypt the file and add a password.
Содержание BrightLink 1480Fi
Страница 1: ...BrightLink 1480Fi 1485Fi User s Guide ...
Страница 2: ......
Страница 28: ...28 Projector Parts Remote Control 1 Power button 2 HDMI button cycles through connected HDMI sources ...
Страница 98: ...98 You see the Epson Web Control screen 3 Select Crestron Connected ...
Страница 129: ...129 6 Move the focus lever and adjust the focus using the center reference point of the projected screen ...
Страница 144: ...144 3 Select the Operation menu and press Enter ...
Страница 165: ...165 1 Press the Menu button on the remote or control panel select the Multi Projection menu and press Enter ...
Страница 200: ...200 5 Select the Schedule menu and press Enter 6 Select Add New and press Enter You see a screen like this ...
Страница 204: ...204 Parent topic Scheduling Projector Events ...
Страница 316: ...316 3 Open the air filter cover 4 Pull the air filter out of the projector ...
Страница 325: ...325 1 Twist off the tip of the pen to remove it 2 Remove the soft tip ...
Страница 326: ...326 3 Insert the new tip 4 Twist on the pen tip Parent topic Maintaining and Transporting the Projector ...
Страница 370: ...370 Top Side ...
Страница 386: ...386 Copyright Attribution 2019 Epson America Inc 10 19 CPD 57752 Parent topic Copyright Notice ...


