


20
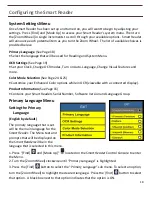
Setting the Clock Time/Date
The Smart Reader remembers the current time & date once it is set.
To set the current time/date:
1)
Enter the Menu by pressing the [Find] and [Mode Up] buttons.
2)
Rotate the [Scroll Wheel] clockwise until ‘OCR Settings’ is highlighted or the voice prompt
states “OCR Settings”
3)
Press [Find] to select ‘OCR Settings’
4)
Rotate the [Scroll Wheel] clockwise until ‘Set Clock’ is highlighted or the voice prompt
states “Set Clock”
5)
Press [Find] to select ‘Set Clock’
6) Rotate the [Scroll Wheel] clockwise or counter-clockwise to change the setting and
then Press [Find] to continue through Hours, Minutes & Date etc.
7) Repeat steps 5 & 6 until all of the time/date values are set correctly
Please Note: You can skip setting the clock at any time by pressing [Mode Up] which will
allow you to access the other clock features instantly.
Once the current time & date have been set you can choose to enable/disable the ‘24 Hour
Clock’ format, ‘Daylight Saving Time’ and ‘Date Format’ options. To enable/disable an option:
Rotate the [Scroll Wheel] to highlight the option and press the [Find]
(toggles enable/disable).
With ‘Exit’ highlighted press [Find] to return to normal operation
If you are using Smart Reader without a display, turning the Scroll Wheel after choosing “Set
Clock” will announce the currently selected time. Select the time Via Hour, Minute, AM/PM and
then Day, Month and Year.
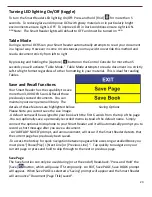
Check the Current Time/Date
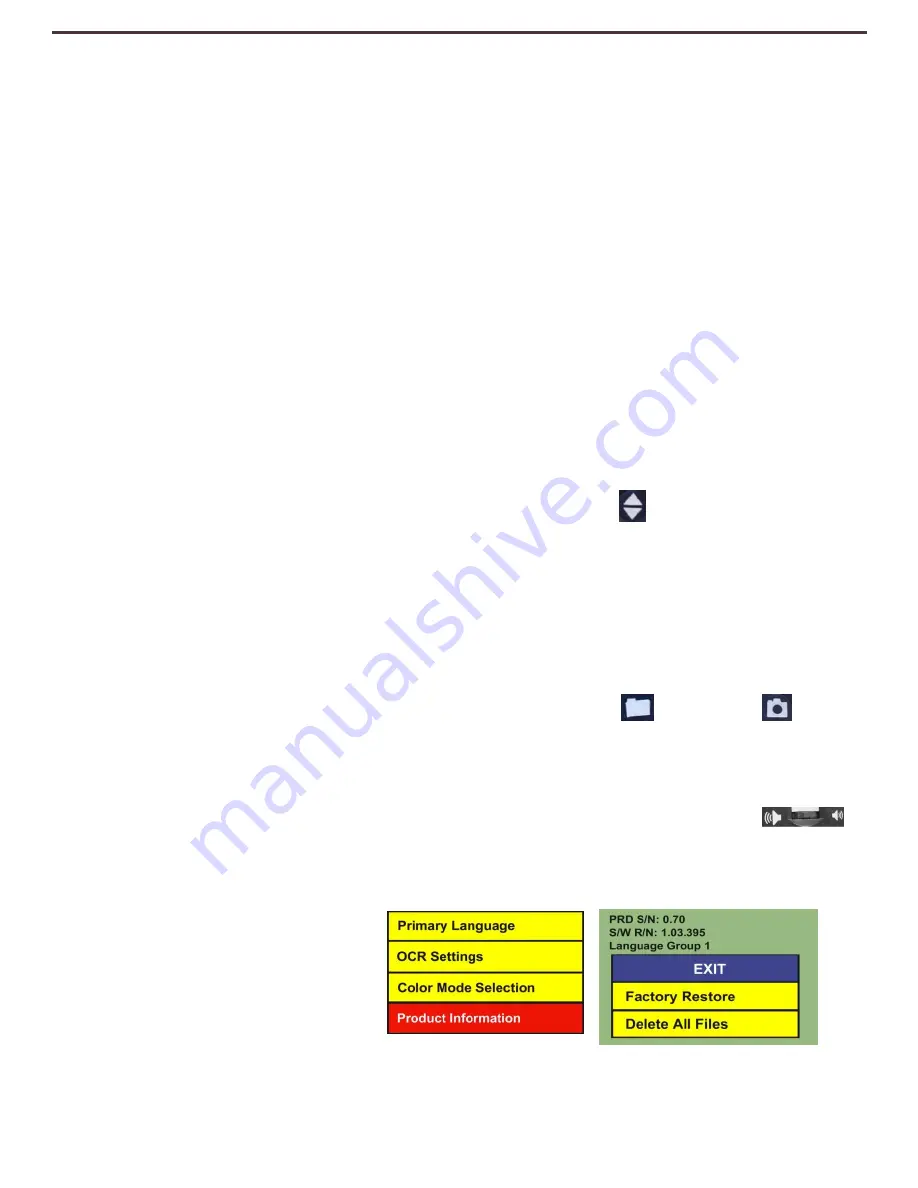
• To check the current time and date (once set) press the “[Recall]
and [Save]”
buttons.
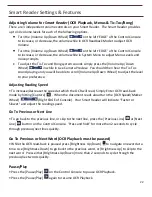
Adjusting System Menu Volume
• To increase/decrease the System Menu Volume simply turn the [Volume Wheel]
(Left EDGE of Console) while you are in the system menu. *Note: System Menus, Tic-Toc
sounds and OCR mode volume levels are independent from each other.
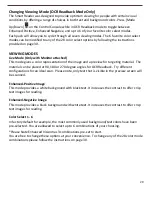
Product Information
This submenu contains the software
version number and your language
group.
Содержание Smart Reader
Страница 1: ...0 User Manual ...
Страница 8: ...7 ...