18
Configuring the Smart Reader
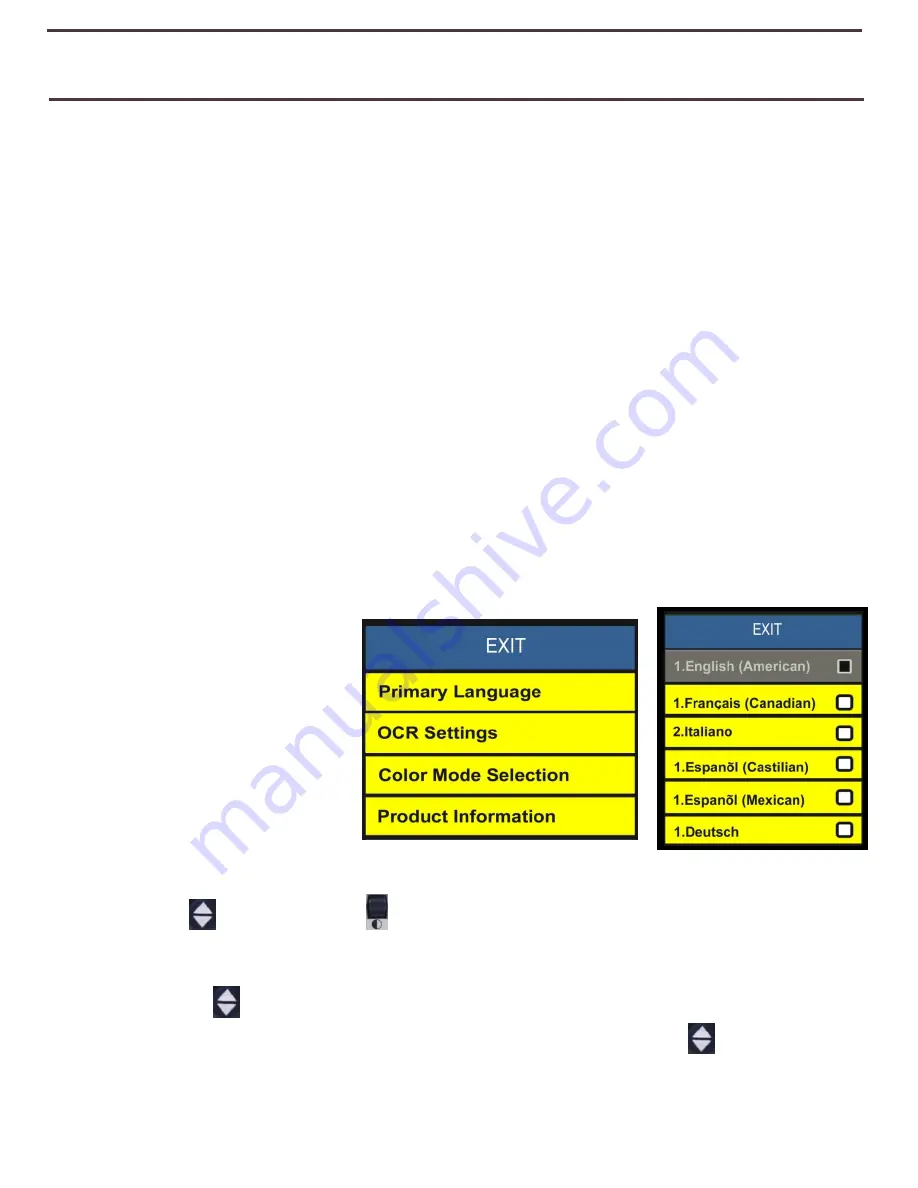
System Settings Menu
Once Smart Reader has been set up and turned on, you will want to begin by adjusting your
settings. Press [Find] and [Mode Up] to access your Smart Reader’s system menu. Then turn
the [Zoom Wheel] in single increments to scroll through your available options. Smart Reader
will announce each potential item as you turn the Zoom Wheel. The list of available choices is
provided below.
Primary Language
(See Page 18)
•
Select the language that will be used for Reading and System Menu.
OCR Settings
(See Page 19)
•
Set your Clock, Change OCR modes, Turn on Auto-Language, Change Visual Features and
more.
Color Mode Selection
(See Page 24 & 25)
•
Customize your Enhanced Color options while in OCR (viewable with a connected display).
Product Information
(See Page 15)
•
Contains your Smart Readers Serial Number, Software Version and Language Group.
Primary Language Menu
Setting the Primary
Language
(English by default)
The primary language that is set
will be the main language for the
Smart Reader
. The Menu text and
prompts that will be displayed on
the
Smart Reader
will be in the
language that is selected in this menu.
1. Press “[Find]
and [Mode Up]”
located on the
Smart Reader
Control Console to enter
the Menu.
2. Turn the [Zoom Wheel] clockwise until “Primary Language” is highlighted.
3. Press the [Find]
button to select the “Primary Language” sub menu. To select an option,
turn the [Zoom Wheel] to highlight the desired language. Press the [Find]
button to select
that option. A black box next to that option indicates that the option is ON.
Содержание Smart Reader
Страница 1: ...0 User Manual ...
Страница 8: ...7 ...


