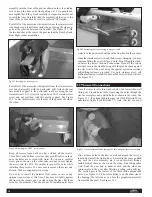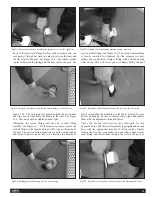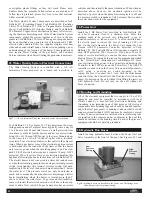
Spread the liner in the pool enclosure. See Figure 31.3. Shoes
should be removed for this and all future work in the pool to
avoid damaging the liner. Find the vertical seam in the liner and
center it at the front of the pool as described in the video. See
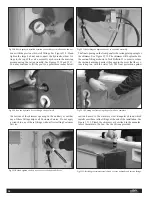
Figure 31.4. Place the four bottom corners of the liner in the
four corners of the pool. While standing in one corner, fit the
top bead of the liner into the slot in the liner hanger. See Figure
31.5. Work your way around the pool, fitting the bead evenly
into the hanger. We recommend not ending in a corner. Smooth
the liner on the floor, pushing any wrinkles toward the walls.
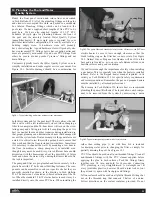
After verifying that the vacuum hose is off of the bottom, turn
the vacuum on. When the liner is drawn back, check to see that
the corners are positioned properly. If not, turn the vacuum off
and reposition the liner. With the vacuum running, smooth out
all of the wrinkles. When you are satisfied with the placement
of the liner, start to fill with water.
Keep the vacuum running until there is about 6" of water in the
shallowest portion of the pool. Turn the vacuum off and remove
all tape and the vacuum hose. Continue building the interior
stainless steel portion of the pool as outlined in the Owner’s
Manual installation instructions.
Included in the box with the liner are No Diving signs. Please
post these in prominent locations around the pool. The Endless
Pool is shallow and must never be used for diving. Diving into
the pool is a very serious hazard and these stickers are intended
to warn children of the risks. Naturally, adult supervision is also
critical whenever children use the pool.
32. Installation of Stainless Steel
Internal Components
Remove the stainless steel front propulsion assembly from
the pool crate. Attach the 2 PVC corner turning vane assemblies
labeled Front Right and Front Left using the stainless steel
10/32 phillips head screws provided. These PVC turning vane
assemblies are pre-drilled. Peel off all of the protective white
plastic from the stainless steel. Lower the front propulsion
Fig 31.1:Tape off all thru-wall holes and place vacuum hose through skimmer.
Fig 31.2:Vacuum in place before liner is hung. Note thru-wall holes are sealed.
Fig 31.3: Spread out the liner inside the pool enclosure.
Fig 31.4: Find the vertical seam and center it in the front of the pool enclosure.
Fig 31.5: Inserting the liner in the corner of the liner hanger.
17


