ENUHDE-IFP - User Guide
9
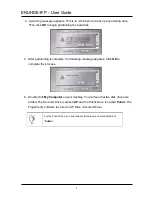
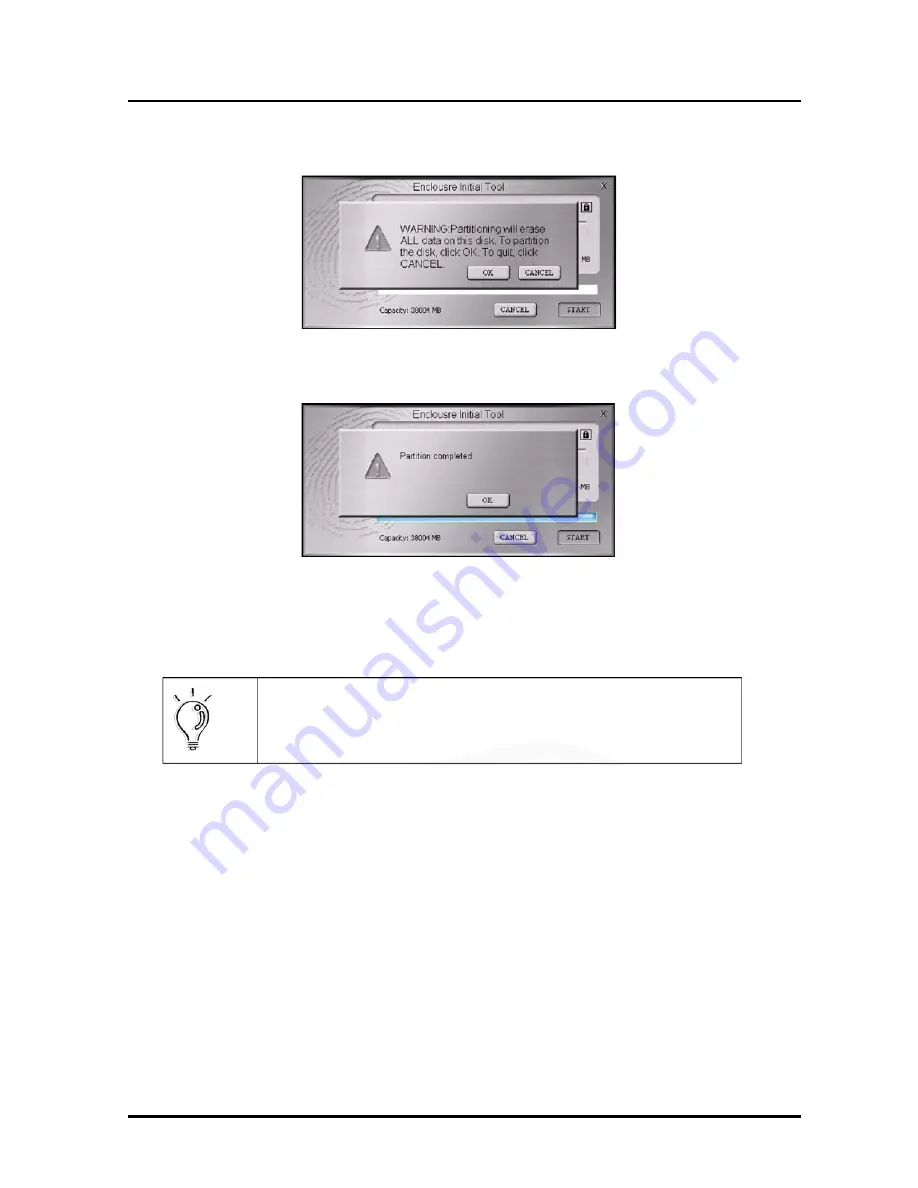
4. A warning message appears. This is to remind you to back up any existing data.
Then click
OK
to begin partitioning the hard disk.
5. After partitioning is complete, the following message appears. Click
OK
to
complete the process.
6. Double click
My Computer
on your desktop. You will see that two disk drives are
added. The Secured Drive is named
AP
and the Public Drive is named
Public
.
The
FingerVerify software is stored in AP Drive (Secured Drive).
For the Public Drive, you can rename it whatever you want instead of
“
Public
.”


