


80
EN
CCTV
Step 2: Select date and channels on the right hand side. A data with highlighted borderline indicates presence of data.
Step 3: Then checkmark Motion. You can search for motion based recording.
Step 4: Press “Search” button to display the searched event information in the event list box.
Step 5: Double click the event item to play the record.
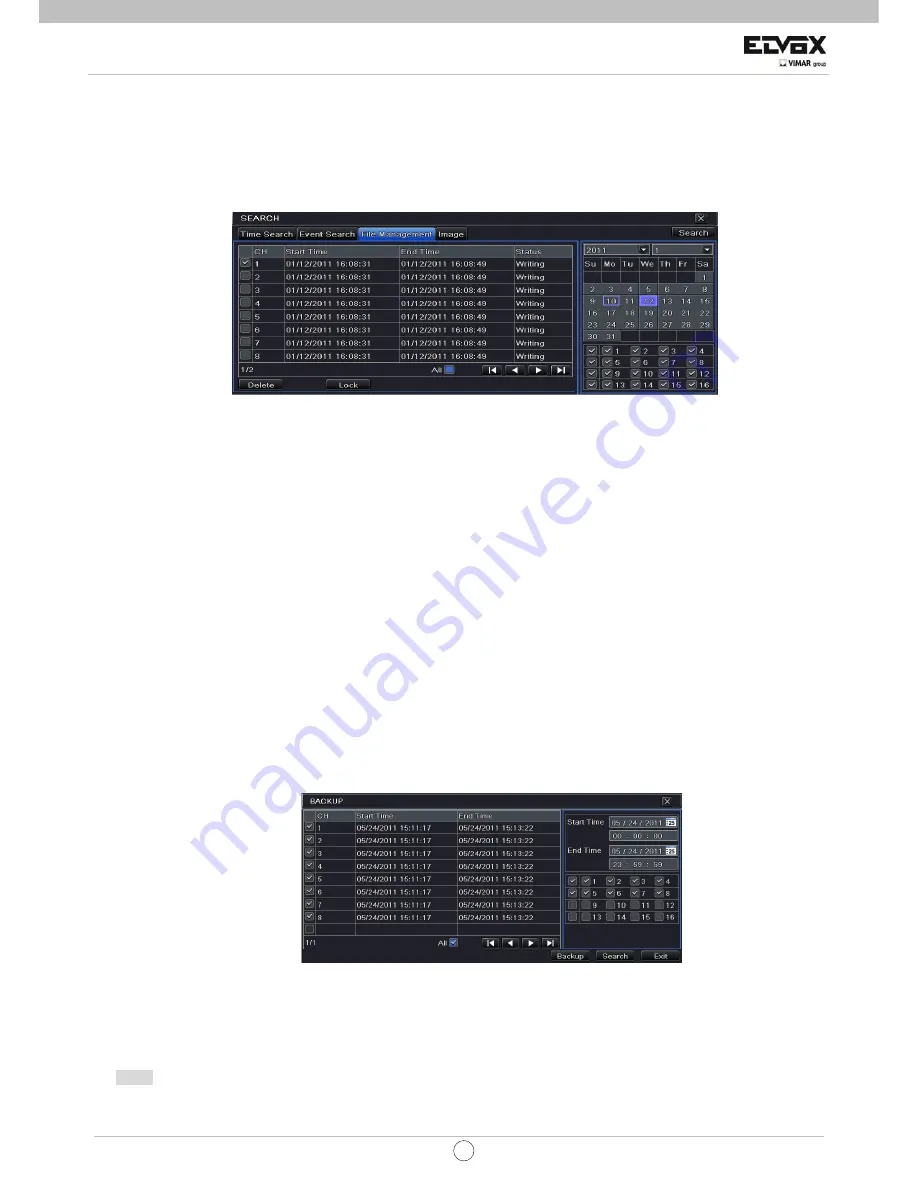
5.3 File Management
Step1: Enter into Menu
Æ
Search
Æ
File Management tab. Refer to Fig 5-3:
Fig 5-3 Search Configuration-File Management
Step 2: Select date and channels. The date with highlighted borderline indicates presence of data.
Step 3: Press “Search” button to display the searched files in the file list box.
Lock:
Select a file and click Lock button to lock this file. Once locked, the file cannot be deleted.
Unlock:
Select a locked file and click Lock button to unlock this file
Delete:
Select an unlocked file and click Delete button to delete this file.
Step 4: Use “All” button to lock/unlock or delete all files in the file management column.
Step 5: Double click an unlocked item to playback.
5.4 Search by Image
Step 1: Enter into Menu
Æ
Search
Æ
Image tab.
Step 2: Select data and channels on the right hand side.
Step 3: Press “Search” button to search for a recorded image.
Step 4: Once an alarm image has been identified, the user can double click the image to play the recording.
You can lock the image by clicking “Lock” button. Click “Save” button to copy the image on the HDD. Click “Save All” to copy all
images on the HDD.
Note: In order to take images on alarm, the snapshot feature should be activated in “Alarm Handling” for different kind of
alarms. Please refer to 4.5 Alarm Configuration for details.
5.5 Backup
This unit supports backup by USB flash drive. User also can make backup by IE browser via internet. Refer to 7.3.2 Remote
backup.
Step1: Enter into main menu
Æ
Backup interface. Refer to Fig 5-4:
Fig 5-4 Backup Configuration
Step2: Set the start & end time, select channels and click Search button to display the searched data in the data backup list box
Step3: Select a required file or checkmark “All” to select all data files. Click Backup button to display Backup information
window.
Step4: In the backup information interface, user can check the relevant options for backing up files. These options include
storage Media, backup player and save file type. Then click Start button to start backup.
Note:
If the backup files are saved in DVR format, please check backup player. Only this player can play these files in DVR
format. If the backup files are saved in AVI format, you can play these files with common media player.


