29
OK
100%
EN
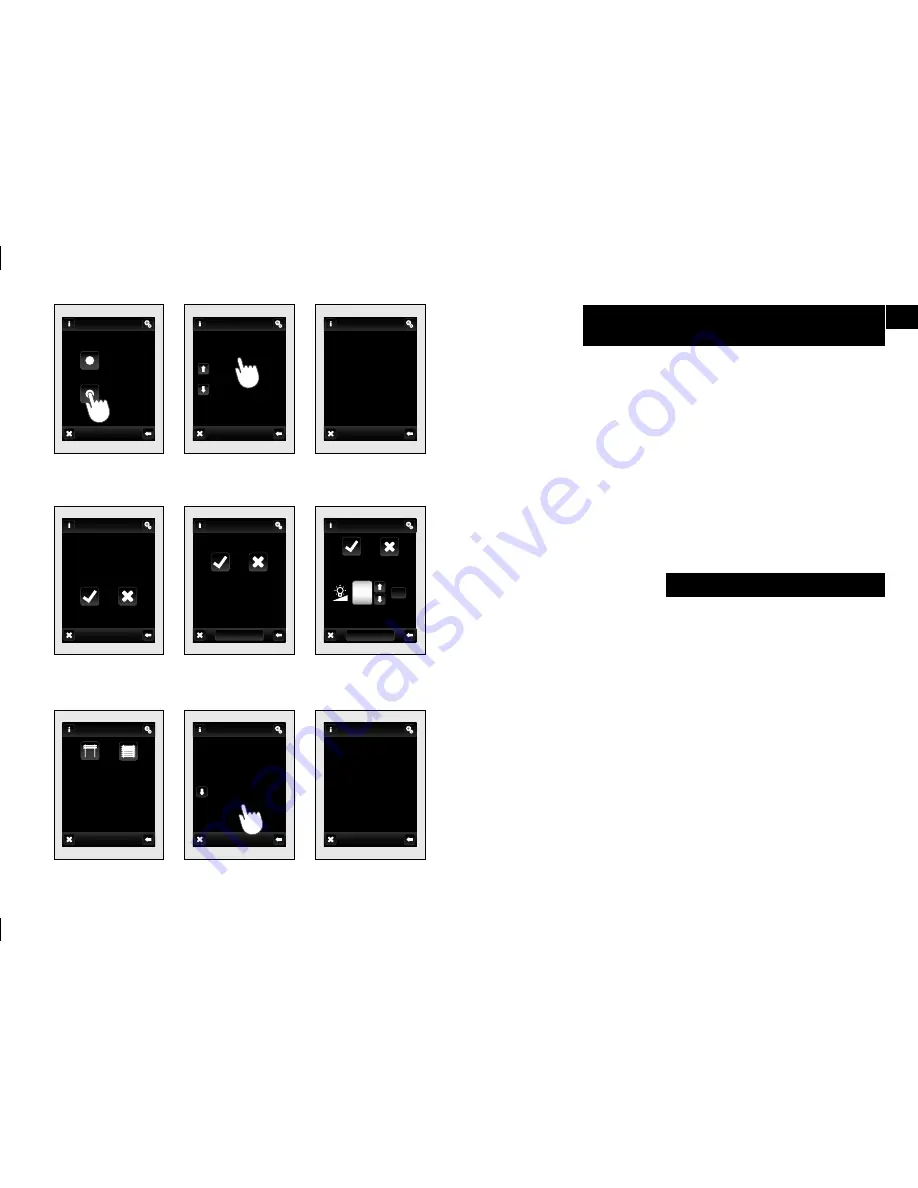
When you select
Assigned receiver
(fig. 84)
the names of the
devices assigned to that command group.
Touching name
(fig. 85)
, the device menu is displayed
(fig. 86)
:
•
Remove
− serves to remove the component from the command
group
(fig. 87)
.
•
Setting
− used to change the settings (for Switching −
fig. 88
, at
Dimming −
fig. 89*
, Blinds −
fig 90
)
* products with diff
erent display settings: RFDA-73M-White, RF-RGB-
LED-550, RF-White-LED-675: see page 40.
Setting / Programming / Quick control /
Assigned receivers
•
Screen
: select the type of screen background color (black, blue,
green, purple).
•
Screen saver
: the desired brightness (25%, 50%, 75%, 100%) will
be activated after preset time since the last touch (15 s, 30 s, 1 min,
3 min).
•
Sleep mode
: set the time after which RF Touch screen unit goes to
sleep - the screen goes dark (0 min, 10 min, 15 min, 20 min).
•
Display calibration
: crosses appear in every corner of the screen,
which need to be pressed twice. Calibration will be performed.
Display calibration can also be started by resetting the unit or
disconnecting the supply voltage from the unit; after connecting
again, the RF Touch logo will appear on the display − hold the logo
for more than 3s to activate calibration − touch logo longer than
3 seconds and calibration will be activated. After calibration, the
display shows home screen.
Setting / Display
(fig. 91
—
92)
fig. 84
fig. 87
fig. 88
fig. 89
fig. 85
fig. 86
fig. 90
fig. 91
fig. 92
Quick control
Assigned
receivers
Assing
new
room heater
room 1 heater
room heating
bedroom heating
kitchen heating
room 2 heater
Assigned
room 2 heater
Remove
Setting
room 2 heater
Remove
Do you really
want to remove?
YES
NO
room 2 heater
Switch on
Switch off
Next functions
Next functions
Dimming
Switch on
Switch off
room lamp 1
window kitchen
Up
Down
Holiday mode
Menu (create menu)
Date and time
Setting
Programming
Display
Language
Screen
Sleep mode
Screen saver
Display
Display calibration


