background image

4.  Connect the power supply and plug it into the wall socket. 

      Note:

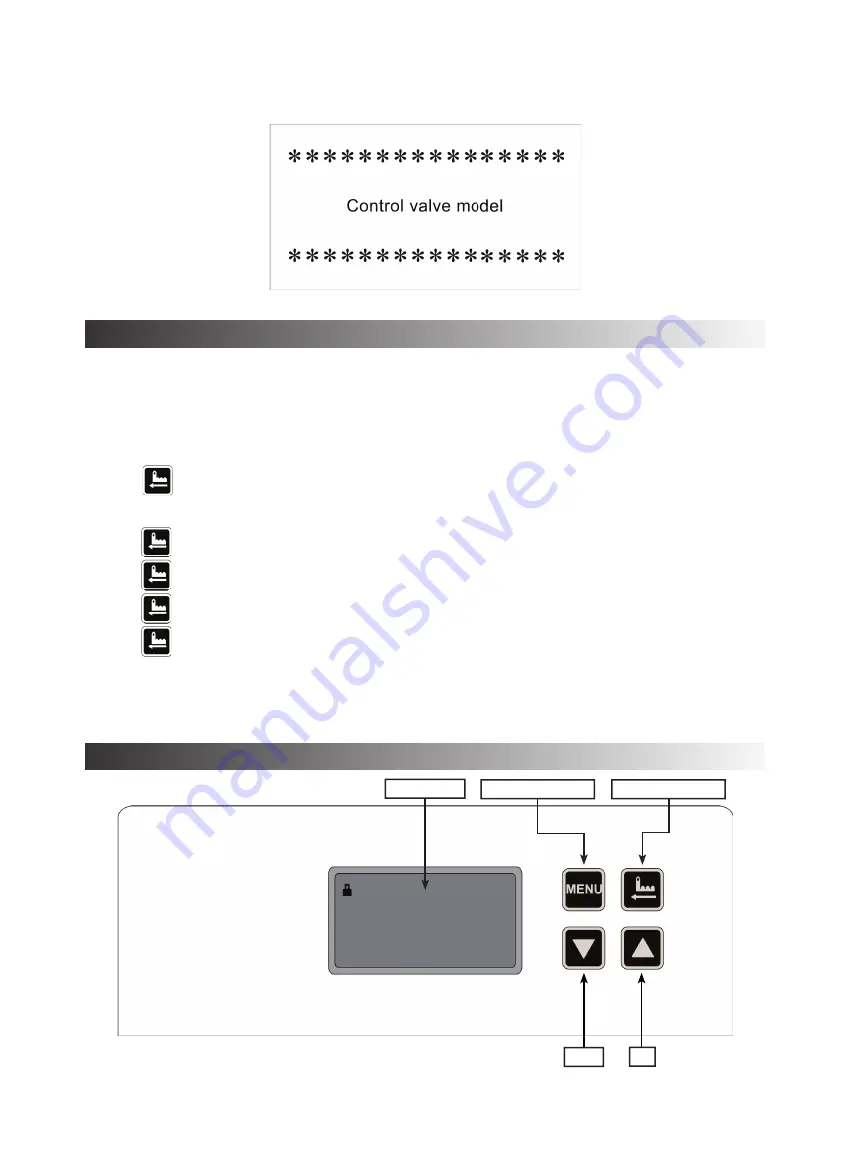
 After the power is on, the following interface will show for 3s. Then enter user usage state.

      Note:

 Do not use a wall socket controlled by a switch.

Initial Setup

To be performed after “Installation”
1.  For the fi rst use after installation, you should add salt to the salt tank and seven liters of water.  This will create a saturated 

brine(26% NaCL), to facilitate startup and operation.

2.  Switch on power. Press the “Return” button and go in the Backwash position. Slowly open the water supply valve to ~25% fl ow 

and water will fl ow into the resin tank. You will be able to hear the sound of air coming out from the drain pipeline.  Flush the 

resin tank until the outlet water is clean. It will take 8 minutes to fi nish the whole process.

      Note:

 If water fl ow is too fast, the media in the tank can be damaged.

3.  Press             RETURN to go to Brine & Slow Rinse and start the cycle.  The air check valve will close when the control valve 

has fi nished sucking brine and then slow rinse will start. The process will take 50-60 minutes.

4.  Press            RETURN to go to Fast Rinse and start the cycle. The process is about 4 minutes.

5.  Press            RETURN and the control valve will return to the Service Status and start to run.

6.  Press            RETURN to go to Brine Refi ll position, record the time and adjust it as required.

7.  Press            RETURN got to the Service Status. It will take 240 minutes for the salt to make a saturated brine.

      Note:

 When the control valve enters into the regeneration status, the program will be fi nished automatically according to the 

                setting time; if you want one of steps terminated early, you can press RETURN.

      Note:

 During the setup process, check the system and all connections for leak. Turn of the water at the inlet valve before 

                attempting to repair any leaks.


Display Operation

Down

Up

Display Area

Menu/Confi rmation

Manual/Return

Water System
In-Service
Remaining: 1.5m³
Cur. F. R.:3.2m³/h

1000003996 (Rev A - 05/2017)

Page 5

Содержание ESR3100D-A

Страница 1: ...ELKAY Central Water Softener ESR3100D A Please read all instructions specifications and precautions before installing and using your water softener system 1000003996 Rev A 05 2017 Page 1 ...

Страница 2: ... 1000L h Throughput in regeneration cycle 3000L Max output 2000L h Positive resin volume 12 5L Drainage pipe 1 2 Inlet pressure 0 15 0 6MPa Voltage frequency AC100 240V 50Hz 60Hz Inlet temperature 5 38 C Ambient temperature 4 40 C Relative humidity 90 25 C System performance will vary based on water quality and environmental conditions 526 480 467 312 76 591 Remove Filler Accessories Package Page ...

Страница 3: ...ity may require programming adjustments to provide the best performance After initial setup or after extended time of without use it is normal for the water to have a yellow color Flush the system until the water flows clear before using During the regeneration period the system doesn t produce soft water except brine dissolve The system will use water during this time and it is not recommended to ...

Страница 4: ...eters or the Brine Slow Rinse cycles will be negatively affected Note There should be a 10cm distance between the end of the drain tube and the drain to prevent sewage from being siphoned into the system 2 Install the bypass valve on the valve head Lubricate the O rings with silicone oil and push the bypass on until fully seated Use the clips to secure it in place Note When the plug is pushed to i...

Страница 5: ... go to Brine Slow Rinse and start the cycle The air check valve will close when the control valve has finished sucking brine and then slow rinse will start The process will take 50 60 minutes 4 Press RETURN to go to Fast Rinse and start the cycle The process is about 4 minutes 5 Press RETURN and the control valve will return to the Service Status and start to run 6 Press RETURN to go to Brine Refill...

Страница 6: ...etup Press this button to deselect a parameter and return to the user setup menu After adjusting a parameter press this button to return to the user setup menu without saving the change DOWN Button At user setup menu press UP and DOWN continuously to select a parameter UP Button When a parameter is selected and flashing press UP and DOWN to adjust the value Press UP and DOWN at the same time for 5s...

Страница 7: ...fault Set Time of Day is chosen 2 Press Down to select Set Regen Time Press Menu the regeneration activating time setup is shown in Picture LR3 The hours 02 flashes Press Up or Down to alter 3 Press Menu again The regeneration activating time Minutes value 00 flashes Press Up or Down to alter 4 Press Menu again You will hear beep of buzzer The current time is saved The setup is successful Set Regen ...

Страница 8: ...hen the power is on press RETURN and DOWN at the same time for 2s to enter the advanced setup menu Mixing Knob Operation Method If the user feels the outlet hardness is too low use the mixing function to adjust add some hardness back in to their preference Rotate the mixing knob counterclockwise as shown to increase the hardness of the water produced Mixing Knob Set Language Set Type Set Flow Rate...

Страница 9: ...ve leak F Drain line is plugged G Brine valve is faulted A Increase line pressure B Clean brine line C Replace brine line D Clean or replace injector E Replace valve body F Clean drain line flow control G Check the motor of brine valve 5 Unit used too much salt A Improper salt setting B Excessive water in brine tank A Check salt usage and salt setting B See problem No 6 6 E x c e s s i v e water in...

Страница 10: ...rom closing completely B Hard water mixed in valve body C Water pressure is too high which prevents the valve from moving to the right position D Control valve is in Backwash status and outlet port is connected with brine draw port A Clean foreign material in valve body B Change valve core or sealing ring C Reduce water pressure or use pressure release function D Add the check valve solenoid valve...

Страница 11: ... locating board damaged B Wiring of locating board with controller fails to work C Control board is faulty A Replace locating board B Replace wiring C Replace control board 5 E3 or E4 Flash A Control board is faulty A Replace control board Adding Salt Salt NaCl is required for the operation of the water softener During operation of the product the user should check the salt amount in the salt tank...

Страница 12: ...pply if any of the following occur Leaks from pipe or related parts of the system Component failure of the filter Any other abnormality or fault 6 In case of decreased flow or changes of outlet quality contact Customer Care Note Changes of household water consumption utilization habit or water source quality may adjustment of the control system parameters In case of any one of the situations as abov...

Страница 13: ...لة في التالي من أي حدوث الجهاز في المتعلقة اء ز األج أو المواسير من تسريبات المرشح مكونات في عطل آخر عطل أو خلل أي 6 العمالء برعاية االتصال يرجى المخرج جودة في تغيير وجود أو التدفق مستوى انخفاض حالة في المواقف من أي حدوث حالة في التحكم نظام معايير في تعدل تتطلب قد المياه مصدر جودة أو االستخدام سلوكيات في أو للمياه المنزل استهالك في تغييرات أي ملحوظة العمالء رعاية مع التواصل يرجى أعاله المبينه التا...

Страница 14: ...بصري المقرن أ تعمل ال الضبط أداة مع الموقع تحديد لوحة أسالك ب معيب التحكم لوح ج الموقع تحديد لوحة استبدل أ األسالك استبدل ب التحكم لوح استبدل ج E4 أو E3 وميض 5 معيب التحكم لوح أ التحكم لوح استبدل أ الملح إضافة للملح إضافة كل مع الملح ان ز خ في الملح كمية من المستخدم يتحقق أن يجب المنتج تشغيل أثناء المياه تيسير جهاز تشغيل أجل من ضروري الصوديوم كلوريد الملح الملح من المزيد إضافة يجب 2 الصورة الماء م...

Страница 15: ... بعد الملحي التجديد الصمام يمنع مما الصمام في غريبة أجسام وجود أ بالكامل اإلغالق من الصمام هيكل في ممزوج العسر الماء ب الصمام تحريك من يحد مما ًا د ج عال المياه ضغط ج السليم موقعه إلى الصمام هيكل في الغريبة المواد نظف أ العزل حلقة أو الصمام قلب ر ّ ي غ ب الضغط تحرير خاصية استخم أو المياه ضغط قلل ج المخرج ماسورة على الملحي المحلول أمان صمام أو اللولبي الصمام أو التثبت صمام أضف د في المالحة المياه 1...

Страница 16: ...ل صمام ز المياه ضغط ارفع أ الملحي المحلول خط نظف ب الملحي المحلول خط استبدل ج الحاقنة استبدل أو نظف د الصمام هيكل استبدل هـ الصرف خط تدفق في التحكم أداة نظف و الملحي المحلول صمام ك ّ ر مح من تحقق ز 5 الوحدة استخدمت مما أكثر الملح ينبغي مالئم غير الملح إعداد أ الملحي المحلول خزان في زائدة مياه ب الملح وإعدادات الملح استخدام من تحقق أ 6 رقم المشكلة انظر ب 6 في زائدة مياه المحلول خزان الملحي الالزم م...

Страница 17: ...قدمة اإلعدادات ق املتقدمة اإلعدادات ق إىل للدخول ث ملدة الوقت نفس يف DOWN و RETURN عىل اضغط الكهرباء توصيل حالة يف املزج مقبض تشغيل طريقة الساعة عقارب عكس يف املزج مقبض أدر أخرى مرة رغبتك حسب الصالبة من القليل إضافة أو لضبط املزج خاصية استخدم ضعيفة املخرج صالبة بأن املستخدم شعر إذا املنتجة املياه عرس لزيادة ّ هو املزج مقبض 8 صفحة 05 2017 أ اجعة ر امل 1000003996 Set Language Set Type Set Flow Rate ...

Страница 18: ...ت ضبط القائمة على اضغط Set Regen Time الختيار ألسفل المفتاح اضغط 2 أسفل أو ألعلى المفتاح اضغط ومضة 02 الساعة قيمة LR3 الصورة في يظهر التجديد تفعيل بينهما للتناوب ألعلى المفتاح اضغط ومضة 00 التجديد تفعيل وقت دقائق قيمة أخرى مرة القائمة على اضغط 3 بينهما للتناوب أسفل أو الحالي الوقت حفظ تم الصفارة طنين صوت ستسمع أخرى مرة القائمة على اضغط 4 بنجاح اإلعداد تم Set Regen Time 02 00 LR3 الصنبور مياه عسر ض...

Страница 19: ... قائمة إلى والعودة المعيار اختيار تعليم الة ز إل المفتاح هذا على اضغط ات ر التغيي حفظ دون المستخدم إعدادات قائمة إلى للعودة المفتاح على اضغط المعيار تعديل بعد أسفل مفتاح DOWN معيار الختيار ار ر باستم وأسفل أعلى المفتاحين على اضغط المستخدم إعداات قائمة في مفتاح UP أعلى القيمة لضبط وأسفل أعلى المفتاحين على اضغط وميضه وعند معيار اختيار عند المفاتيح لفتح ثواني 5 لمدة الوقت نفس في وأسفل أعلى المفتاحين ...

Страница 20: ...حي المحلول شفط من التحكم صمام انتهاء بعد الهواء من التحقق صمام يغلق الدورة ولبدء والبطيء بالملح الغسل إلى للذهاب RETURN على اضغط دقيقة 60 إلى 50 من العملية هذه تستغرق البطيء الشطف يبدأ وبعدها 4 دقائق 4 حوالي العملية هذه تستغرق الدورة ولبدء السريع الشطف إلى للذهاب RETURN على اضغط 5 التشغيل في والبدء التشغيلي الوضع إلى التحكم صمام ليعود RETURN على اضغط 6 تريد كما واضبطه الوقت سجل التعبئة إعادة وضع إ...

Страница 21: ...ة عن الصرف خط طول يزيد أال كذلك يجب الصمام بذلك ا ً ب سل إلى المجارير شفط لمنع سم 10 والصرف الصرف أنبوب طرف بين المسافة تكون أن يجب ملحوظة الجهاز داخل 2 السيليكون بزيت O شكل على الحلقات بتشحيم قم الصمام رأس على المسار تحويل صمام ّب ك ر مكانها في إلحكامها الكليبسات استخدم بالكامل تركب حتى المسار تغيير أداة على واضغط دفع حالة في التشغيل مرحلة في الصمام يكون المخرج المدخل في القابس دخول عند ملحوظة ال...

Страница 22: ...يم التعديالت برمجة وجودته الماء في الكبيرة ات ر التغيي تتطلب قد صافية المياه تتدفق حتى بالمياه الجهاز اغمر للصفرة المياه لون يميل أن الطبيعي من استخدام دون طويلة فترة بعد مرة ألول استخدامها بعد أو مرة ألول التركيب بعد االستخدام قبل مسارها المحول المياه من كبيرة كميات باستخدام يوصى وال الفترة هذه في المياه الجهاز يستخدم الملحي المحلول باستثناء يسرة مياه الجهاز يخرج ال التجديد فترة في الليل منتصف عا...

Страница 23: ...جديد لتر 3000 المخرج في للتدفق حد أقصى الساعة لتر 2000 الموجب اتينج ر ال حجم لتر 12 5 التصريف ماسورة بوصة 2 1 المدخل ضغط باسكال ميجا 0 6 0 15 التردد الفولت 100 المتردد التيار فولت 240 هرتز 60 هرتز 50 المدخل ارة ر ح درجة مئوية درجة 38 5 المحيطة ارة ر الح درجة مئوية درجة 40 4 النسبية الرطوبة مئوية درجة 25 90 البيئية والظروف المياه جودة على بناء النظام أداء يتغير 526 480 467 312 76 591 الفك المرشح تع...

Страница 24: ...ESR3100D A موديل المياه لتيسير المركزي ELKAY جهاز واستخدامه المياه تيسير نظام تركيب قبل واالحتياطات والمواصفات التعليمات جميع قراءة برجاء 05 2017 أ المراجعة 1000003996 1 صفحة واالستخدام التركيب دليل ...

Отзывы: