RCX C-Link User’s Guide
Using the RCX C-Link in Base Mode
EDT, Inc. November 2006
4
Using a Base-mode RCX C-Link As an Extension Cord
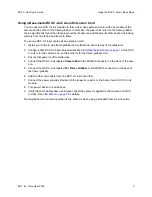
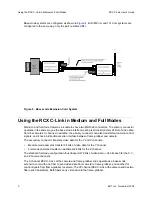
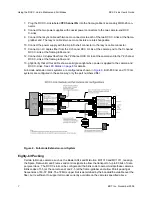
You can use two RCX C-Link modules to form a fiber optic extension cord, with one module at the
camera and the other at the frame-grabber. In this case, the pixel clock rate into the frame-grabber
can be significantly higher than that presented by the camera, and the amount of time spent in blanking
will vary from line to line and frame to frame.
To use two RCX C-Link modules as an extension cord:
1. Install your Camera Link frame grabber and software as instructed by its manufacturer.
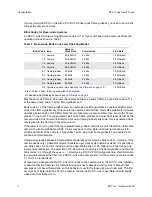
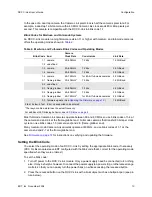
2. Configure both RCX C-Link modules as described in
Setting the Blink Code on page 10
. One RCX
C-Link is for the camera end, and the other is for the frame-grabber end.
3. Ensure that power is off to all devices.
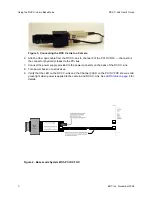
4. Connect the RCX C-Link labeled
Camera End
to the MDR-26 connector on the back of the cam-
era.
5. Connect the RCX C-Link labeled
For
Frame Grabber
to the MDR-26 connector on the back of
the frame-grabber.
6. Attach a fiber optic cable from one RCX C-Link to the other.
7. Connect the power supplies provided to the power connector on the back of each RCX C-Link
module.
8. Turn power back on to all devices.
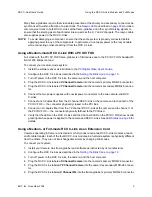
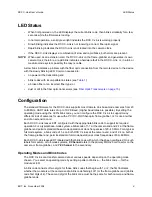
9. Verify that both LEDs show a solid green light when power is applied to the camera and RCX
C-Links. See
LED Status on page 8
for details.
Frame-grabber and camera operation is the same as when using a standard Camera Link cable.


