50
Getting connected and installing drivers (Macintosh)
4
The first time the software is started up, a dialog box saying “
Welcome to
FreeMIDI!
” will appear. Click
[Continue]
.
5
When the
FreeMIDI Preferences
dialog box appears, click
[Cancel]
.
6
When the
About Quick Setup
dialog box appears, click
[Cancel]
.
7
From the
File
menu, choose
Open
.
8
Select
SD-20 USB
from the
FreeMIDI
Settings
folder you copied in
step 1
,
and click
[Open]
.
9
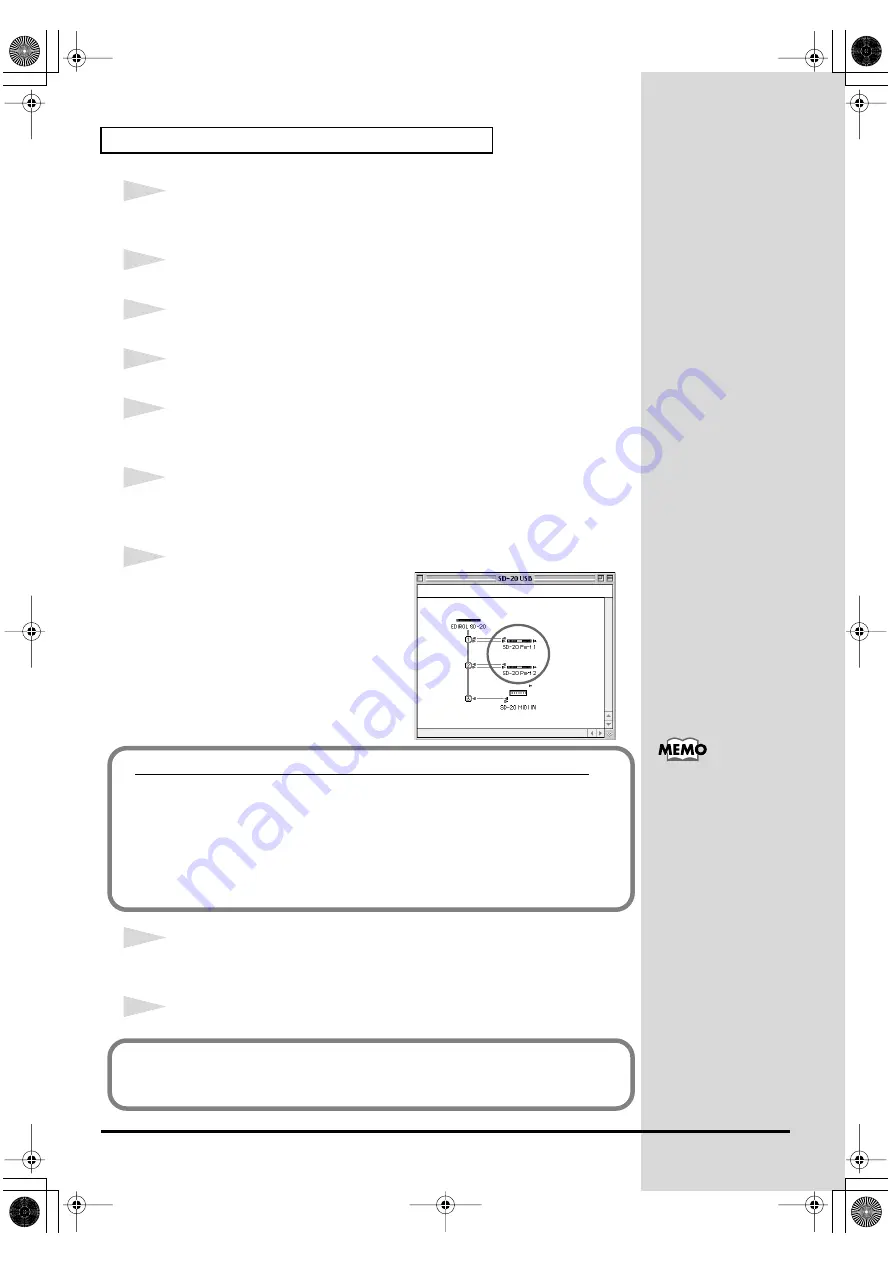
Verify that MIDI transmission and reception occur correctly.
From the
MIDI
menu, choose
Check Connections
.
fig.3-13_40
10
The mouse cursor will change to the
shape of a note. Click the sound
generator icons encircled in the
diagram at right.
If you hear sound, MIDI messages are
being sent from the Macintosh to the
SD-20.
11
Once again choose the
MIDI
menu command
Check Connections
to end
the test.
12
From the
File
menu, choose Quit to exit
FreeMIDI Setup
.
If the SD-20 does not
produce sound, refer to
Does the OUTPUT level indicator of the SD-20 move?
If the OUTPUT level meter in the SD-20’s display is moving but you do not
hear sound, check whether the volume of the SD-20 or your speaker system
has been lowered. If the OUTPUT level meter does not move, check the
connections and OMS settings once again.
After you have made settings correctly, choose
Test
once again from the
Studio
menu, and perform
step 10
.
This completes connections for the SD-20 and Macintosh, and installation of
the MIDI driver. Now, MIDI data can be input and output (recorded and
played).
SD-20e.book 50 ページ 2005年3月24日 木曜日 午後2時8分
Содержание StudioCanvas SD-20
Страница 273: ...273 MEMO SD 20e book 273 ページ 2005年3月24日 木曜日 午後2時8分 ...
Страница 274: ...274 MEMO SD 20e book 274 ページ 2005年3月24日 木曜日 午後2時8分 ...


