Serial Interface Operation
Eaton Advanced ePDU User’s Guide P-164000042—Rev 1
www.eaton.com/ePDU
89
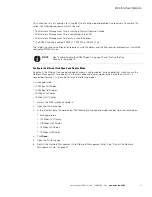
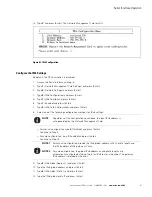
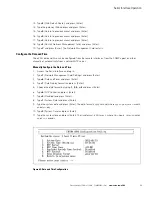
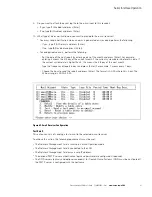
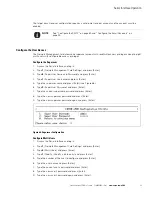
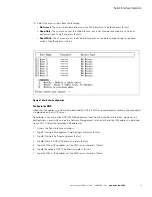
Configure the Date and Time Automatically
1.
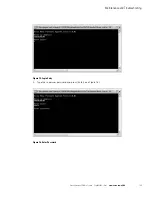
Access the Serial interface and log in.
2.
Type
1
(Network Management Card Settings) and press [Enter].
3.
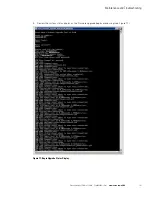
Type
6
(Date and Time) and press [Enter].
4.
Type
7
(Date Display Format) and press [Enter].
5.
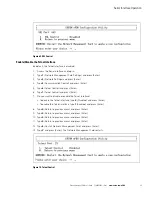
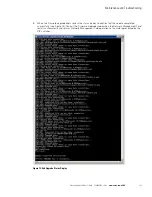
Choose the date format by typing
1, 2, 3
or
4
and press [Enter].
6.
Type
6
(NTP Control) and press [Enter].
7.
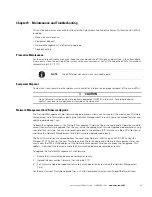
Type
1
(Enabled) and press [Enter].
8.
Type
4
(NTP Time Zone) and press [Enter].
9.
Type the time zone offset and press [Enter]. The format is +/-
hh:mm
, where
hh
= hours and
mm
=
minutes.
10. Type
5
(Daylight Saving Time Control) and press [Enter].
11. To disable or enable Daylight Saving Time:
l
Disable
: Type
0
and press [Enter] to disable this option
l
Enable
: Type
1
and press [Enter] to enable this option.
12. Type
3
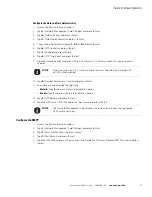
(NTP Server) and press [Enter].
13. Type the NTP server IPv4/IPv6 address or host name and press [Enter].
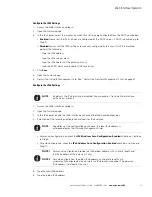
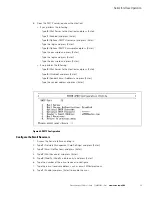
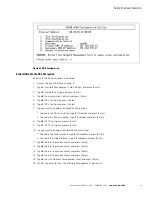
Configure the SMTP
1.
Access the Serial interface and log in.
2.
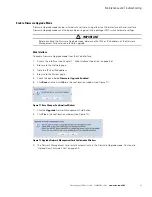
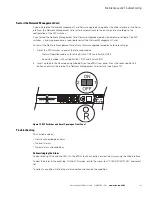
Type
1
(Network Management Card Settings) and press [Enter].
3.
Type
7
(Email Notifications) and press [Enter].
4.
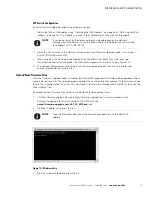
Type
1
(Mail Server) and press [Enter].
5.
Type the IPv4/IPv6 address or host name of the Simple Mail Transfer Protocol (SMTP) server and press
[Enter].
NOTE
Always set the sign (+ or -) with two digits for hours and minutes. Entering 2:00
or 1:00 will be rejected.
NOTE
The Network Management Card retrieves the date and time from the configured
NTP server every hour.

