34
Edit Name
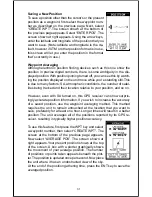
You can assign a name to each waypoint. The name
can have up to eight characters. To do this, first select
the waypoint that you wish to name, then choose “EDIT
NAME” from the waypoint menu. A screen similar to
the one at right appears.
Press the up or down arrow keys to select the first
letter in the name. Press the right arrow key to high-
light the next position in the name. Repeat this se-
quence until you’ve entered all of the letters in the way-
point name. Press the ENT key to accept this name, the WPT key to
erase all characters in the name, or the EXIT key to leave this screen
without saving any changes.
Edit Icon
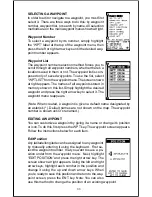
To change the icon assigned to a waypoint, first select
the waypoint, then choose “EDIT SYMBOL”. The screen
at right appears. Use the arrow keys to select the icon
that you want to assign to the waypoint, then press the
ENT key. The waypoint now has the new icon.
WAYPOINT NAVIGATION
The Map Guide Pro makes it easy to navigate to any waypoint. All you
have to do is select the waypoint (see page 31), then highlight the “GO TO
WPT” label on the waypoint screen and press the right arrow key. The
unit immediately shows navigation information to the waypoint on all navi-
gation, map, and windows screens.
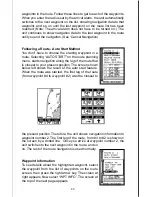
In this example, waypoint number 4 was recalled.
Switching to the MAP-2 screen (at right) shows the
starting location “S”, the recalled waypoint “4”, the plot
trail from the starting location to the present position,
and the present position. The present position arrow
also shows the direction of travel (track).
Navigating to a cursor location
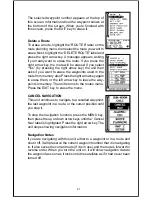
This unit lets you navigate to a location without storing
it in the waypoint database by using the map and cursor. To do this, first
switch to a map. Now move the cursor to the location that you want to
navigate to. Next, press the MENU key. A new, highlighted menu appears

