10
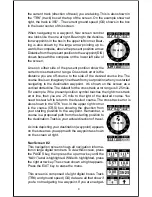
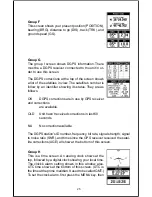
ing to a waypoint, then bearing (BRG), distance to
waypoint (DIS), estimated time en route (ETE), cross
track error (XTK), destination arrow, and the CDI also
operate. See below for more information on the CDI.
The destination arrow shows the direction to the desti-
nation when the top of the screen is pointing in your
direction of travel.
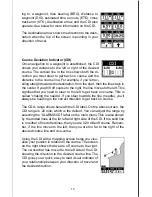
Course Deviation Indicator (CDI)
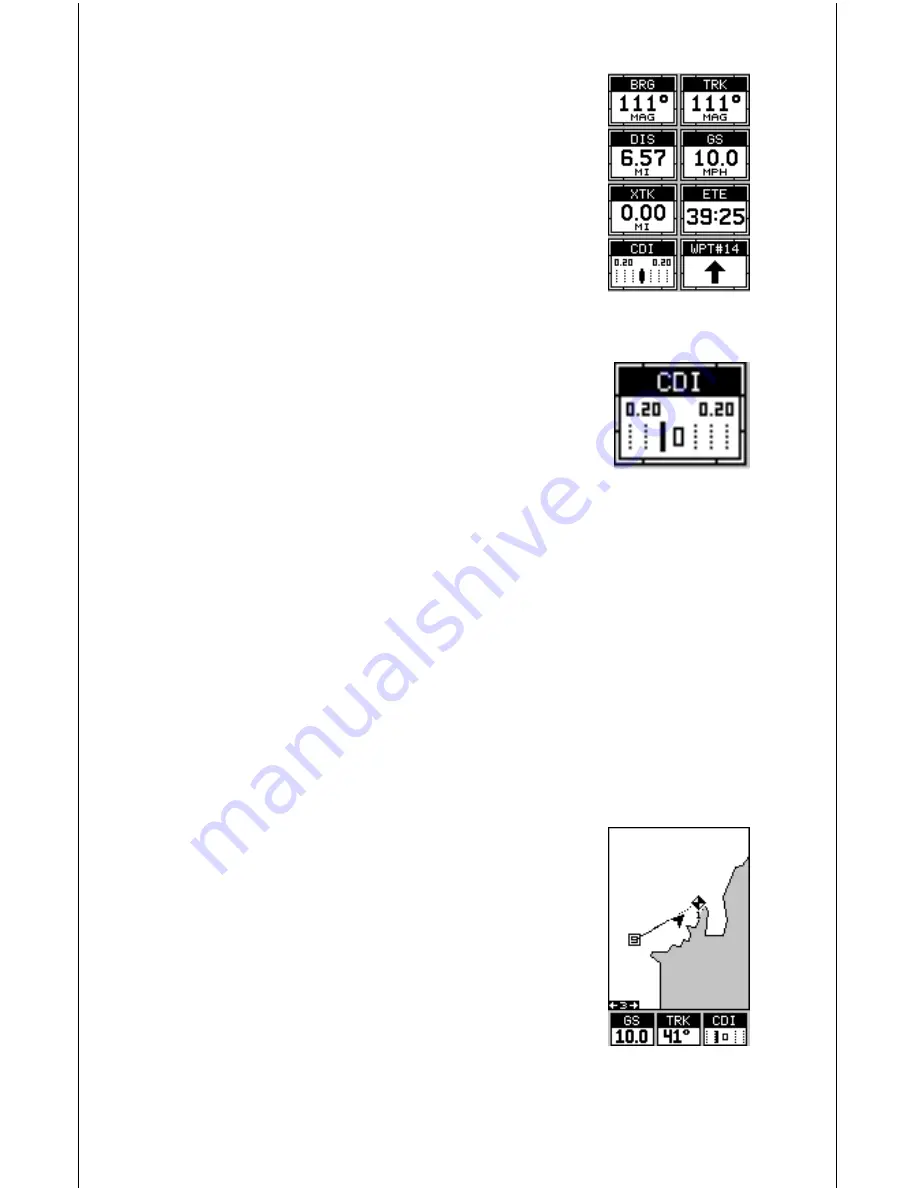
Once navigation to a waypoint is established, the CDI
shows your distance to the left or right of the desired
course. The vertical line in the box shows both the di-
rection you must steer to get back on course and the
distance to the course line. For example, if you’re trav-
elling straight towards the destination, from the start, then the line stays in
the center. If you drift off course to the right, the line moves to the
left
. This
signifies that you need to steer to the left to get back on course. This is
called “chasing the needle”. If you steer towards the line (needle), you’ll
always be heading in the correct direction to get back on course.
The CDI’s range shows beneath the CDI label. On the above screen, the
CDI range is .20 mile, which is the default. You can adjust the range by
selecting the “ALARMS/CDI” label on the main menu. This is also shown
by the dotted lines at the far left and right side of the CDI. If the solid line
is on either of the dotted lines, then you are 0.20 mile off course. Remem-
ber, if the line moves to the left, then you are too far to the right of the
desired course line and vice-versa.
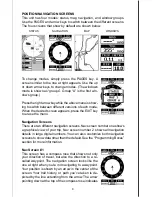
Using the CDI with a mapping screen helps you visu-
alize your position in relation to the course. The screen
on the right shows that we are off course to the right.
The vertical bar has moved to the left side of the CDI,
showing the direction to the desired course line. The
CDI gives you a quick, easy to read visual indicator of
your relationship between your direction of travel and
the desired direction.


