


User’s Manual
48
NOTE: For the Alarm-Out action, the alarm output and beep you select should be set to
the Event mode in the Alarm-Out setup screen (Schedule tab).
Highlight the box under the
Notify
heading and press the button. You can toggle the entire list
On and Off by highlighting
Notification
and pressing the button. You can toggle the individual
items On and Off by highlighting that item and pressing the button. Highlight
OK
and press
the button to accept your changes.
NOTE: For the Notify action, the notify item you select should be enabled in the Notification
setup screen and the DVR should be registered in the RAS (Remote Administration System).
Highlight the desired box under the
PTZ
heading, and press the
button. A list of PTZ presets
appear. Select the preset position for each PTZ camera, where you want PTZ cameras to move
to when the DVR detects video blind on the selected camera’s input.
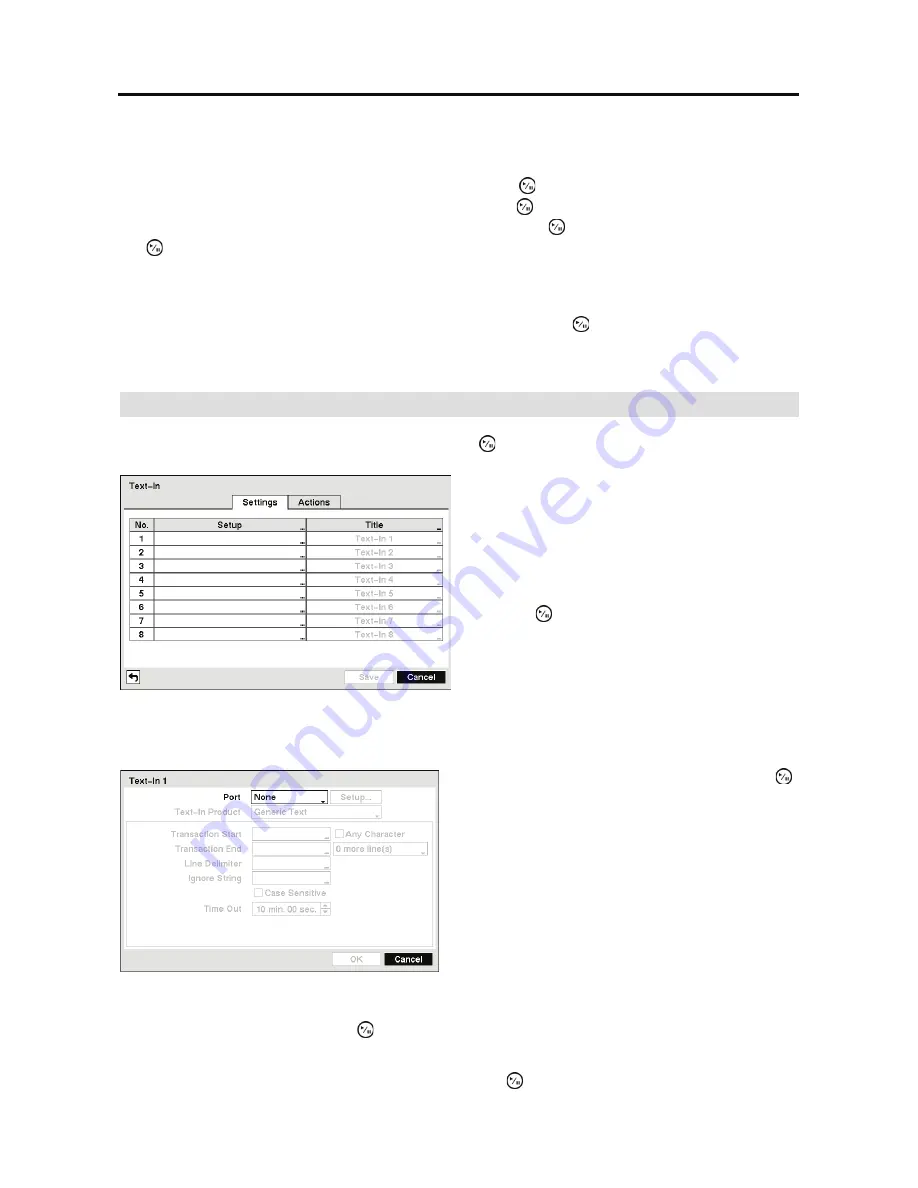
Text-In
Highlight
Text-In
in the Event menu and press the
button. The
Text-In
setup screen appears.
Highlight
Setup…
, and press the button. Use the ATM or POS manufacturer’s recommended
settings when configuring the RS232, RS485, USB-Serial or LAN ports.
Highlight the box beside
Text-In Product
, and press the button. Select your device from the list.
Figure 53 Text-In Settings setup screen.
The DVR can be set to react to text input from
devices such as ATMs (Automated Teller
Machines) and POS (Point of Sale; i.e., cash
registers). This screen allows you to configure
the DVR for each text-in device.
Highlight the box under the
Setup
heading, and
press the button. Selecting the
Setup
heading changes all the parameters excluding
Port settings of all the text input channels.
NOTE: The system performance might be
affected when a large quantity of text inputs
are detected from several channels at the
same time.
Figure 54 Text-In Device setup screen.
Highlight the box beside
Port
, and press the
button. Select from None, RS232, RS485, USB-
Serial (1~8) and LAN (1~8).
NOTE: If you have set the Port as
None
, you
will not be able to make any changes to the
screen.
NOTE: When using the USB to serial text-in
device, do NOT remove the USB cable from
the port while the system is running.
Содержание E-DVR-104
Страница 1: ......
Страница 2: ......
Страница 62: ...User s Manual 54 ...
Страница 90: ...User s Manual 82 Map of Screens ...


