52
User Manual
(4) Video adjustment
l
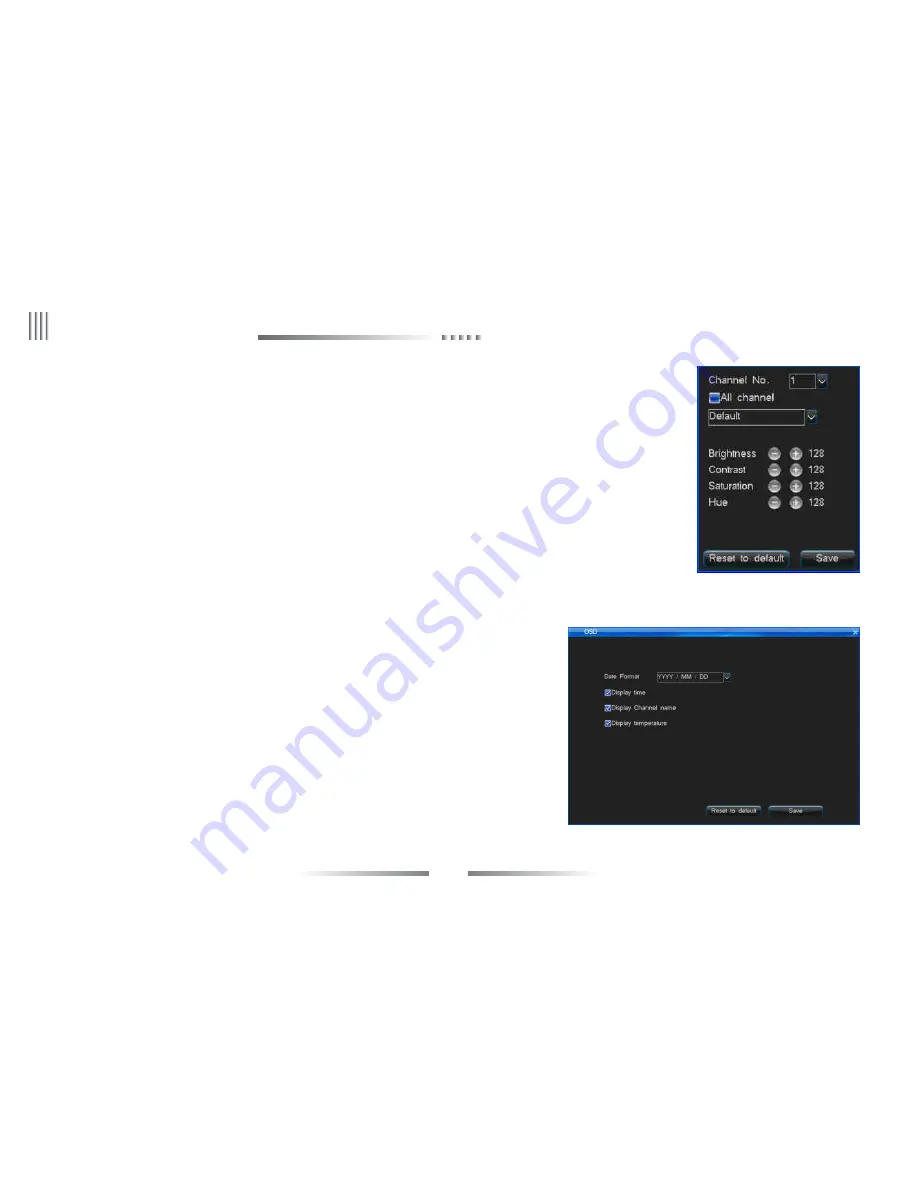
Click “Video adjustment” button in channel setting interface to enter into channel parameter setting interface. Or you can press
“Image” button in remote controller or front panel to enter “Video Adjustment” interface after login DVR as right picture:
l
System default channel parameters: Brightness 128, Contrast 128, Saturation 128, Hue 128.
l
Channel No.: Used to switch channels, user can also setup all channels directly.
Adjustment Method:
l
Select the parameters you want to change, then press “+” , “-” button on the remote controller.
l
Click the left mouse on the “+”, “-” to change the value, the “+”, “-” on the interface can indicate the increase or decrease of the value.
(5) Channel name position
Channel name default at top left corner. Click “CH name pos.” button to enter into channel name setting interface, drag the channel
name to any position you want in the screen.
4. SPOT Setting
Enter “Main Menu” -> “Output Setting” -> “SPOT” as below interface, SPOT setting steps:
(1) Enable “Sequence” button. Input the Sequence cycle time (unit is second) and select sequence channel.
Note: The channel participate in sequence can’t be repeat.
(2) There has a special output for SPOT in DVR back-panel. It’s CVBS output.
(3) SPOT will only work when DVR in lock status.
3.Sequence
Enter into “Output” -> “Sequence”, the interface as follows. The function is to realize different
channels switching, can set the sequence channels, sequence image format and sequence cycle.
l
Sequence Cycle: Sequence interval is 3-60 seconds.
l
Division Mode: Have 1 image, 4 images two options.
l
Sequence channel no.: It will the same or bigger than the number of division mode.
Note: Function only available when DVR in lock status!
2. OSD
Enter into “Output” -> “OSD”, the interface is the right picture. You can set date format, displaying time, displaying channel name, displaying temperature.
eLineTechnology.com


