60708-141
Page 13
7270-00
the timing advance to 26 degrees.
9.
You are now ready to make the final fuel mixture adjustment.
These engines were adjusted at the factory to produce about .7 to
3.4% CO. If you have the ability to test the CO, adjust the mixture
on the carburetor until you achieve the proper CO reading. If you
don't have a CO meter follow the manual adjustment procedure
later in this section.
PROPANE VAPOR TO NATURAL GAS
1.
Turn off fuel supply.
2.
Remove the fuel line from the carburetor at the demand
regulator.
3.
Invert the regulator so the column is in the upright position.
4.
Remove the cap on the upright column of the regulator. This
will expose the pressure spring adjusting screw. Turn the screw
all the way out (CCW) and then back in (CW) about 8 turns. The
plug should be approximately half way down for initial starting.
5.
Reconnect the fuel line at the regulator.
6.
Remove the 1/8 NPT plug (the one closest to fuel solenoid)
located on what is now the bottom of the regulator. Connect a fuel
pressure meter or a manometer where the plug has been
removed. Move the generator control switch to the "run" position.
As the unit starts to crank the fuel solenoid will open and you
should get a pressure reading of between 4 to 6 ounces (7 to 11
inches of water column).
7.
If the pressure is correct, remove the meter and reinstall the
pipe plug. Next remove the 1/8 inch NPT plug on the carburetor
side of the regulator and install the pressure meter. Move the
generator switch to the run position. As soon as the solenoid
opens the pressure should rise to 2.5 to 3 oz. just as the engine
starts to crank. If it is within this range replace the cap on the
column. If not, adjust the screw down to increase and up to
decrease and retest.
8.
Next the timing on the engine must be changed. As this unit
was shipped to operate on LP the timing advance was set at 26
degrees. For operation on NG it will be necessary for you to reset
the timing advance to 36 degrees.
9.
You are now ready to make the final fuel mixture adjustment.
These engines were adjusted at the factory to produce a .7 to
3.4% CO. If you have the ability to test the CO, adjust the mixture
on the carburetor until you achieve the proper CO reading. If you
don't have a CO meter follow the manual adjustment procedure
later in this section.
Manual Fuel Mixture Adjustment Procedure
1.
Ensure the unit is operating under an 80 to 100% load or at
the highest anticipated load.
2.
Attach a frequency meter to monitor Hz.
Note: On these units the mixture adjustment is located on the
carburetor just behind the fuel inlet hose. This mixture adjust-
ment is a partial turn, lean to rich, load block.
3.
If you are adjusting from LP to NG you will have to richen the
adjustment and if you are going from NG to LP you will have to
lean out the adjustment.
4.
Begin making your appropriate mixture adjustment, observ-
ing the Hz meter. If the meter begins to drop you have the mixture
set too lean or too rich. Adjust the valve in the opposite direction.
Adjustments should be made very slowly. Adjust back and forth
until the steady 60Hz reading is achieved with mixture set as lean
as possible.
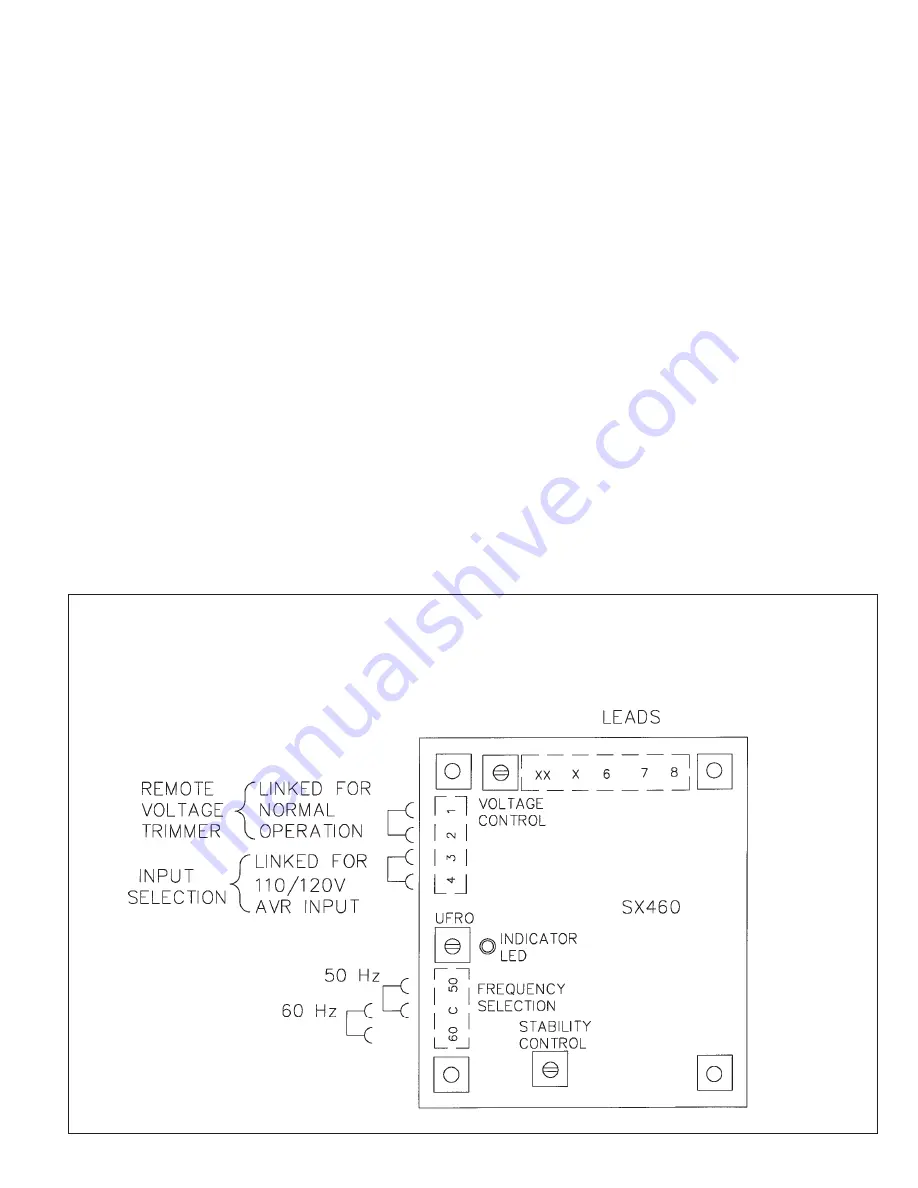
VOLTAGE REGULATOR WIRING
THREE PHASE AND SINGLE PHASE
Содержание Winpower GR27G4 B Series
Страница 18: ...Page 16 7270 00 60708 141 ...


