3:
Setup and Installation
12
Hardware Setup
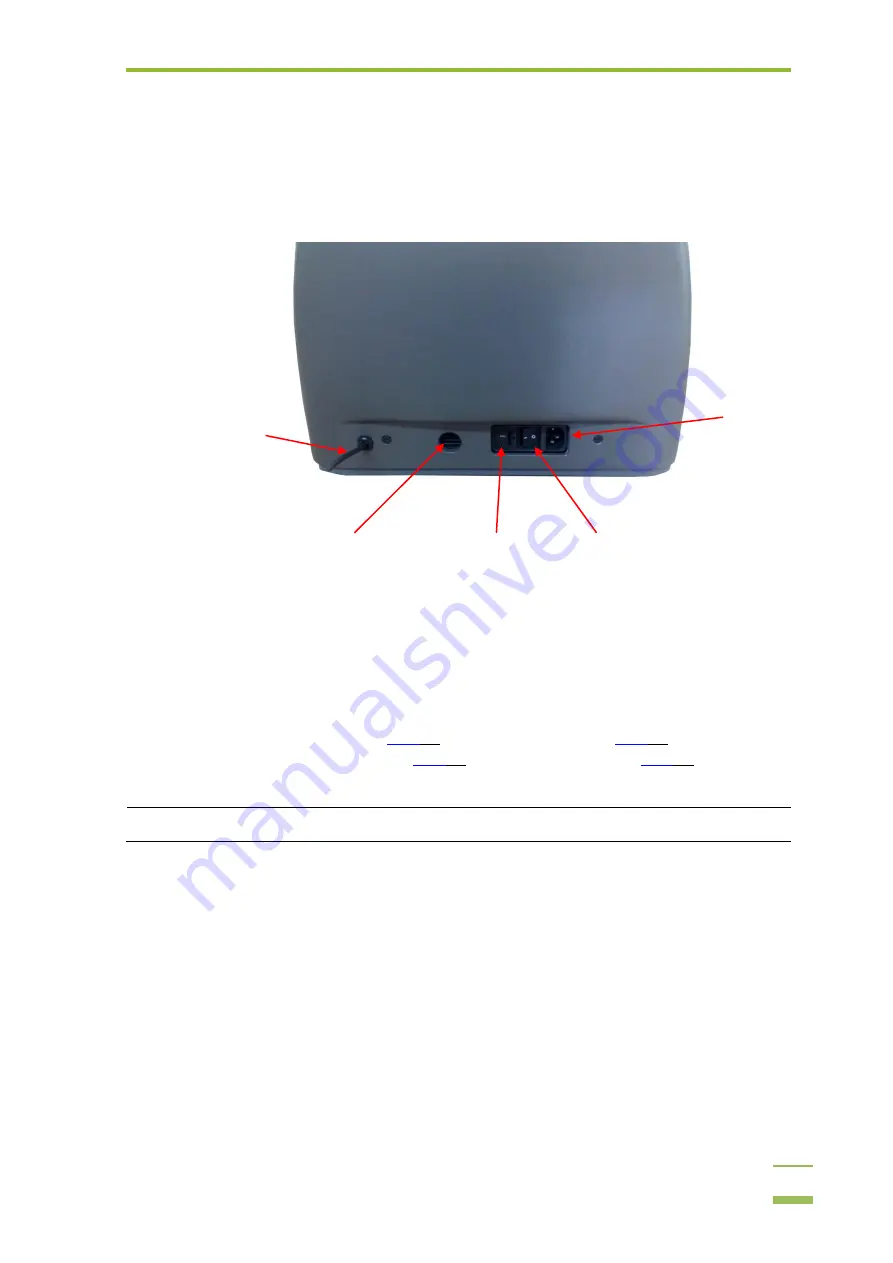
To set up your MicroChemi unit, plug in the MicroChemi power supply cable to the unit and the wall, and
connect the USB 2.0 cable to the PC, as illustrated below.
Software Installation
After the MicroChemi unit is set up you can proceed to install the following software from the CDs
provided inside the MicroChemi package:
Camera drivers (Windows XP Pro
Analysis Software (an explanation on the installation process can be found in the CD).
Note:
Turn the MicroChemi unit OFF before you install GelCapture.
MicroChemi
fuse niche
MicroChemi
ventilation
MicroChemi power
supply socket
Pre-connected
Camera USB cable
MicroChemi
ON/OFF switch
Содержание MicroChemi
Страница 1: ...Welcome to the MicroChemi System...
Страница 16: ...3 Setup and Installation 15 4 Mark the checkbox if you wish to create a desktop icon and click Next...
Страница 20: ...3 Setup and Installation 19 6 Click the combo box and select the MicroChemi component from the list...
Страница 34: ...3 Setup and Installation 33 14 Click OK 15 Choose DNR Camera and click Next...


