DNP Imagingcomm America Corporation
33
Reprinting an Image
IDW500 User Guide
1.
From the acceptance screen, press the
EDIT
button.
2.
Use the editing screen to make the following changes:
Color Correction
: If the color is slightly off, correct it using the color sliders. Keep in mind any color correction
done will affect the background of the image. Also, make sure your corrections do not distort the skin tone of the
subject.
Brightness/Contrast
: Correct the overall tone of the image using the brightness and contrast settings. Again,
take care to not change the skin tone or the background of the image.
Rotation
: If the subject’s head is tilted slightly, you can correct this using the rotate option.
3.
When you have finished editing the image, press
ACCEPT
to print your image. Press
CANCEL
to return to the main
screen.
Note
Whenever you make edits to an image, they are saved as the default for that image, and the newly
edited image is the one displayed on the Edit screen the next time you access the image.
Reprinting an Image
Simply resend the image from the camera by selecting the DPOF transfer option again on the image you want to print.
Follow the steps in the previous sections to print or edit your image.
You can also send multiple images back-to-back, and the images will print as they are processed.
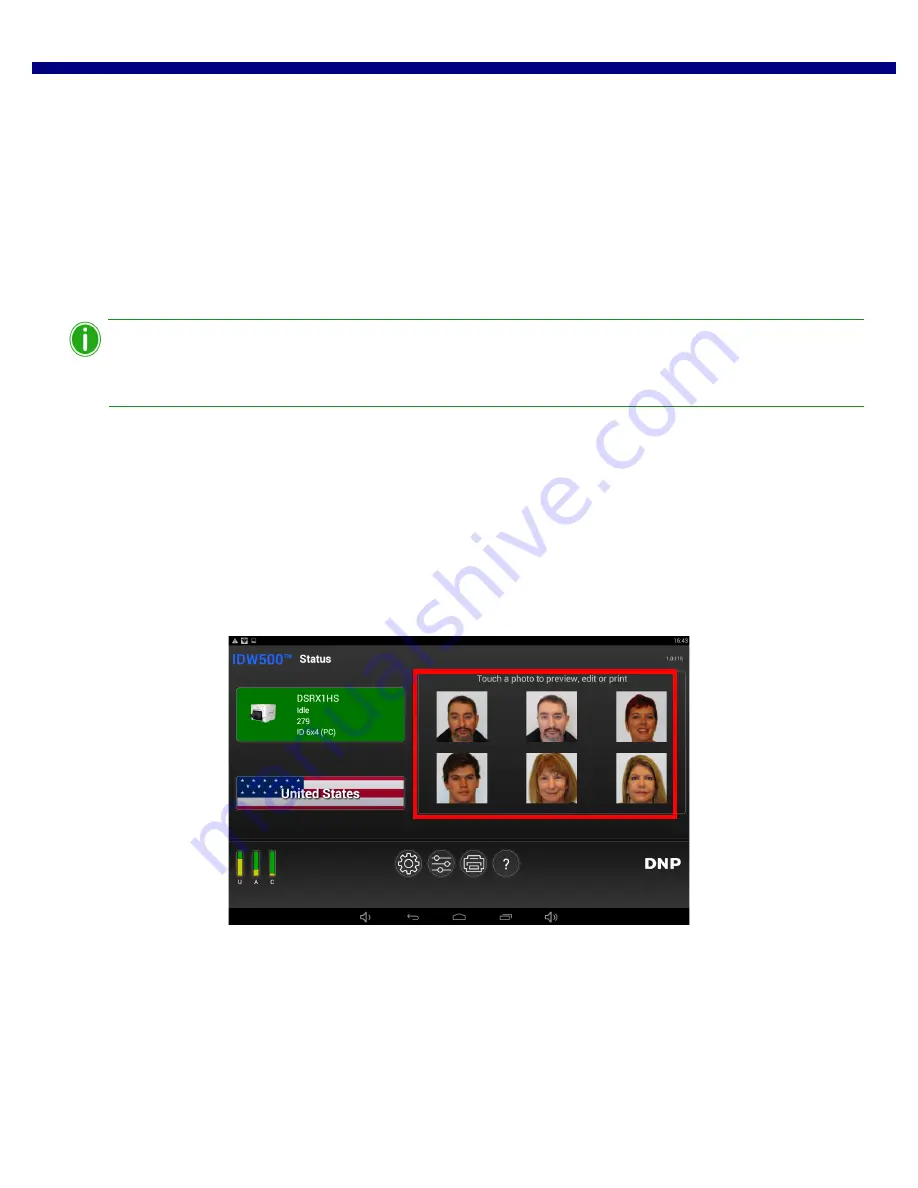
Since your IDW500 console saves and displays the last six (6) sent images, reprinting one of this images is simple! From
your console’s main screen, just touch the image you want to reprint and then follow the steps in the previous sections to
print or edit the image.


