MicroVu HD™ Operation Guide
860-00222-00 Rev A
Digital Ally, Inc. | Video Playback and Management 5-7
Do not remove the microSD Card while the MicroVu HD is recording. This will result in corrupted,
unusable video files. Please consult the VuVault User’s Guide for upload instructions. If the
MicroVu HD is powered on, All 3 LED’s will flash rapidly when the microSD Card is removed.
Uploading Files directly to a Computer using a USB Cable
Using the supplied USB cable, connect your MicroVu HD to a computer using the USB port
behind the access panel. Turn the vehicle ignition on to power up the unit. After the boot-up
process has completed the MicroVu HD will appear on the computer as a removable storage
drive. Double click on the drive and the video file folders will be listed. You may then drag and
drop the files to your PC or open a selected folder to play back the .avi files using Windows
Media Player.
Section - 5 Video Playback and Management
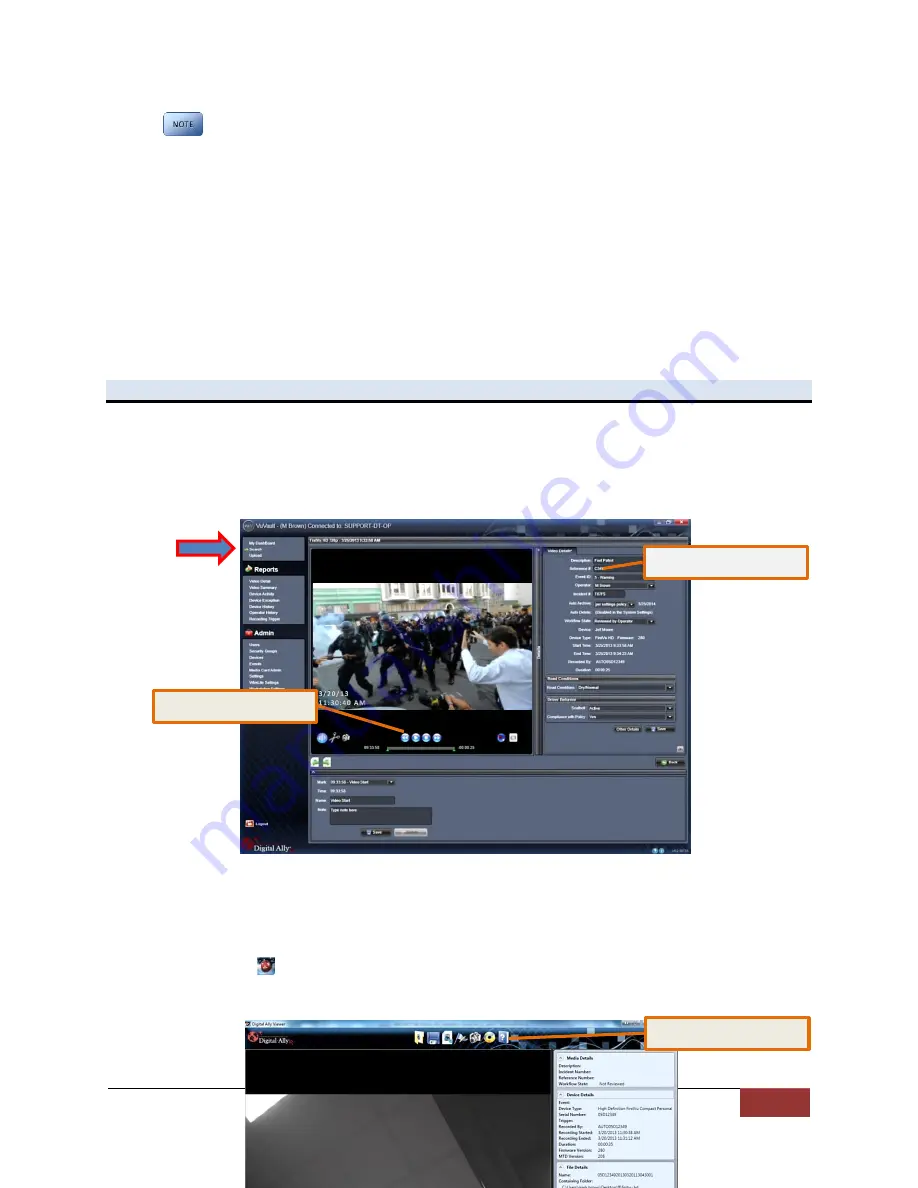
Using VuVault
VuVault
is Digital Ally’s robust back-office video management solution. The VuVault media
player can be opened by double-clicking on a video entry in
My Dashboard
or
Search
screens, or by selecting
Play
from the right-click menu. For more information about using
the VuVault player, please consult the
VuVault User’s Guide.
Using the Digital Ally Viewer
The
Digital Ally Viewer
is a user-friendly software package to allow basic playback of video,
audio, and metadata files, as well as many advanced features. The Digital Ally Viewer installer
is located on your product DVD. Once installed, open the program by double clicking on the
Digital Ally Viewer icon, or by selecting the program from the
Start Menu>Programs>Digital
Ally>Digital Ally Viewer.
Once opened, the program will prompt you to navigate to your video
storage location and select a video.
Toolbar Controls
Playback Controls
Media Details


