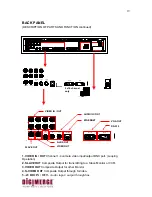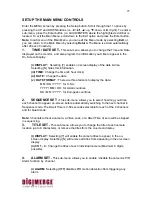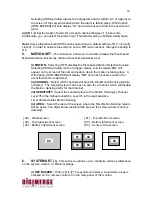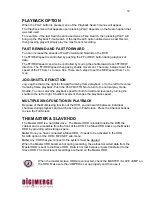
15
5. SEQ BUTTON
Press the SEQ button to sequence between all camera locations which are shown in the
full screen. The full screen automatically switches between all camera locations in
sequential order. Press the SEQ button again to stop sequential viewing. Sequence
settings are programmable via the Menu.
6. SETUP/ MENU BUTTON
Press this button to bring up the Main Menu.
7. EVENT BUTTON
Pressing this button brings up a list of up to 3000 Events, including Power, Loss and
Alarms. You can scroll through Events using the
▲
and
▼
keys, and navigate between
Pages of Events using the
◄
and
►
keys. Press the QUAD / ENTER Button to exit the
Event list.
The following letters represent the different types of Events that you may find listed:
P :
Shows the time when the POWER was turned ON
A :
Shows the time when a PIR ALARM was triggered
M :
Shows the time when Pixel-based MOTION detection was triggered
L :
Shows when a Video LOSS from a Camera occurred
N :
Shows the starting time when storing data with Manual recording.
H :
Time of problem occurring in the HDD.
8. SEARCH BUTTON
Pressing this button brings up the Search menu, which allows you to quickly find
recordings.


