Hybrid Plug-In Guide
38
2
Play a note on the keyboard.
Sequencers Lines
In the Step Sequencer section there are four dif-
ferent displays with sequencer lines. These lines
carry values for note, velocity, and modulation.
The four sequences have 16 steps each, and their
timing is always synchronized. The blue vertical
bars in each line illustrate the values of the steps.
The Step Position LED above the sequences indi-
cates the position of the sequence while it is
playing. The steps of the sequence advance at
adjustable note lengths and synchronize to the
Pro Tools session tempo.
Gate, Note, and Velocity
Below the Step Position
LED, there are 16 gate buttons to play or mute
each step of the note and velocity sequences.
Note and velocity modulations are pre-assigned.
To use them, choose the Step Sequencer mode
and set the gate, note, and velocity values ac-
cordingly.
Control
The two control sequences at the lower
right are always active no matter which Play-
back mode you use. They appear as Seq1 and
Seq2 in the sources and destinations of the Mod
pages. For example, select Seq1 as a modulation
source for Filter cutoff. Each control sequence
has a Source selector and a Depth fader for mod-
ulating the sequences’ depth with MIDI control-
lers. The modulation signals from the control se-
quences are bipolar.
To select a modulation source for the Control
Sequence’s depth:
Click the Mod Source selector and select a
source from the pop-up menu.
To adjust the modulation level:
Use the Modulation Level fader to specify the
modulation level for the control sequence’s
depth. The control range is from –100% to
100%.
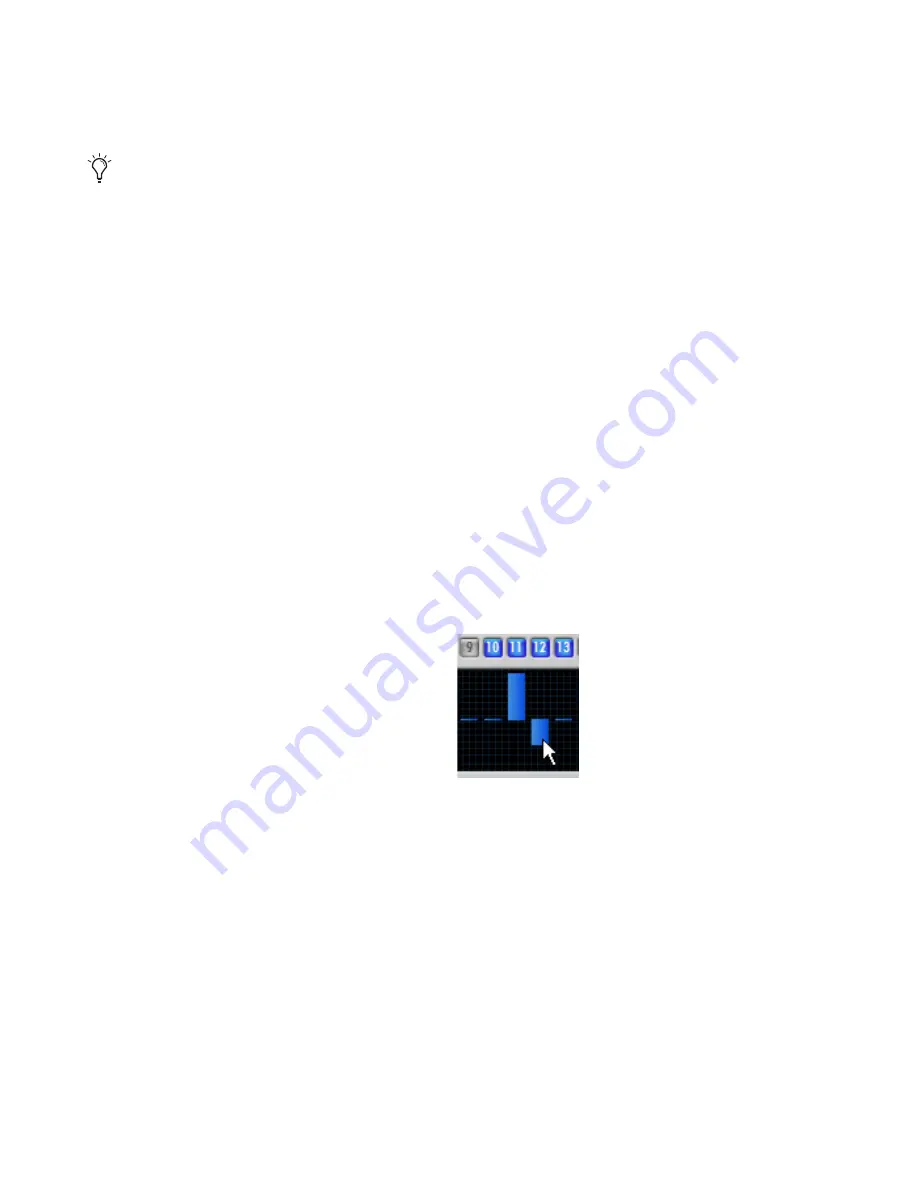
Editing of Sequencer Lines
You can edit a single step or draw a sequence of
steps with the mouse. Additionally, use the text
box to the right of each step sequencer to type in
a step value.
To edit a single step, do any of the following:
Drag the bar of the step you want to adjust
vertically. Drag up to increase the step value,
drag down to decrease the step value.
To draw a sequence of steps:
Use Shift-click and run the mouse horizon-
tally over the steps you want to edit.
– or –
Drag single bars up and down, to increase or
decrease the step values.
Sequencer A is always assigned to Part A
and Sequencer B is always assigned to Part
B. For your convenience, you can link the ed-
iting of the sequencers and copy their set-
tings from one part to the other. For more in-
formation, see “Transferring Sequencer
Settings” on page 41.
Adjust Sequencer Step
Содержание Hybrid
Страница 1: ...Hybrid Version 1 5 x ...
Страница 8: ...Hybrid Plug In Guide 4 ...
Страница 12: ...Hybrid Plug In Guide 8 ...
Страница 18: ...Hybrid Plug In Guide 14 ...
Страница 64: ...Hybrid Plug In Guide 60 ...


