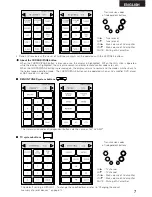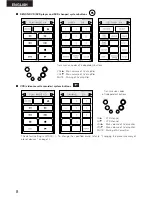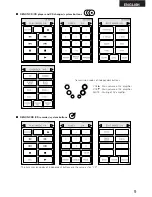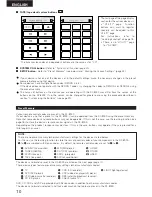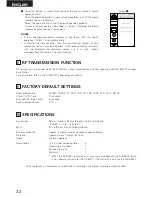
21
ENGLISH
r
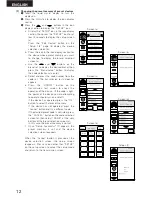
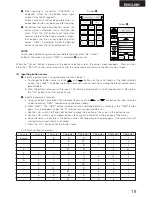
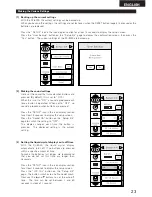
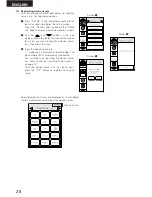
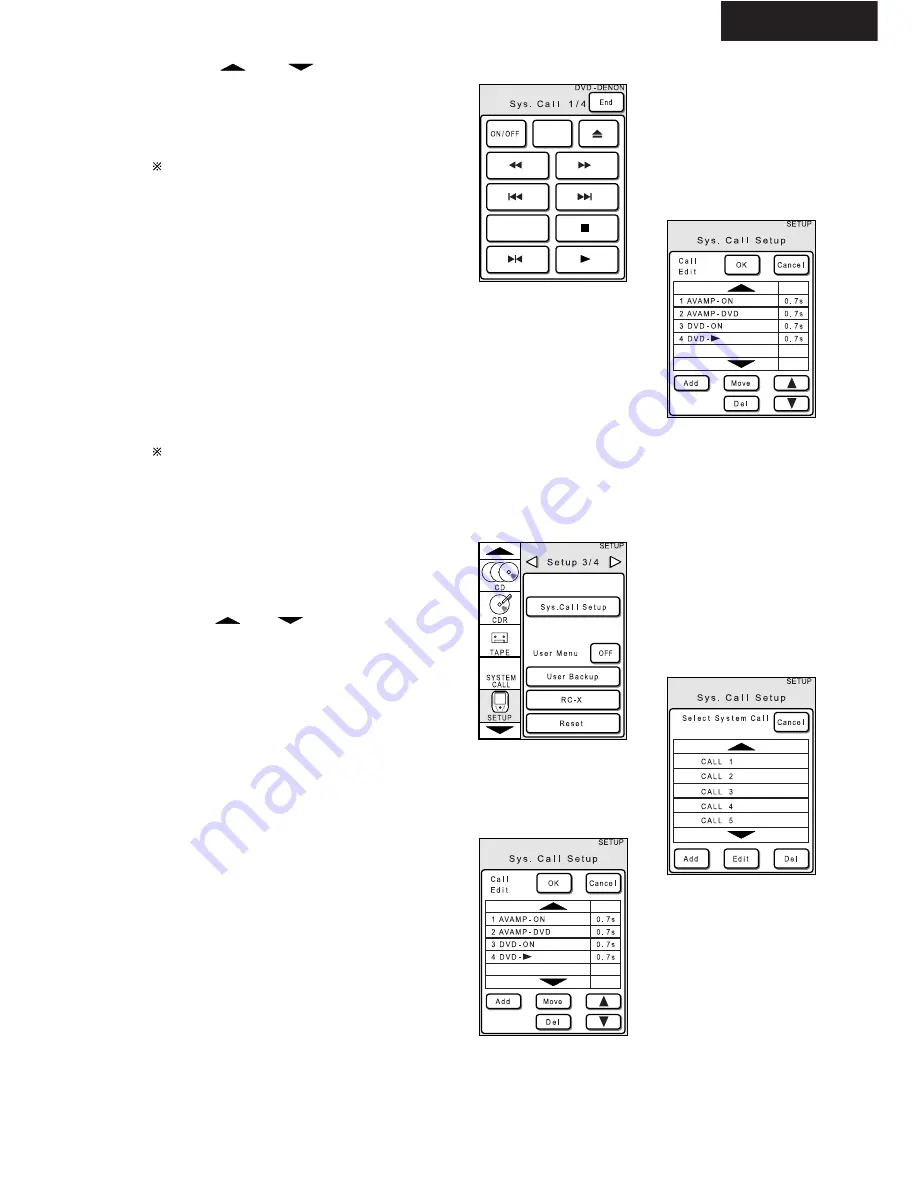
Press the
and
buttons in the icon
display section to display the DVD icon, then
press the DVD icon to select it.
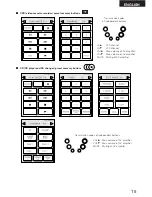
Here, press the DVD “ON” and “PLAY”
buttons.
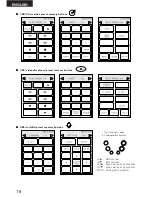
To select buttons on other pages, press the
JOG switch’s left and right buttons to switch
the page.
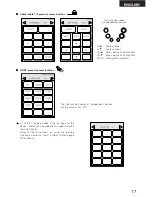
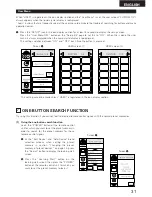
After the buttons are registered, press the
“END” button.
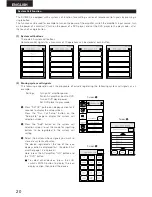
When the “END” button is pressed, the display
switches to a confirmation screen.
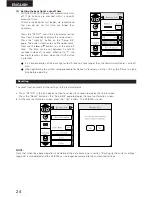
t
The buttons registered in steps
e
and
r
are
displayed on the confirmation screen.
Press the “OK” button to register the system
call settings. The system call button name
switches from gray to black.
The system call signals are stored at the open
system call button with the lowest number.
Initially they are stored at “CALL 1”.
Screen
r
Screen
t
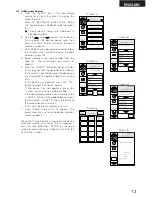
[3] Editing registered system call settings
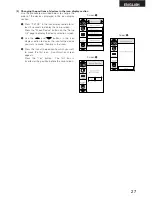
q
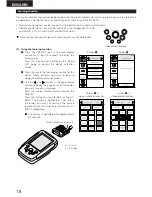
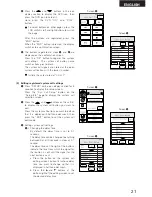
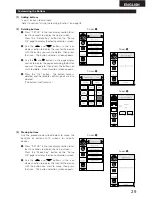
Press “SETUP” on the icon display section for 3
seconds to display the setup screen.
Press the “Sys. Call Setup” button on the
“Setup 3/4” page to display the system call
selection screen.
w
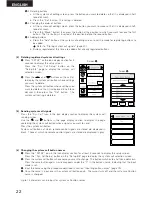
Press the
and
buttons on the call list
to display the system call button you want to
edit.
Press the system call button you want to edit so
that it is displayed in half-tone dot mesh, then
press the “EDIT” button to set the system call
edit mode.
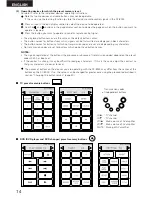
e
Editing system call settings
e
-1 Changing the delay time
By default, the delay time is set to 0.7
seconds.
The delay time can be changed to anything
between 0 and 10 seconds in steps of 0.1
second.
The delay times at the right of the buttons
indicate the time from which the signal for
that button is sent until the signal for the
next button is sent.
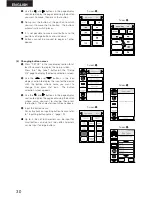
a. Press the button on the system call
editing screen’s button list whose delay
time you want to change so that it is
displayed in half-tone dot mesh.
b. Press the
•
and
ª
buttons at the
bottom right of the editing screen to set
the desired delay time.
Screen
q
Screen
w
Screen
e

