111
6
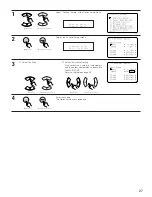
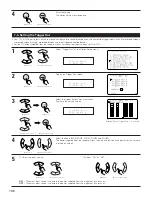
Select “Exit” and press the ENTER button to finalize the setting and exit the Option Setup mode.
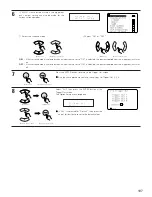
When the setup lock function is activated, the settings listed below cannot be changed, and
“SETUP LOCKED!” is displayed when related buttons are operated.
• System setup settings
• Surround parameter settings
• Tone control settings
• Channel level settings (including test tones)
• RoomEQ
To unlock, press the System Setup button again and
display the Setup Lock screen, then select “OFF”
and press the ENTER button.
(Main unit)
(Remote control unit)
(Main unit)
(Remote control unit)
E x i t
* O p t i o n S e t u p
System setup is complete. Once these settings are made, there is no need to change them unless different AV components are
connected or the speakers are repositioned.
7-7. Setteing the Network Setup
1
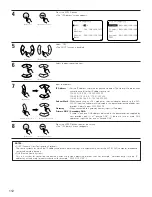
Select “Network Setup” at the Option Setup menu.
• If you are using a broadband router (DHCP function), there is no need to make the settings at “IP Address” and “Proxy”, since the DHCP
function is set to “ON” in the AVC-A1XVA’s default settings.
• If the AVC-A1XVA is being used connected to a network without the DHCP function, the network settings must be made. In this case, some
knowledge of networks is required.
[1] Setting the IP Address
• Set this when “OFF” is set for “DHCP”.
2
Press the ENTER button.
• The “Network Setup” screen appears.
(Main unit)
(Remote control unit)
(Main unit)
(Remote control unit)
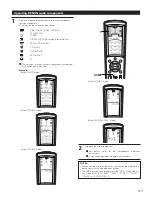
3
(Main unit)
(Remote control unit)
Select “IP Address”.

