Installing System Components | 163
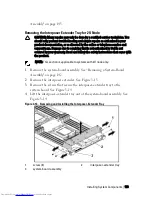
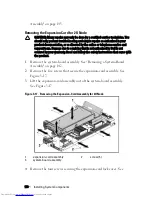
Assembly" on page 142.
4
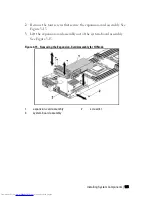
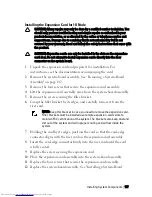
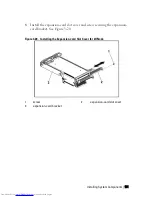
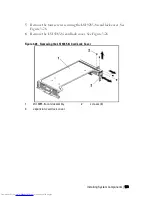
Remove the four screws that secure the expansion-card assembly.
5
Lift the expansion-card assembly away from the system-board assembly.
6
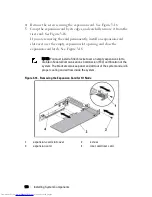
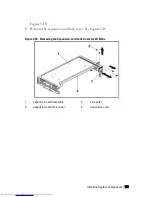
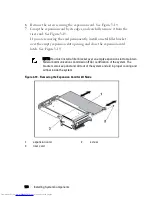
Remove the screw securing the filler bracket.
7
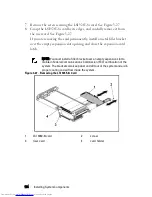
Grasp the filler bracket by its edges, and carefully remove it from the
riser card.
NOTE: Keep this bracket in case you need to remove the expansion card.
Filler brackets must be installed over empty expansion-cards slots to
maintain FCC certification of the system. The brackets also keep dust and
dirt out of the system and aid in proper cooling and airflow inside the
system.
8
Holding the expansion card by its edges, position the card so that the
card-edge connector aligns with the riser card.
9
Insert the card-edge connector firmly into the riser card until the card
is fully seated.
10
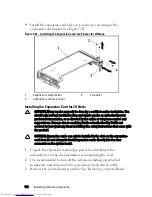
Install the expansion slot lock cover by securing the four screws.
11
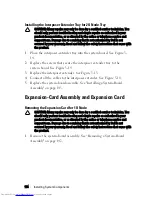
Place the expansion-card assembly into the system-board assembly.
12
Replace the screws that secure the expansion-card assembly.
13
Replace the system-board assembly. See "Installing a System-Board
Assembly" on page 143.
Содержание PowerEdge C6220
Страница 1: ...Regulatory Model B08S DellPowerEdgeC6220 Systems Hardware Owner s Manual ...
Страница 316: ...316 Index ...

