56
PowerConnect B-MLXe Hardware Installation Guide
53-1002111-01
Installing a PowerConnect B-MLXe-16 router
2
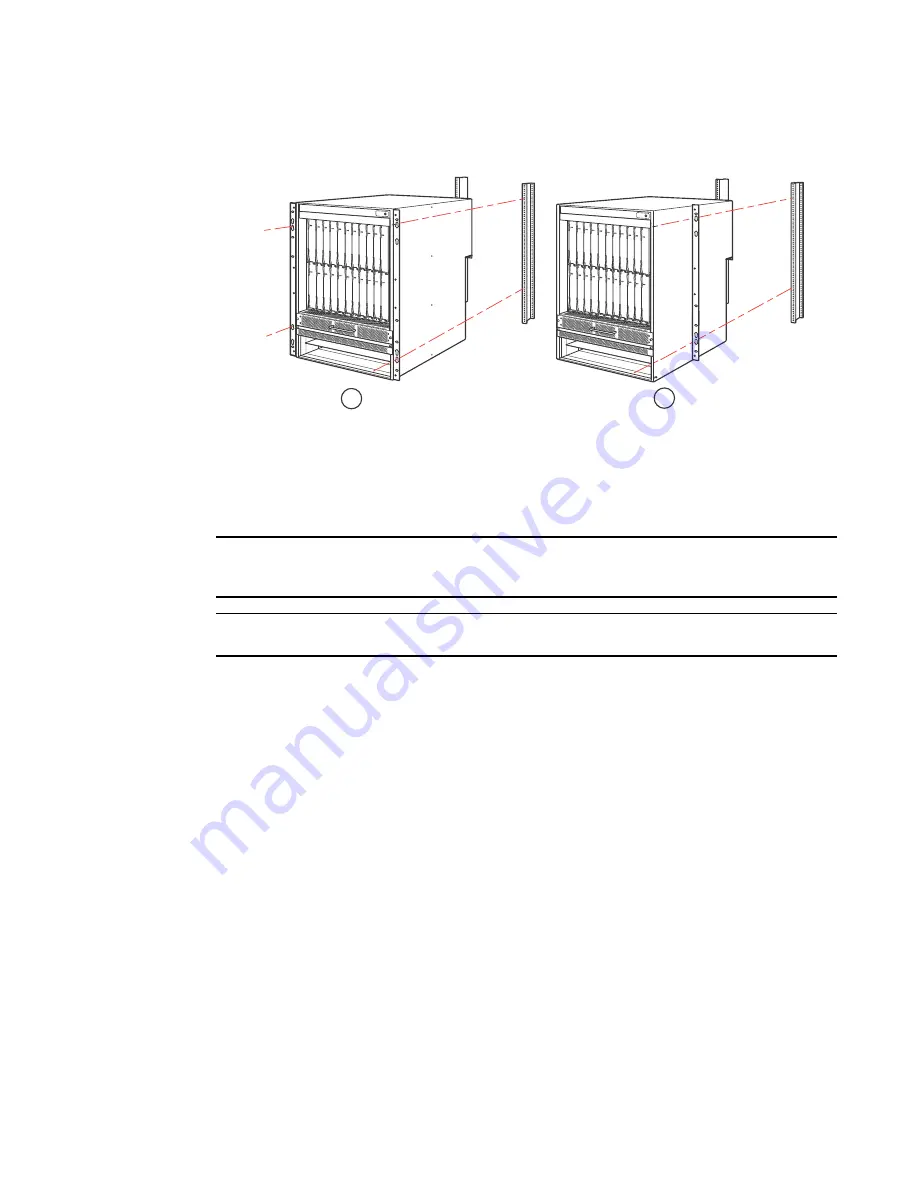
FIGURE 38
Mounting the PowerConnect B-MLXe-16 router in a rack
4. Slide the router down so that the mounting screw heads are in the narrow portion of the
keyhole slots.
5. Tighten the screws to secure the router in place. For extra support, use additional screws.
NOTE
For better grounding of the router to the rack, attach the router using star washers. You should also
use star washers with any single-hole grounding lugs to keep the lugs from rotating.
NOTE
When making the primary ground connection, use a star washer to prevent lug rotation.
Repeat step 2 through step 5 to mount each router in the rack.
Cabinet installation steps
You can also install your device in a 4-post rack or cabinet, using a Cabinet Rack Mount Kit, which
must be ordered separately (part number 326TY). To install your router in a closed cabinet, follow
these steps.
1. Remove the sides of the cabinet to allow access to the cabinet mounting posts.
2. Remove the factory-installed mounting brackets.
3. Attach the cabinet rack mounting brackets to the front of the device. Refer to
Figure 39
.
1
Front-mount configuration
2
Mid-mount configuration
1
2
Содержание PowerConnect B - MLXe 16
Страница 1: ...53 1002111 01 02 November 2010 PowerConnect B MLXe Hardware Installation Guide ...
Страница 34: ...22 PowerConnect B MLXe Hardware Installation Guide 53 1002111 01 Supported software features 1 ...
Страница 136: ...124 PowerConnect B MLXe Hardware Installation Guide 53 1002111 01 Removing MAC address entries 5 ...
Страница 194: ...182 PowerConnect B MLXe Hardware Installation Guide 53 1002111 01 Power cords 8 ...
Страница 198: ...186 PowerConnect B MLXe Hardware Installation Guide 53 1002111 01 Russia A ...
Страница 212: ...200 PowerConnect B MLXe Hardware Installation Guide 53 1002111 01 Dangers B ...


