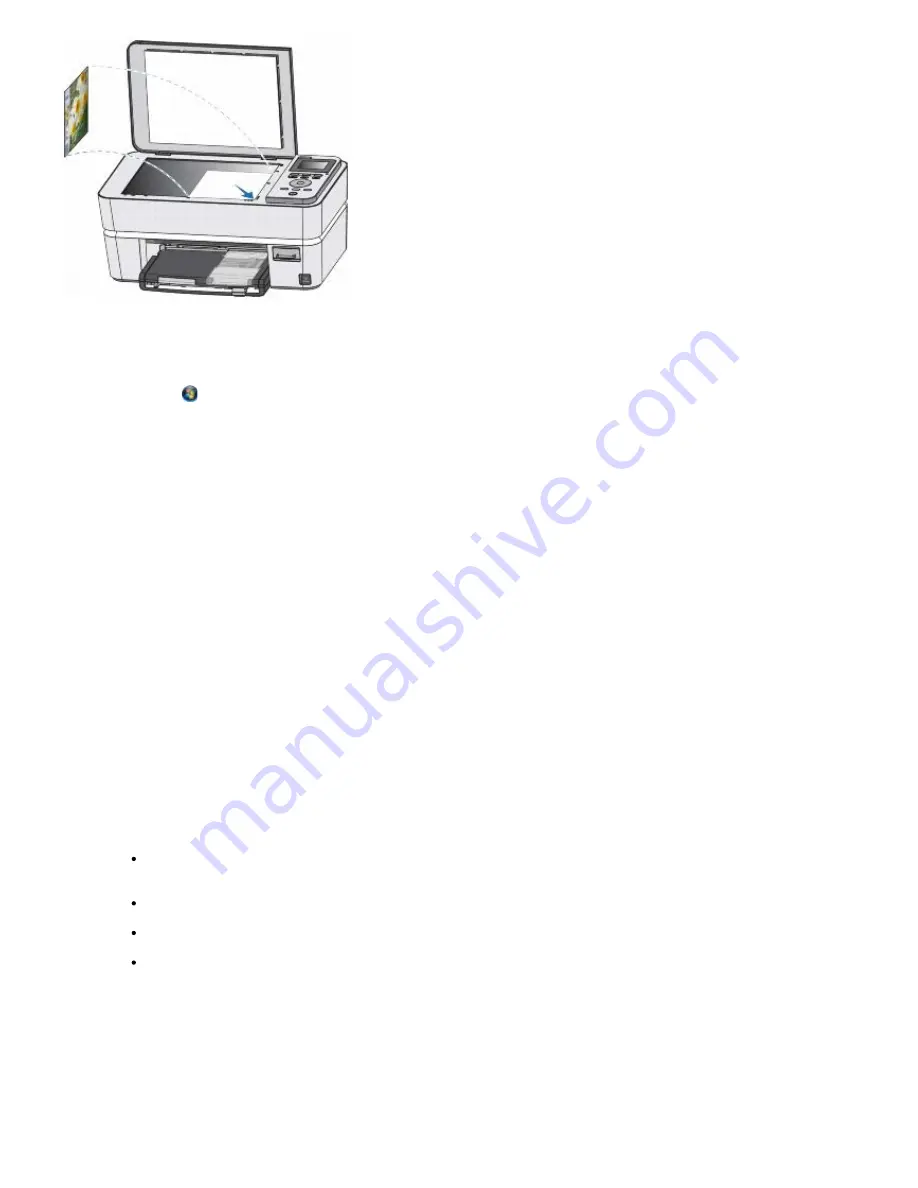
3. Click
Start
®
Programs
or
All Programs
®
Dell Printers
®
Dell Photo P703w AIO Printer
.
In
Windows Vista®
:
a. Click
®
Programs
.
b. Click
Dell Printers
.
c. Click
Dell Photo P703w AIO Printer
.
4. Select
Dell Imaging Toolbox
.
The
Dell Imaging Toolbox
opens.
5. From the Dell Imaging Toolbox, click
Scan
to open the
Scan Pictures and Document
window.
The
Basic Scan
window opens.
6. Click
Go to Advanced
from the
Scan Pictures and Document
window.
The
Advanced Scan
window opens.
7. Select
Picture
®
Color
.
8. Click
Scan
.
The picture is scanned and scan progress information appears.
9. Click
Edit...
to edit the selected photo.
10. Edit the image using the tools available in your program. You may be able to:
Enhance your image (Sharpening, Color restoration, Red eye reduction, Facial Retouch, Kodak Perfect Touch
technology)
Adjust the brightness, contrast, saturation, shadows, midtones, and highlights of your image
Custom Facial Retouch of your image
Crop your image
Содержание P703w - Photo All-in-One Printer Color Inkjet
Страница 22: ...18 Select your printer and click Next 19 Click Finish to complete the installation ...
Страница 23: ...Back to Contents Page ...
Страница 41: ...3 Close the top cover Back to Contents Page ...
Страница 77: ...5 Click Copy tab 6 Select Draft Normal or Best 7 Click OK or Apply Copy Options ...
Страница 104: ...Back to Contents Page ...


