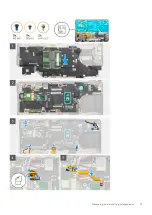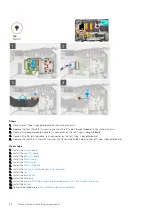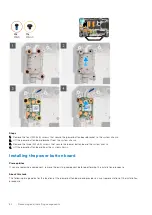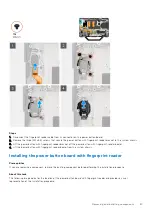
Steps
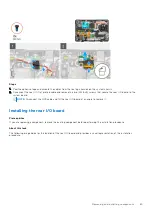
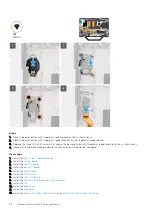
1.
CAUTION:
Ensure I/O flat printed cable is connected to the system board before proceeding to the next
step.
Connect the left I/O flat printed cable connector to the system board.
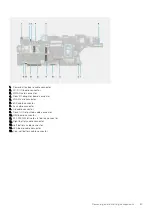
2. Flip the system board and replace the nine (M2.5x5) screws that secure the system board to the system chassis.
3. Connect the following cables to their connector on the system board (L-R): power button board, eDP, secondary
daughterboard, LED board, and coin-cell battery from the system board.
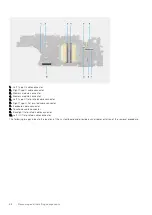
Adhere the LED, power button board, secondary daughterboard flat printed cables with kapton tapes to the connector.
4. Connect the LAN flat printed cable to its connector on the system board.
5. Connect the Wi-Fi board flat printed cable to its connector on the system board.
Adhere the Wi-Fi board flat printed cable with kapton tape to the connector.
6. Connect the right Type-C, left Type-C and touchpad flat printed cables to their connectors on the system board.
Adhere the touchpad flat printed cable with kapton tape to the connector.
7. Connect the right and left Type-C cables to their connectors on the system board.
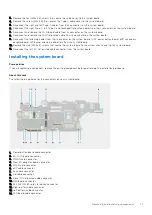
8. Replace the screw (M2x3.5) that secures the Type-C cable cover to the system board.
9. Replace the four (M2x3.5) screws that secure the cable cover to the system board.
10. Align and insert the serial RS-232 port to the system chassis.
11. Replace the two epoxy cap (4-40x6.5) screws that secure the serial RS-232 port to the system chassis.
74
Removing and installing components
Содержание Latitude 5430
Страница 1: ...Latitude 5430 Rugged Service Manual Regulatory Model P148G Regulatory Type P148G001 May 2022 Rev A01 ...
Страница 19: ...Removing and installing components 19 ...
Страница 21: ...Removing and installing components 21 ...
Страница 25: ...Removing and installing components 25 ...
Страница 31: ...Removing and installing components 31 ...
Страница 34: ...34 Removing and installing components ...
Страница 69: ...Removing and installing components 69 ...
Страница 73: ...Removing and installing components 73 ...
Страница 90: ...90 Removing and installing components ...
Страница 95: ...Removing and installing components 95 ...
Страница 138: ...138 Troubleshooting ...

