T4x-SERIES QUICKSTART GUIDE
18
4. To be able to communicate, the client and device’s IP addresses for the local area
connection must be configured. The vision device is shipped with a factory default IP
address of 192.168.0.128 and a default mask of 255.255.255.0. If you need to change the
device’s IP address or mask, do so before installation.
5. Insert the Impact Installation CD in the drive.
6. The installation program should start. Select the language you want the install to use, then
click OK.
7. Follow the on-screen instructions. You will have the option to install Impact software to the
client, camera, or both.
Note: If security is enabled on the camera, you cannot install new software on it. You must
exit the install program, disable security on the camera, then restart the install.
8. When the installation has completed, you can start VPM.
Changing the Camera’s IP Address
1. Connect to the device with VPM.
2. Select the Settings tab.
3. Click the General System Object.
4. Select the General radio button.
5. Enter the desired IP address in the IP Address field.
6. Press the Tab key.
7. When the Reboot dialog is displayed, click OK.
8. Cycle power on the camera.
Changing the Client’s IP Address (Windows XP)
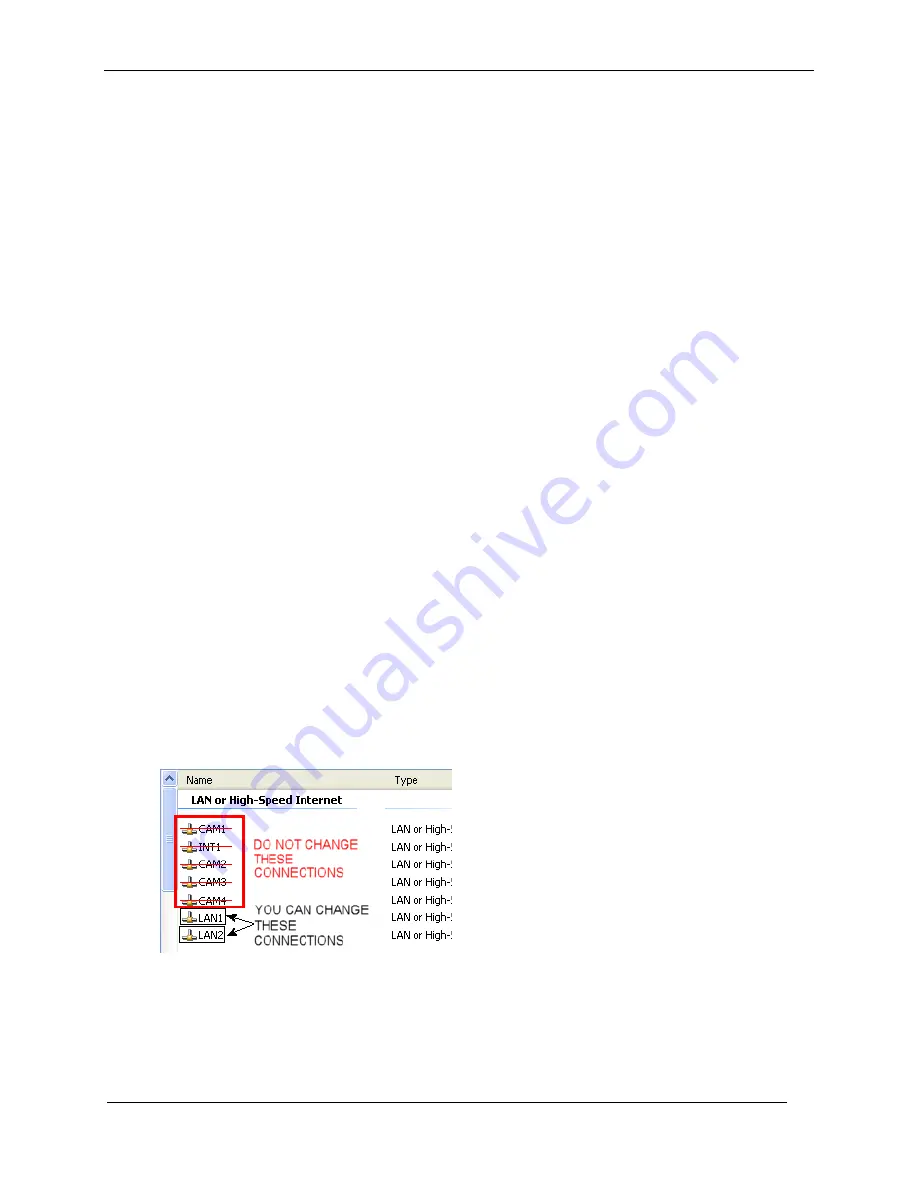
IMPORTANT NOTE: Change only the Local Area Connection named LAN1 or LAN2. These
correspond to Ethernet Ports 1 and 2 on the front of the processor.
DO NOT change any of the other Local Area Connections. Changing any other connection can
cause the M-Series cameras to stop functioning.
1. In the Start menu, right click on My Network Places and select Properties.
2. Right click Local Area Connection LAN1 or LAN2 and select Properties.
3. On the General tab, select Internet Protocol (TCP/IP) and click Properties.
4. On the General tab, select Use the following IP address.
5. Enter the desired IP address.
6. Click OK to close all the open dialog windows.
Содержание T4 Series
Страница 1: ...T4x Series QuickStart Guide Publication 821002560...
Страница 22: ...www datalogic com...


