background image

12

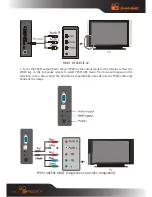
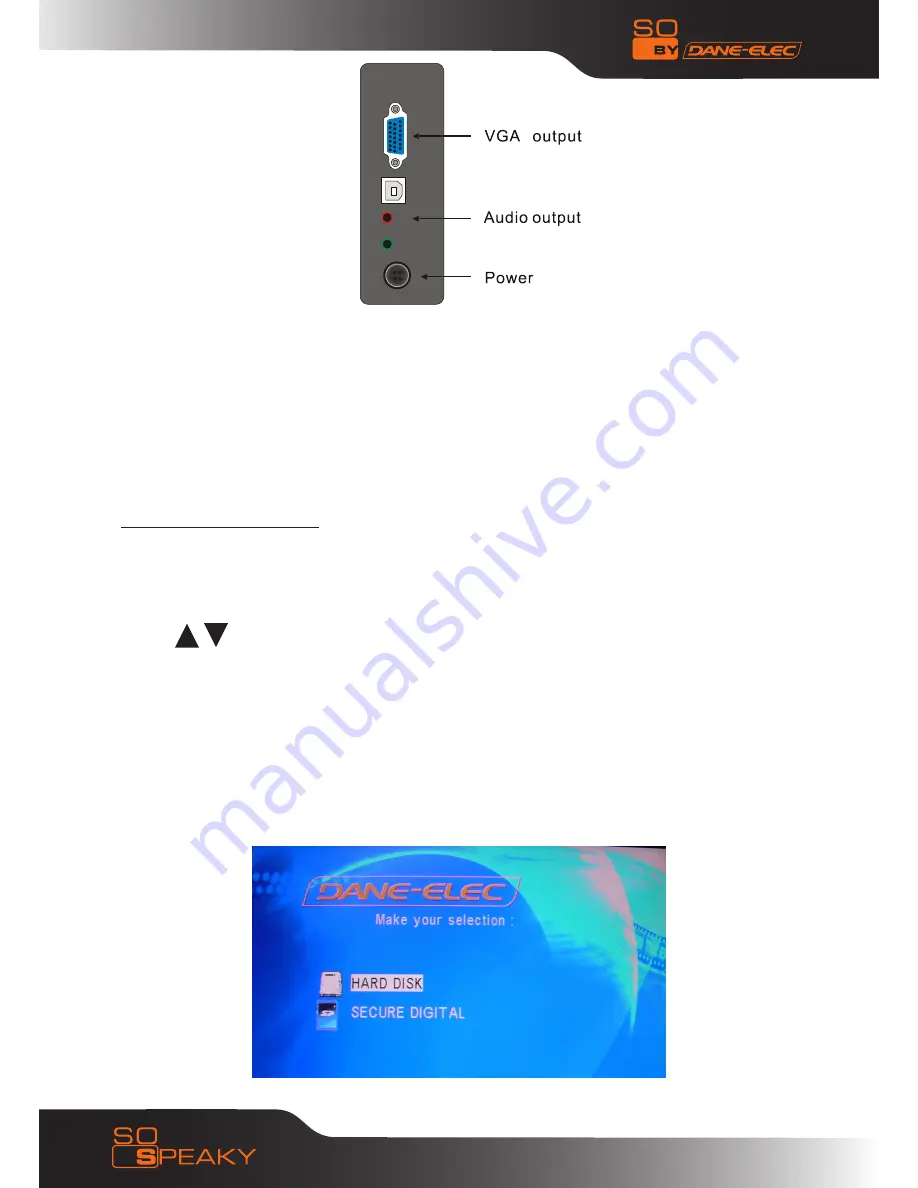
MODE DE SORTIE VGA

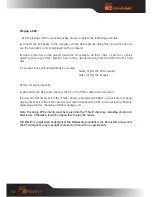
3. To connect to a television and use the VGA output: Select VGA mode, then press the VIDEO key 
on the remote to switch to VGA mode. 

The menu will appear on the television screen. Also connect the AV cable for sound (white and 

red) since the YPbPr cable only transmits the image.

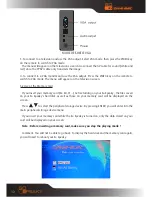
4. To connect to a VGA monitor and use the VGA output: Press the VIDEO key on the remote to 
switch to VGA mode. The menu will appear on the television screen. 

5.2 Use of the Memory Card

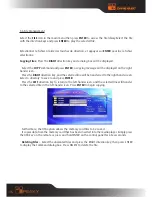
If you insert your memory card (Ex: SD, CF…) before turning on your So Speaky , the files saved 

on your So Speaky’s hard disk as well as those on your memory card will be displayed on the 
screen.

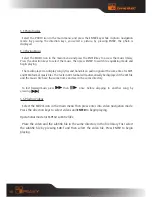
Press               to select the peripheral storage device. By pressing ENTER, you will enter into the 

main peripheral storage device menu.

If you insert your memory card while the So Speaky is turned on, only the data stored on your 

card will be displayed on your screen. 

Note : Before inserting a memory card, make sure you stop the playing mode !

Comment: You will not be able to go back. To display the hard disk and the memory card again, 

you will need to reboot your So Speaky.

Содержание SO SPEAKY -

Страница 1: ...Multimedia hard disk drives User Manual PC MAC 1...

Страница 2: ...2 SOMMAIRE 1 Warnings 4 2 Usage Precautions 4 3 Device Performance 5 4 Accessories 7 5 Using the device 9 6 System configuration 18 7 Appendix 19...

Страница 3: ...The labels with the serial on the product and its package are important for the guarantees covering malfunctions and have to be presented for any repairs The company will not perform any repairs if t...

Страница 4: ...multimedia function We do not guarantee the device if it has been formatted To delete data from the So Speaky s simply delete the unwanted file via your PC right click then delete 2 USAGE PRECAUTIONS...

Страница 5: ...aky is equipped with multiple ports for connection to a television a VGA monitor or an amplifier 5 The So Speaky supports DVD navigation functions it can read IFO format files 6 The So Speaky supports...

Страница 6: ...Important notice The locations for reading memory cards on the device only work for data input the device cannot act as a card reader for a computer If the device is connected to a PC as a USB hard d...

Страница 7: ...slideshow it changes the transition mode between images While playing music it changes the pre equalized modes ANGLE Changes image orientation View a scene from different angles if the DVD playing off...

Страница 8: ...between images during a slideshow SLIDE SHOW Displays the images in Continuous Mode OTB One Touch Backup Saves the memory card data directly to the hard disk Only press this button once Music Plays mu...

Страница 9: ...follow the instructions below Turn on your So Speaky Press the Setup button on the remote Using the Up Down Left Right buttons on your remote select Set Preference then Enter Select key OSD language...

Страница 10: ...hanged your television settings to the desired mode and then change your So Speaky s display mode by clicking the Video button on your remote Once for the YPbPr mode Once for the VGA mode Once for the...

Страница 11: ...for the television Press the VIDEO key on the So Speaky remote to select YPbPr OUT mode The menu will appear on the television screen Also connect the AV cable for sound white and red since the YPbPr...

Страница 12: ...the Memory Card If you insert your memory card Ex SD CF before turning on your So Speaky the files saved on your So Speaky s hard disk as well as those on your memory card will be displayed on the scr...

Страница 13: ...io signal at the same time for MP3 and WMA format music files The texts in LRC format will automatically be displayed if the LRC file and the music file have the same name and are in the same director...

Страница 14: ...e DVD s sound Video_TS for the image d Turn off your So Speaky e Disconnect the USB cable Connect the AV or the YPbPr cable to the television f Access the FILE menu Select the Shrek directory and pres...

Страница 15: ...n key and the selected line will be transferred to the right hand screen Select a directory to save to and press ENTER Press the LEFT direction key to return to the left hand screen and the selected l...

Страница 16: ...ys are used for scrolling through your music files to select an option such as selecting a title The Enter OTB key has two functions by pressing it once you make your selection for example to begin a...

Страница 17: ...dow the Black Orange DE Dane Elec logo will be displayed followed by letter in parentheses that corresponds to your So Speaky s address A green arrow shaped icon shaped will appear in the task bar The...

Страница 18: ...connecting any cables from your So Speaky turn it off 6 SYSTEM CONFIGURATION Press SETUP to access the system configuration menu System configuration options 1 Music setup Configure the functions or s...

Страница 19: ...MP2 MP3 AC3 Video MPEG1 2 MPEG4 Divx Xvid VCD DVD MPG MPEG DAT AVI VOB MP4 Picture JPEG MJPEG Audio Output Analogue stereo Audio Output 1 Video component output CVBS NTSC PAL TV System 2 VGA Output 3...

Отзывы: