32.
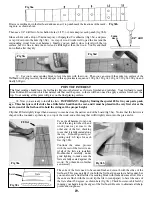
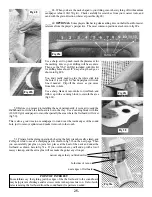
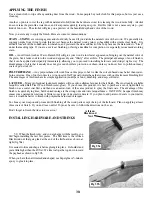
____62. Before covering the truss rod slot, find the Allen wrench provided and tighten the nut finger-tight for now, just to keep it
from rattling (fig 62a). You may need to adjust it one way or the other later to correct a bow in the neck. Then center the truss rod
cover over the opening and hold it in place with masking tape while you drill 1/16” pilot holes into the peghead for the tiny screws
(fig 62b). Then you can install the three tiny screws that hold the cover in place.
Fig 62a
Fig 62b
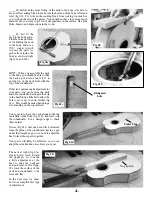
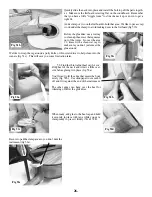
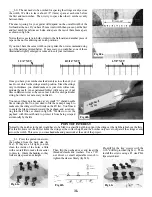
____63. Drill through the remaining holes in the bridge with the 3/16” bit provided (fig 63a). These holes need to be slightly ta-
pered to accept the bridge pegs. A cheap and simple way to do that is to use a small (6”) rat-tail file (fig 63b). You can chuck it
into your hand drill and spin it in reverse as you push it gently into the hole. Be careful not to file too far -- it is best to fit the pegs
fairly snugly (fig 63c).
Fig 63a
Fig 63b
Fig 63c
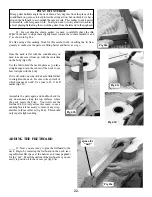
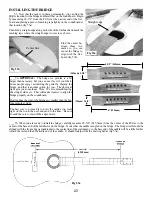
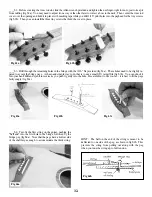
____64. Test-fit the first string on the guitar, pushing the
“ball end” into the first hole in the bridge, followed by the
bridge peg (fig 64a). Note that the pegs have a hollow side
of the shaft large enough to accommodate the thick string.
Fig 64a
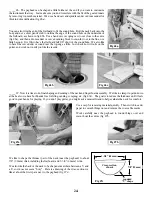
Fig 64b
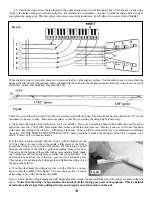
HINT: The ball on the end of the string is meant to be
deflected to one side of the peg, as shown in fig 64b. This
prevents the string from pulling out along with the peg
when you tune the string up to full tension.
Содержание PARLOR
Страница 36: ......


