


27.
Straight edge
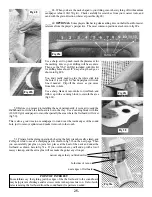
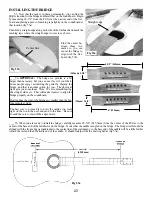
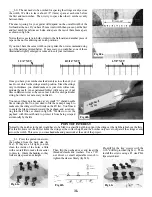
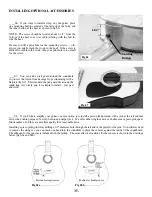
____53. Now that the neck is in place permanently, you can find the
proper location for the bridge and install that on the soundboard. Begin
by measuring 24-1/2” from the #0 fret at the narrow end of the fret-
board and placing a piece of masking tape lightly on the soundboard at
that location (fig 53a).
Then hold a straight-edge along each side of the fretboard and mark the
masking tape where the straight-edge crosses it, as shown .
Find the center be-
tween those two
marks so you can
center the bridge to
align with the fret-
board (fig 53b).
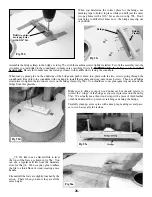
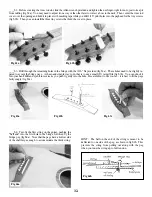
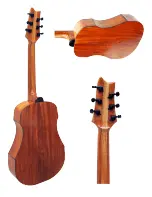
____54.
OPTIONAL:
The bridge we provide is a bit
larger than necessary, but you can use it as is if you like it.
Some people enjoy customizing the guitar by shaping the
bridge, and that is another option for you. The photos at
right give you some ideas. Note: We recommend leaving
the straight side as is. That will make it easier to align the
bridge properly on the soundboard.
Don’t reduce the size of the bridge any smaller than the bot-
tom sample at right.
The best way to proceed is to draw the outline you want
right on the wood, then cut and sand to the lines. Be sure
to sand the cuts to smooth the edges nicely.
Original size
Custom shape
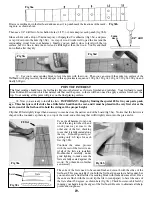
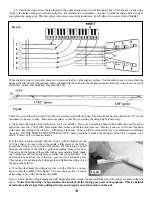
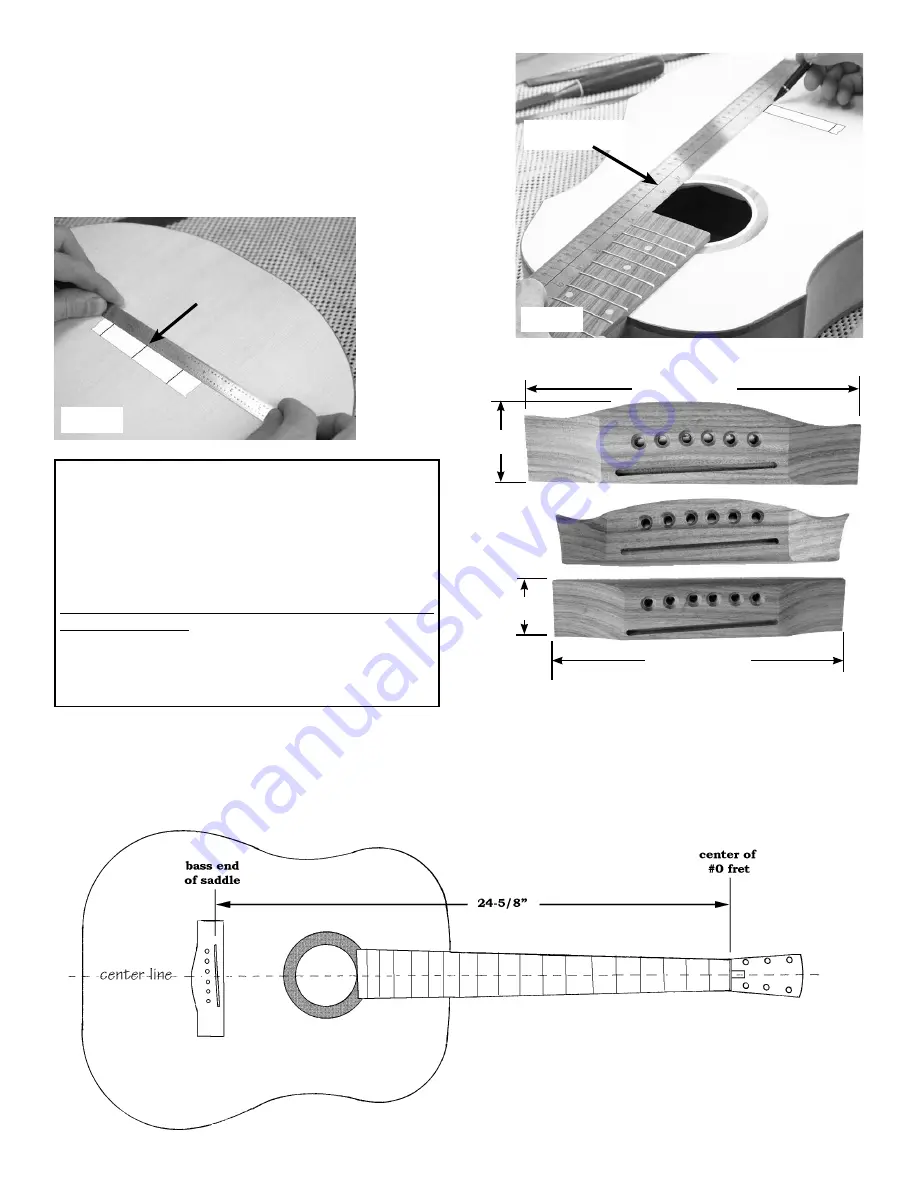
____55. When you are ready to install the bridge, carefully measure 24-5/8” (625.5mm) from the center of the #0 fret to the
center of the bass end of the saddle slot on the bridge. Notice that the saddle is angled on the bridge. The bridge itself should be
aligned with the front edge perpendicular to the center line of the instrument, so the bass end of the saddle will be a little further
toward the tail end than the treble end of the saddle. It should lookjust like the drawing below (fig 55a).
Bare minimum size
INSTALLING THE BRIDGE
Fig 53a
Center line
Fig 53b
6-1/2” (165mm)
(165mm) 1-1/2”
(32mm) 1-1/4”
6” (152mm)
(625.5mm)
Fig 55a
Содержание PARLOR
Страница 36: ......


