background image

33

Useful 

Functions

Handling

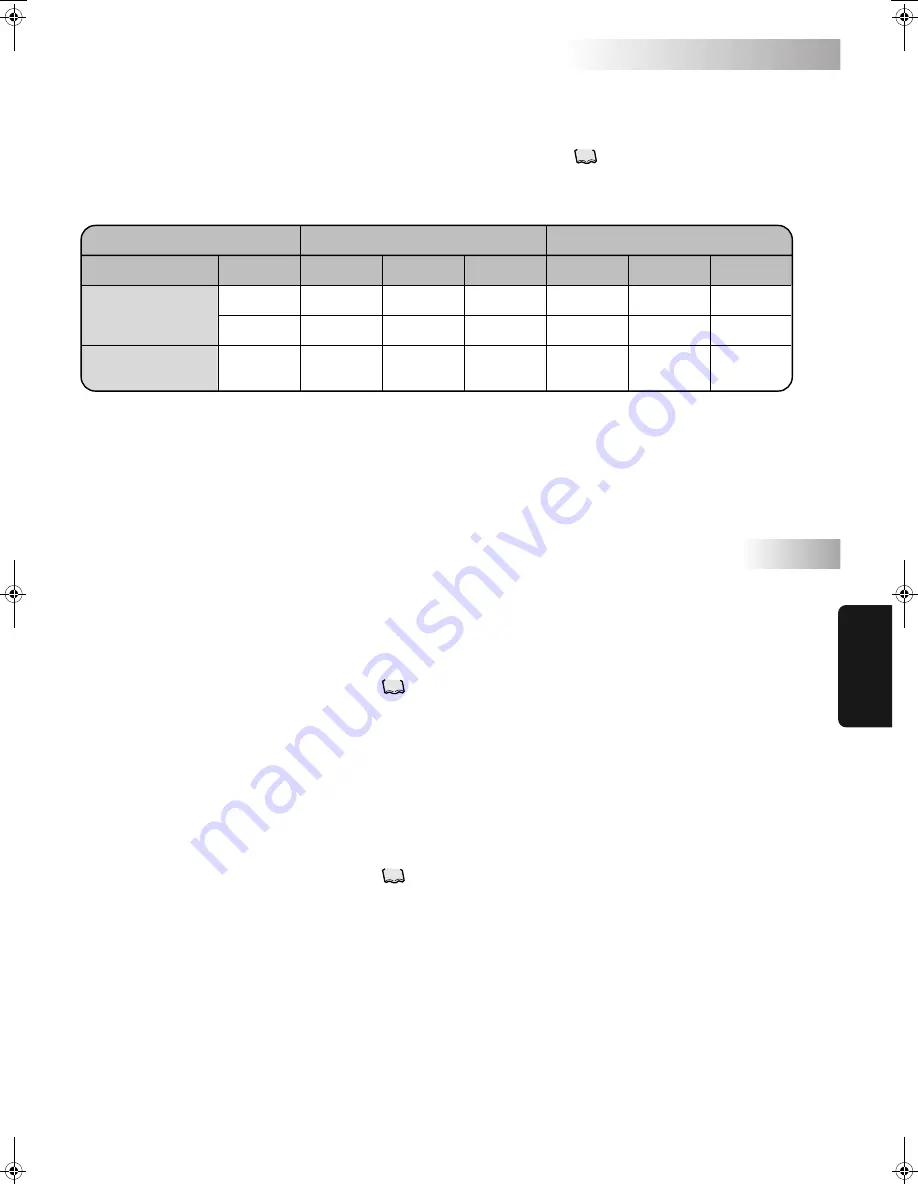
Alarm/Warning Output Logic

Alarm Settings for Optional Protection Devices (Installed by User)

The Oil Cooling Unit can output an operation status signal to the main machine through wiring to the signal terminal block and 
parameter setup.

1.

 Connect the required signal cable to the signal terminal block.

(For the connecting method, refer to “Connection of external output contact” on page        .)

2.

 Set Parameter [n01].

n01: Alarm/warning output logic (First digit).

Setting

0

1 (2 to 9: Same operation as with 1)

60–61

60–63

66–67

ON

OFF

ON

OFF

ON

OFF

OFF

ON

OFF

OFF

ON

OFF

OFF

ON

OFF

ON

OFF

ON

Contact

Normal

Power failure

Alarm

Normal

Power failure

Alarm

Alarm output

Temperature range

warning output

First digit: Specifies alarm output logic (60, 61, 63) and warning output logic (66, 67) of the signal terminal block.
Second digit: Specifies DOUT signal output logic. (Optional communication expansion board is required.) 

For details, refer to “Communication Expansion Board Instruction Manual” (HM01568).

The Oil Cooling Unit can activate an alarm by receiving an output signal from optional protection devices (e.g. flow switch).

When using OP terminals [12] and [13]:

1.

 Connect the signal cable of the optional protection device to terminals [12] and [13] on the Oil Cooling Unit signal terminal 

block.
(See “Outline of electrical equipment box” on page        .)

2.

 Set Parameter [n02].

“0”: OP terminal is not used. (Factory setting)
“1”: When OP contact turns OFF, Alarm Level 1 is activated.
“2”: When OP contact turns OFF, Alarm Level 2 is activated.
“3”: When OP contact is not ON after 30 seconds from agitator operation start, Alarm Level 1 is activated.

[CAUTION] The protection function cannot be activated simply by connecting the protection device to the OP terminals.

Be sure to set this parameter.

When using OP 2 terminal [CN2]:

1.

 Connect the signal cable of the optional protection device to [CN2] on the Oil Cooling Unit control board.

(See “Outline of electrical equipment box” on page        .)

2.

 Set Parameter [n03].

“0”: OP2 terminal is not used. (Factory setting)
“1”: When OP2 contact turns OFF, Alarm Level 1 is activated.
“2”: When OP2 contact turns OFF, Alarm Level 2 is activated.

[CAUTION] The protection function cannot be activated simply by connecting the protection device to the OP terminals.

Be sure to set this parameter.

10

9

9

PIM00132A_EN.fm  33 ページ  2007年9月20日 木曜日 午後3時4分

Содержание AKZJ8Series

Страница 1: ...using it After reading this manual keep it handy for your future reference Before Operation 12 Model Identification and Specifications 14 Part Names and Functions 15 Names and Functions of the Contro...

Страница 2: ......

Страница 3: ...nd Health Law 2 Fire Service Law 3 JIS B8361 General Rules for Hydraulic Systems Precautions for installation Only qualified technical experts can handle the unit Connect the power cable according to...

Страница 4: ...is period electric discharge from the internal high voltage parts capacitors has not been completed Failure to observe this instruction may result in electric shock Dot not handle the unit for 5 minut...

Страница 5: ...mperature which may result in damage to the machine Cancel operation lock before running the main machine Do not use this unit in special atmosphere including dust oil mist high temperature or high hu...

Страница 6: ...power consumption Clean the air filter periodically to reduce power consumption Thank you for purchasing DAIKIN Oil Cooling Unit OILCON This instruction manual includes instructions for using the Oil...

Страница 7: ...nge 2 Give thorough consideration to the layout of the partitions and inlet outlet piping for the installation tank so that the low temperature liquid that has been cooled with the OILCON unit can be...

Страница 8: ...machining dimensions of the installation tank from the table below Unit mm Through hole Tank top plate OILCON B1 B2 B3 C2 C1 4 M8 Tapping hole A Reference dimension If cutting swarf or chips accumulat...

Страница 9: ...N the power supply for the Oil Cooling Unit the following three methods are available Starting stopping the Oil Cooling Unit 1 2 3 When the circuit breaker for the main machine is turned ON the Oil Co...

Страница 10: ...e top plate mounting screws and remove the top plate 1 Insert the power cable into the power cable insertion hole 28 in the side plate of the unit When using the different voltage model E insert the p...

Страница 11: ...ctrical equipment box Typical Connection of remote control input To execute remote control connect the cable according to the procedure below Local procurement items Component Single pole single throw...

Страница 12: ...se a surge absorber CAUTION Normal Normal or power failure Alarm or power failure Alarm Value of the first digit in alarm output logic parameter n01 0 Factory setting Positive action 1 b contact Opera...

Страница 13: ...X2M Alarm level output Alarm Power failure Agitator operation Normal Alarm and run signals 60 61 62 63 64 66 67 10 11 12 13 30 31 Temperature range warning Short circuit bar H model only Other than B...

Страница 14: ...g Weight A Internal circuit breaker Rated current A B C 980 360 440 980 450 630 103 41 38 10 Required for the models other than B 3 phase 200 200 220 VAC 50 60 Hz 3 3 phase 200 200 220 VAC 50 60 Hz 12...

Страница 15: ...6kVA H E 3 Standard B C 2 4 400 90 W 4P 450 150 W 4P 1 25 1 65 65 68 Tank Depth 400 mm or more supply pump float switch return filter 15 20 Oil Cooling Unit equivalent horsepower HP Cooling capacity...

Страница 16: ...rocarbon type Water glycol type W O O W emulsion type 2 Chemicals and food liquids drinking water etc 3 Fuels kerosene gasoline etc 4 Water other than for industrial use 6 Before operating the Oil Coo...

Страница 17: ...expansion valve through heat exchange between the refrigerant and oil to produce low temperature low pressure gas refrigerant Improves the cooling efficiency by agitating the liquid in the tank Detec...

Страница 18: ...mode SETTING Operation setting mode MONITOR Monitor mode TIMER Timer setting mode When an alarm is activated Blinks Operation stops Alarm level 1 Lit Only the compressor stops Alarm level 2 Display t...

Страница 19: ...e 19 22 page Monitor mode MONITOR lamp is lit Displays the current value of each thermistor etc 23 page Timer setting mode TIMER lamp is lit Used to set up time for the ON timer 24 page 1 The operatio...

Страница 20: ...dels the factory settings may be different from the above Holding constant tank liquid temperature Tuning tank liquid temperature to room temperature or machine temperature Cooling liquid in the tank...

Страница 21: ...0 100 None Tuning temperature control 9 9 9 9 K 3 p 21 4 p 21 9 9 9 9 K Tank liquid temperature Tank liquid temperature An example of a main machine coolant system using the Oil Cooling Unit is shown...

Страница 22: ...1 Select the operation setting mode When the number on the operation mode display is blinking change the number to 0 with the or key 2 Change the operation mode After the number is registered the num...

Страница 23: ...erature to room temperature Tuning tank liquid temperature to machine temperature 34 Setting procedure Go to the operation setting mode with the key See Mode changing operation on page The SETTING lam...

Страница 24: ...apacity Setting procedure Go to the operation setting mode with the key See Mode changing operation on page The SETTING lamp on the operation mode indicator lights The number on the operation mode dis...

Страница 25: ...detected with the thermistor and input output values simultaneously appear on the data display Machine temperature Th5 Not used Room temperature Th3 Tank liquid temperature Th4 Not used Not used Capac...

Страница 26: ...the value on the data display to a desired value with the or key The unit of set value is h hour 2 Specify an operation start time Press the key to register the timer setting When the timer is activat...

Страница 27: ...ecessity of power supply reset Unit Initial value Factory setting Maximum value Minimum value Item Remarks No Communication with main machine Alarm output logic Warning Auto tuning Not used Alarm outp...

Страница 28: ...number with the or key After the selected parameter number is displayed for approx 0 5 seconds on the data display the set value appears 2 Select a parameter number Press the key to register the param...

Страница 29: ...ation The above 1 2 and 3 can be combined Parameter setting To enable this function set the corresponding parameters You can specify up to five warning conditions with the following five groups of par...

Страница 30: ...put Rely 30 output ON External output Rely 30 output ON FH alarm FH alarm External output Rely 30 output ON Tank liquid temperature Th4 Room temperature Th3 Machine temperature Th5 Third digit n10 2 n...

Страница 31: ...compressor stops Warning When Tank liquid temperature Th4 becomes 17 C the warning status will be automatically reset When Tank liquid temperature Th4 is 35 C or higher the compressor stops FH alarm...

Страница 32: ...utes at 100 capacity Stop Stop Select a desired operation mode Note 1 3 Note 4 Note 5 Note 6 After completion T Deviation C T Deviation C T Deviation C ForTemperature Control Improvement Auto tuning m...

Страница 33: ...of temperature control gain P and I from collected data and writing gain into each parameter Operation at 0 capacity Stop 6 Completion of auto tuning Operation at 0 capacity Stop Normal mode Normal No...

Страница 34: ...cified temperature range is too small temperature control gain may not be correctly calculated You should set this parameter to the maximum value in the range where it does not cause damage to the mac...

Страница 35: ...an alarm by receiving an output signal from optional protection devices e g flow switch When using OP terminals 12 and 13 1 Connect the signal cable of the optional protection device to terminals 12 a...

Страница 36: ...rminal block in the electrical equipment box No polarity See Outline of electrical equipment box on page Optional Parts Mounting procedure Type Name Dimensions Application Installed by user Compatible...

Страница 37: ...upport 4 Mounted to sheet metal inner surface Inverter board Prepared by user Prepared by user Optional Parts Communication with main machine When this optional board is mounted to the Oil Cooling Uni...

Страница 38: ...y two weeks If the air filter is clogged with dust the wind volume reduces resulting in capacity deterioration Also the compressor s protection device is activated hindering smooth operation Furthermo...

Страница 39: ...e control panel is pressed the erroneous operation prevention switch is set to ON 4 The low ambient temperature protection device has been activated Room temperature is 2 C or lower 1 The remote contr...

Страница 40: ...ated in the unit has been activated 1 The heating value of the main machine has exceeded the cooling capacity of the Oil Cooling Unit Improper model selection 3 The unit is running under capacity supp...

Страница 41: ...power supply environment Take noise suppressing measures Make sure that the L3 phase is properly connected to the power supply terminal block Check the condition detected with the relevant protection...

Страница 42: ......

Страница 43: ......

Страница 44: ...Equipment Osaka Office DAIKIN Esaka Building Tarumi cho 3 21 3 Suita Osaka Japan 564 0062 TEL 81 6 6378 8764 FAX 81 6 6378 8738 E mail Address hyd_eco daikin co jp Home Page http www daikin co jp PIM0...

Отзывы: